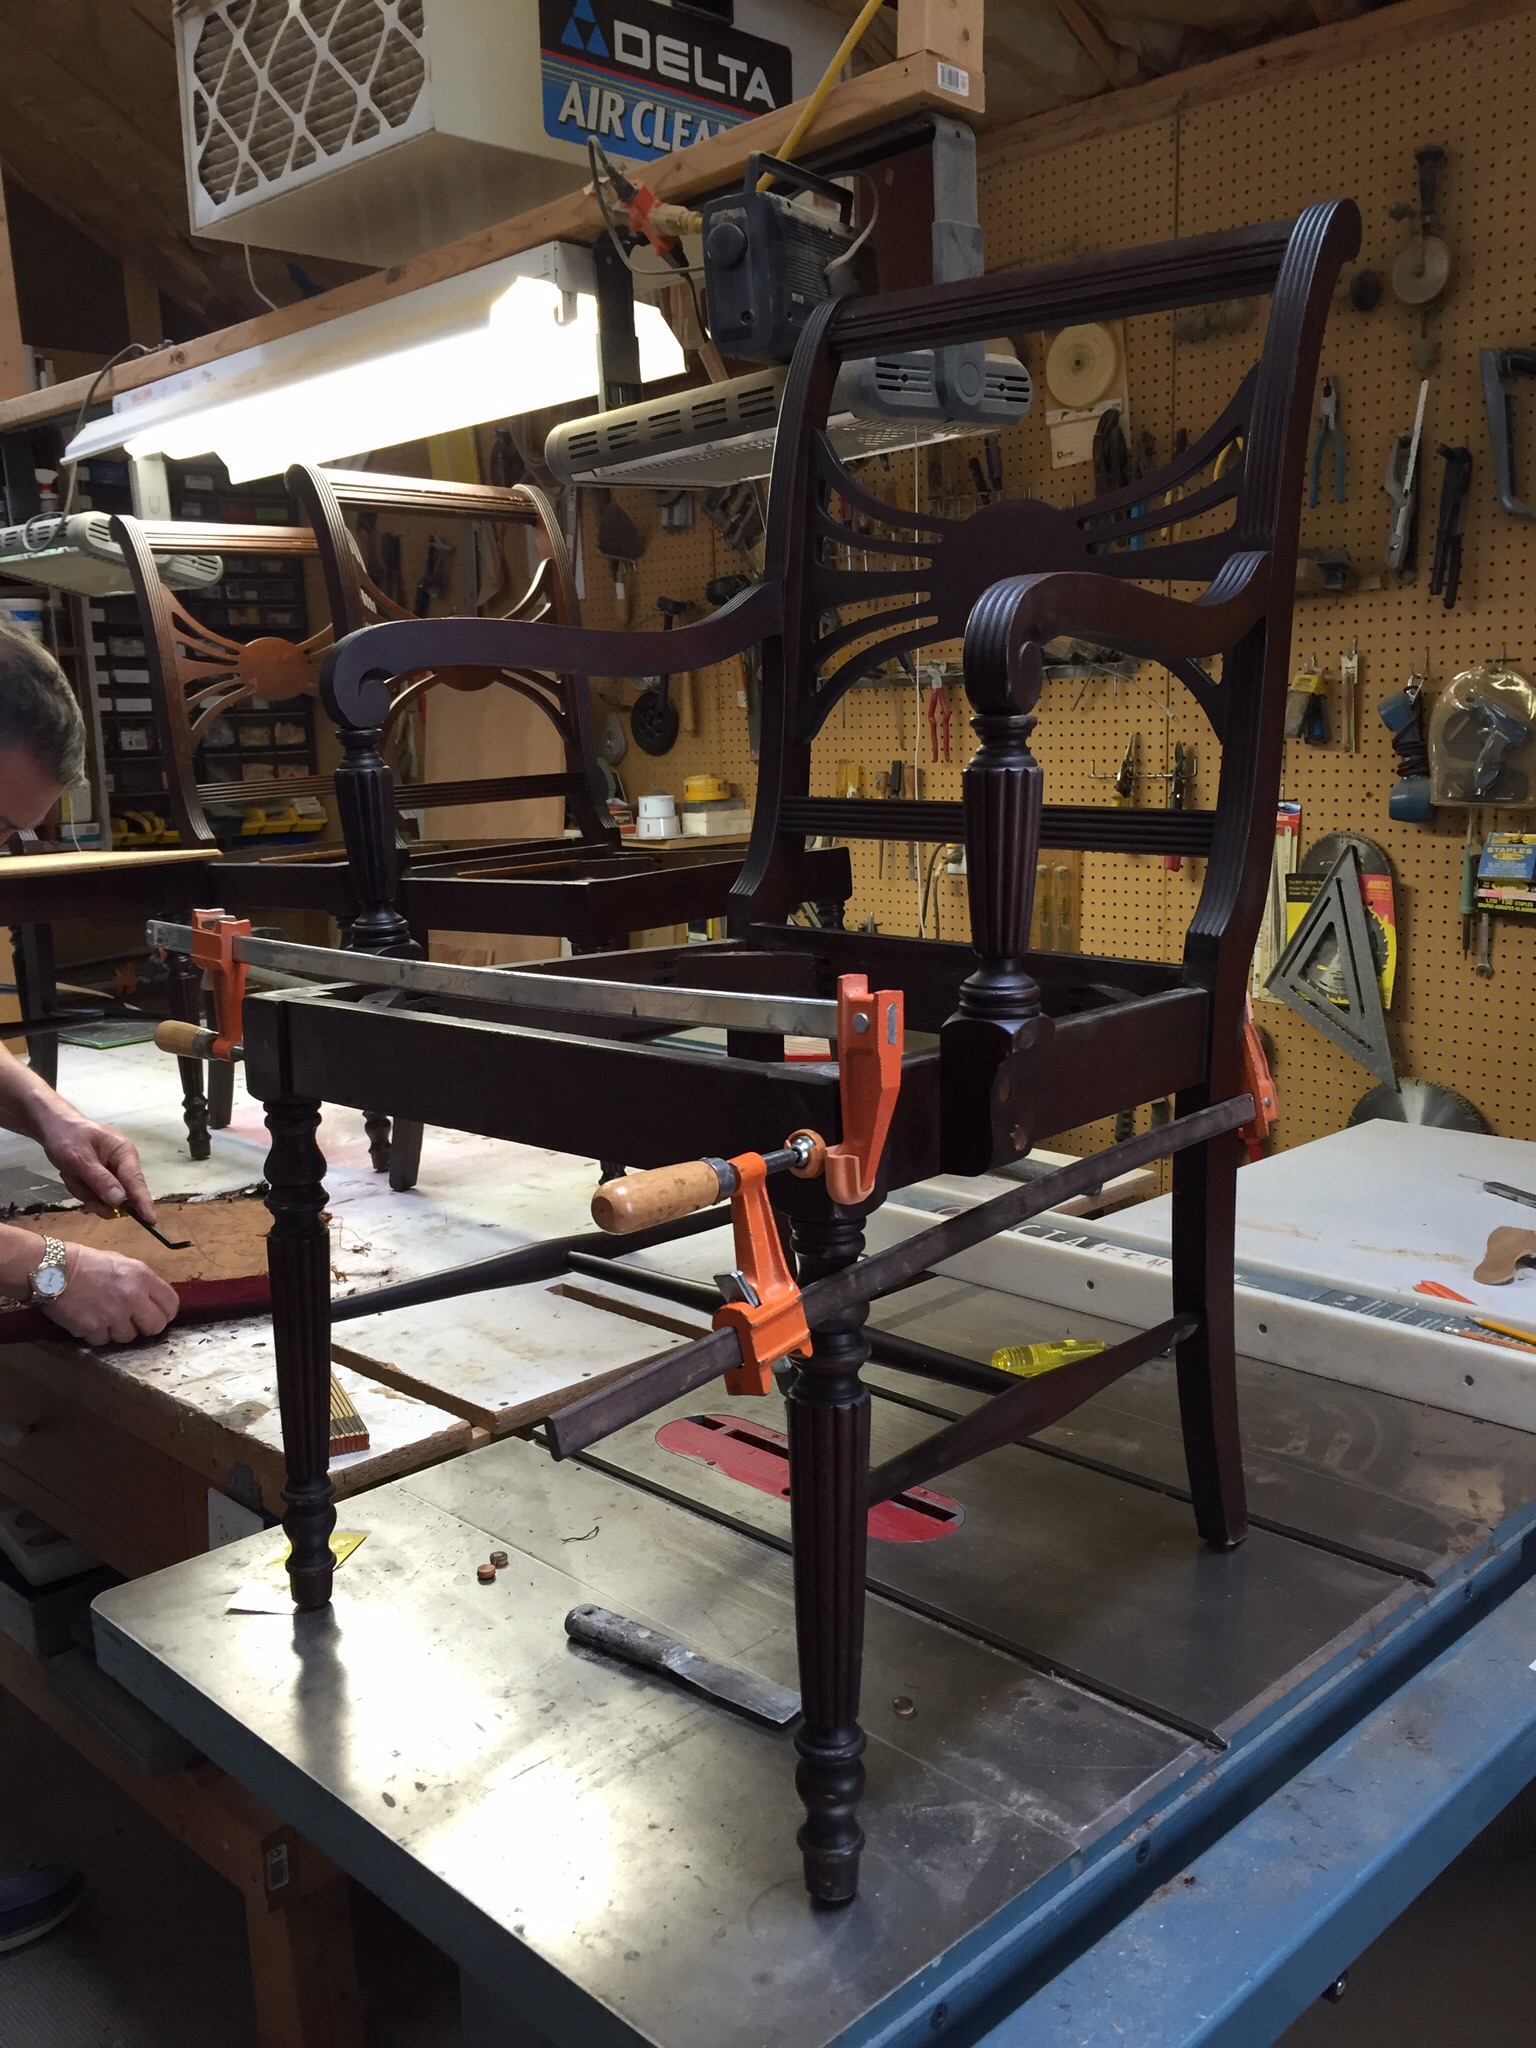
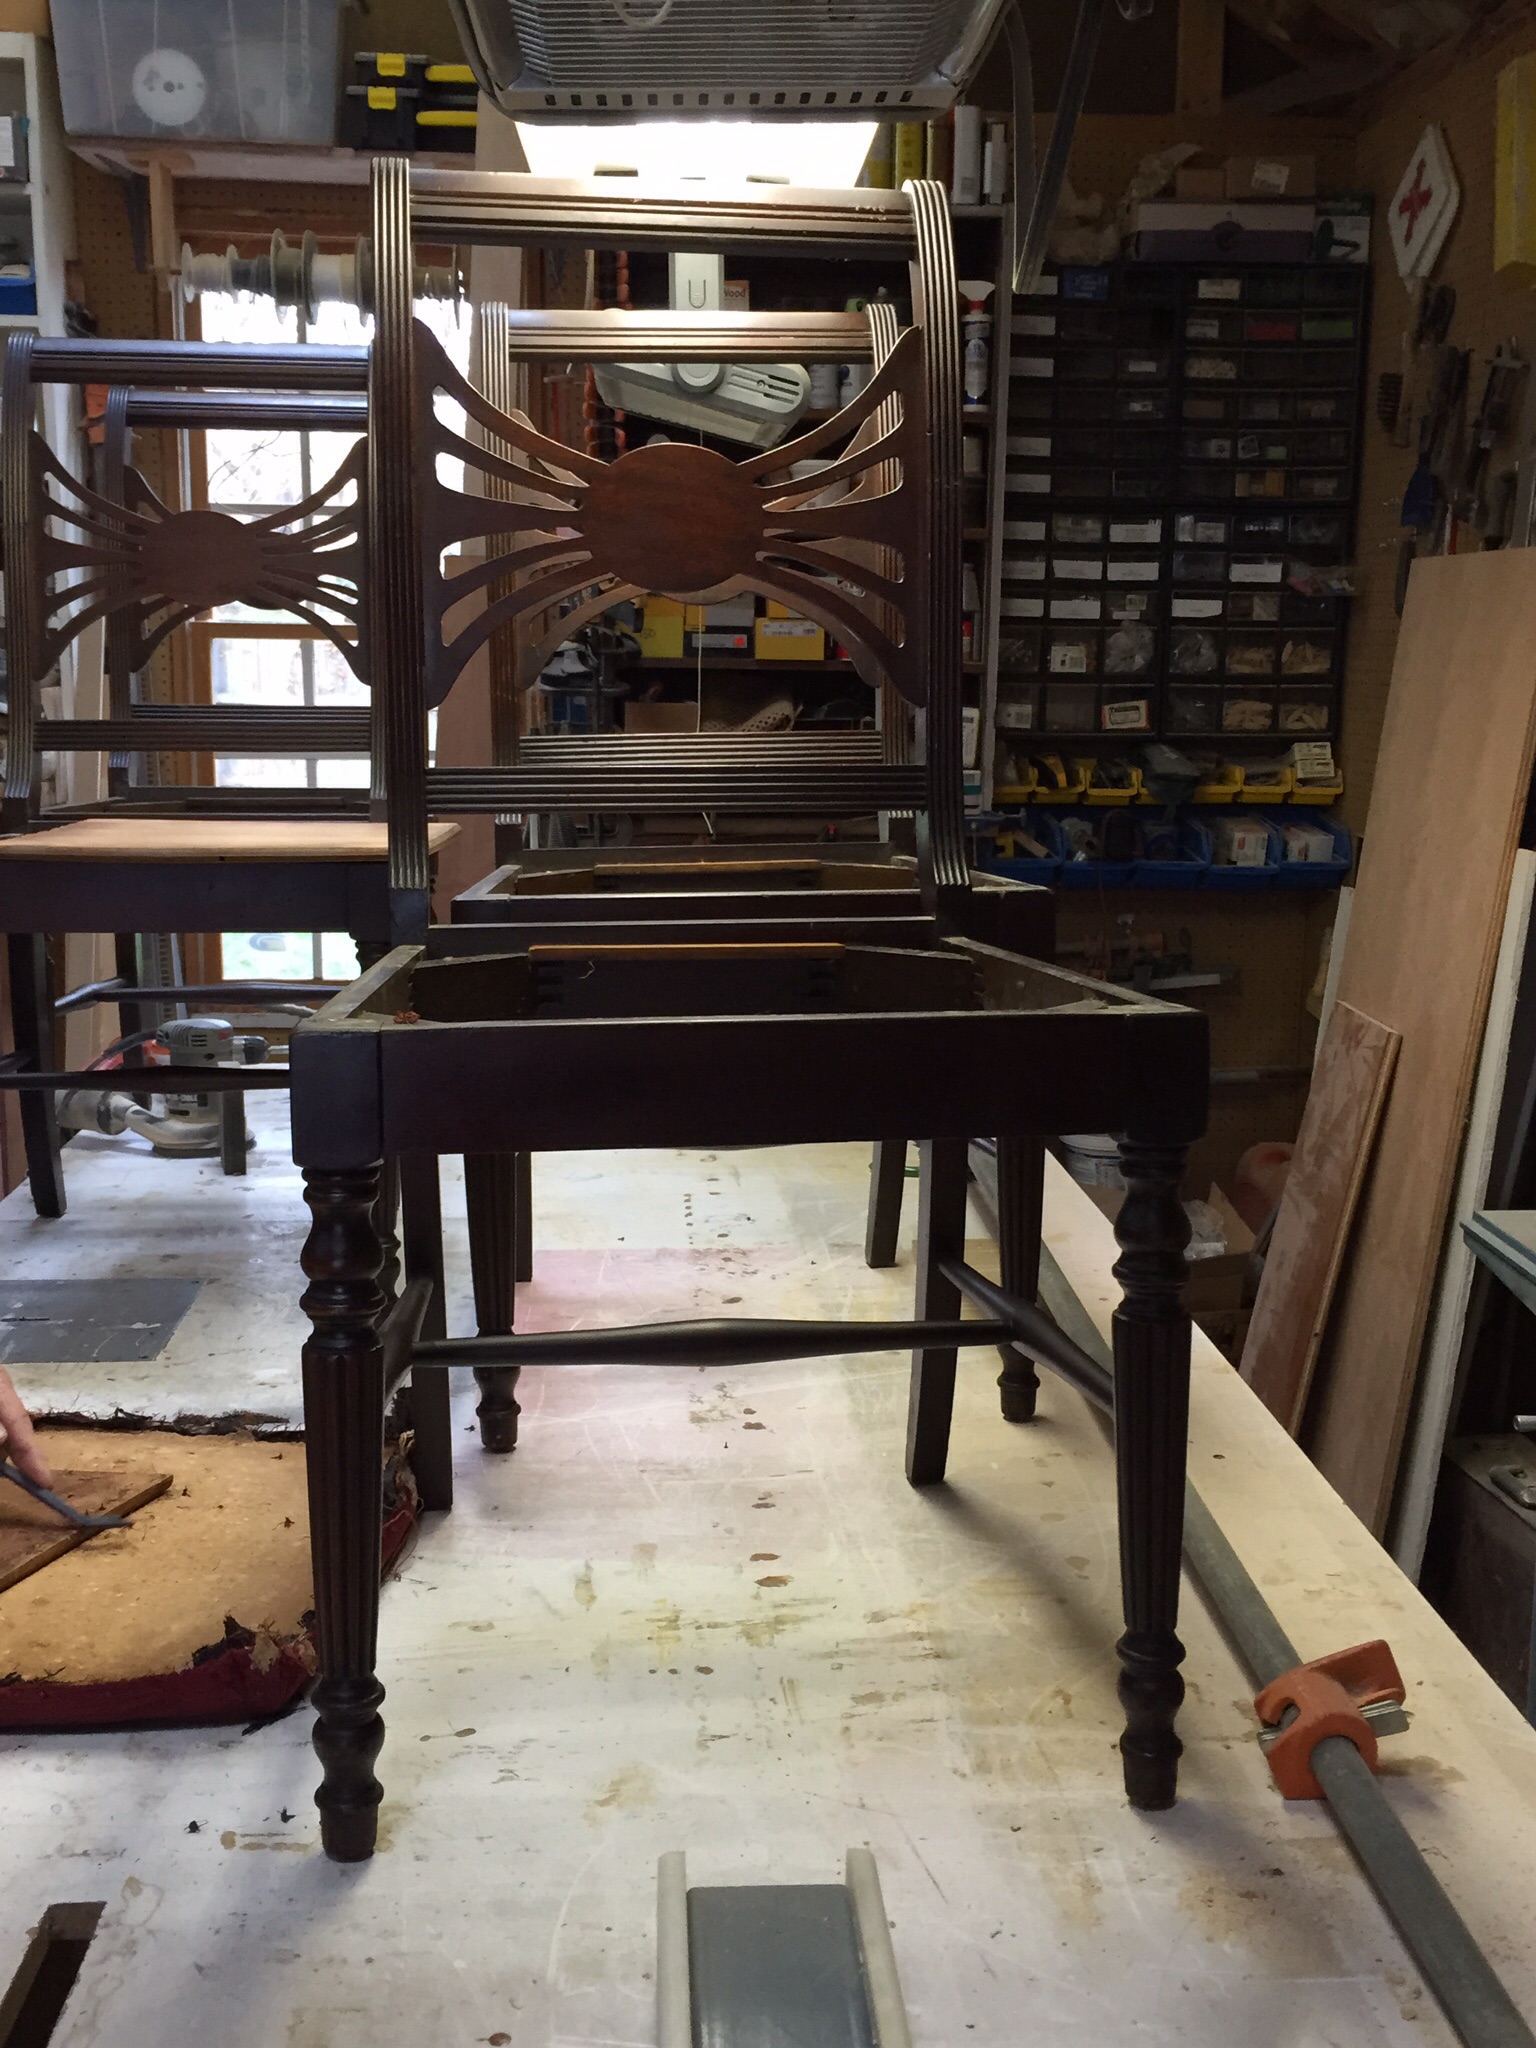
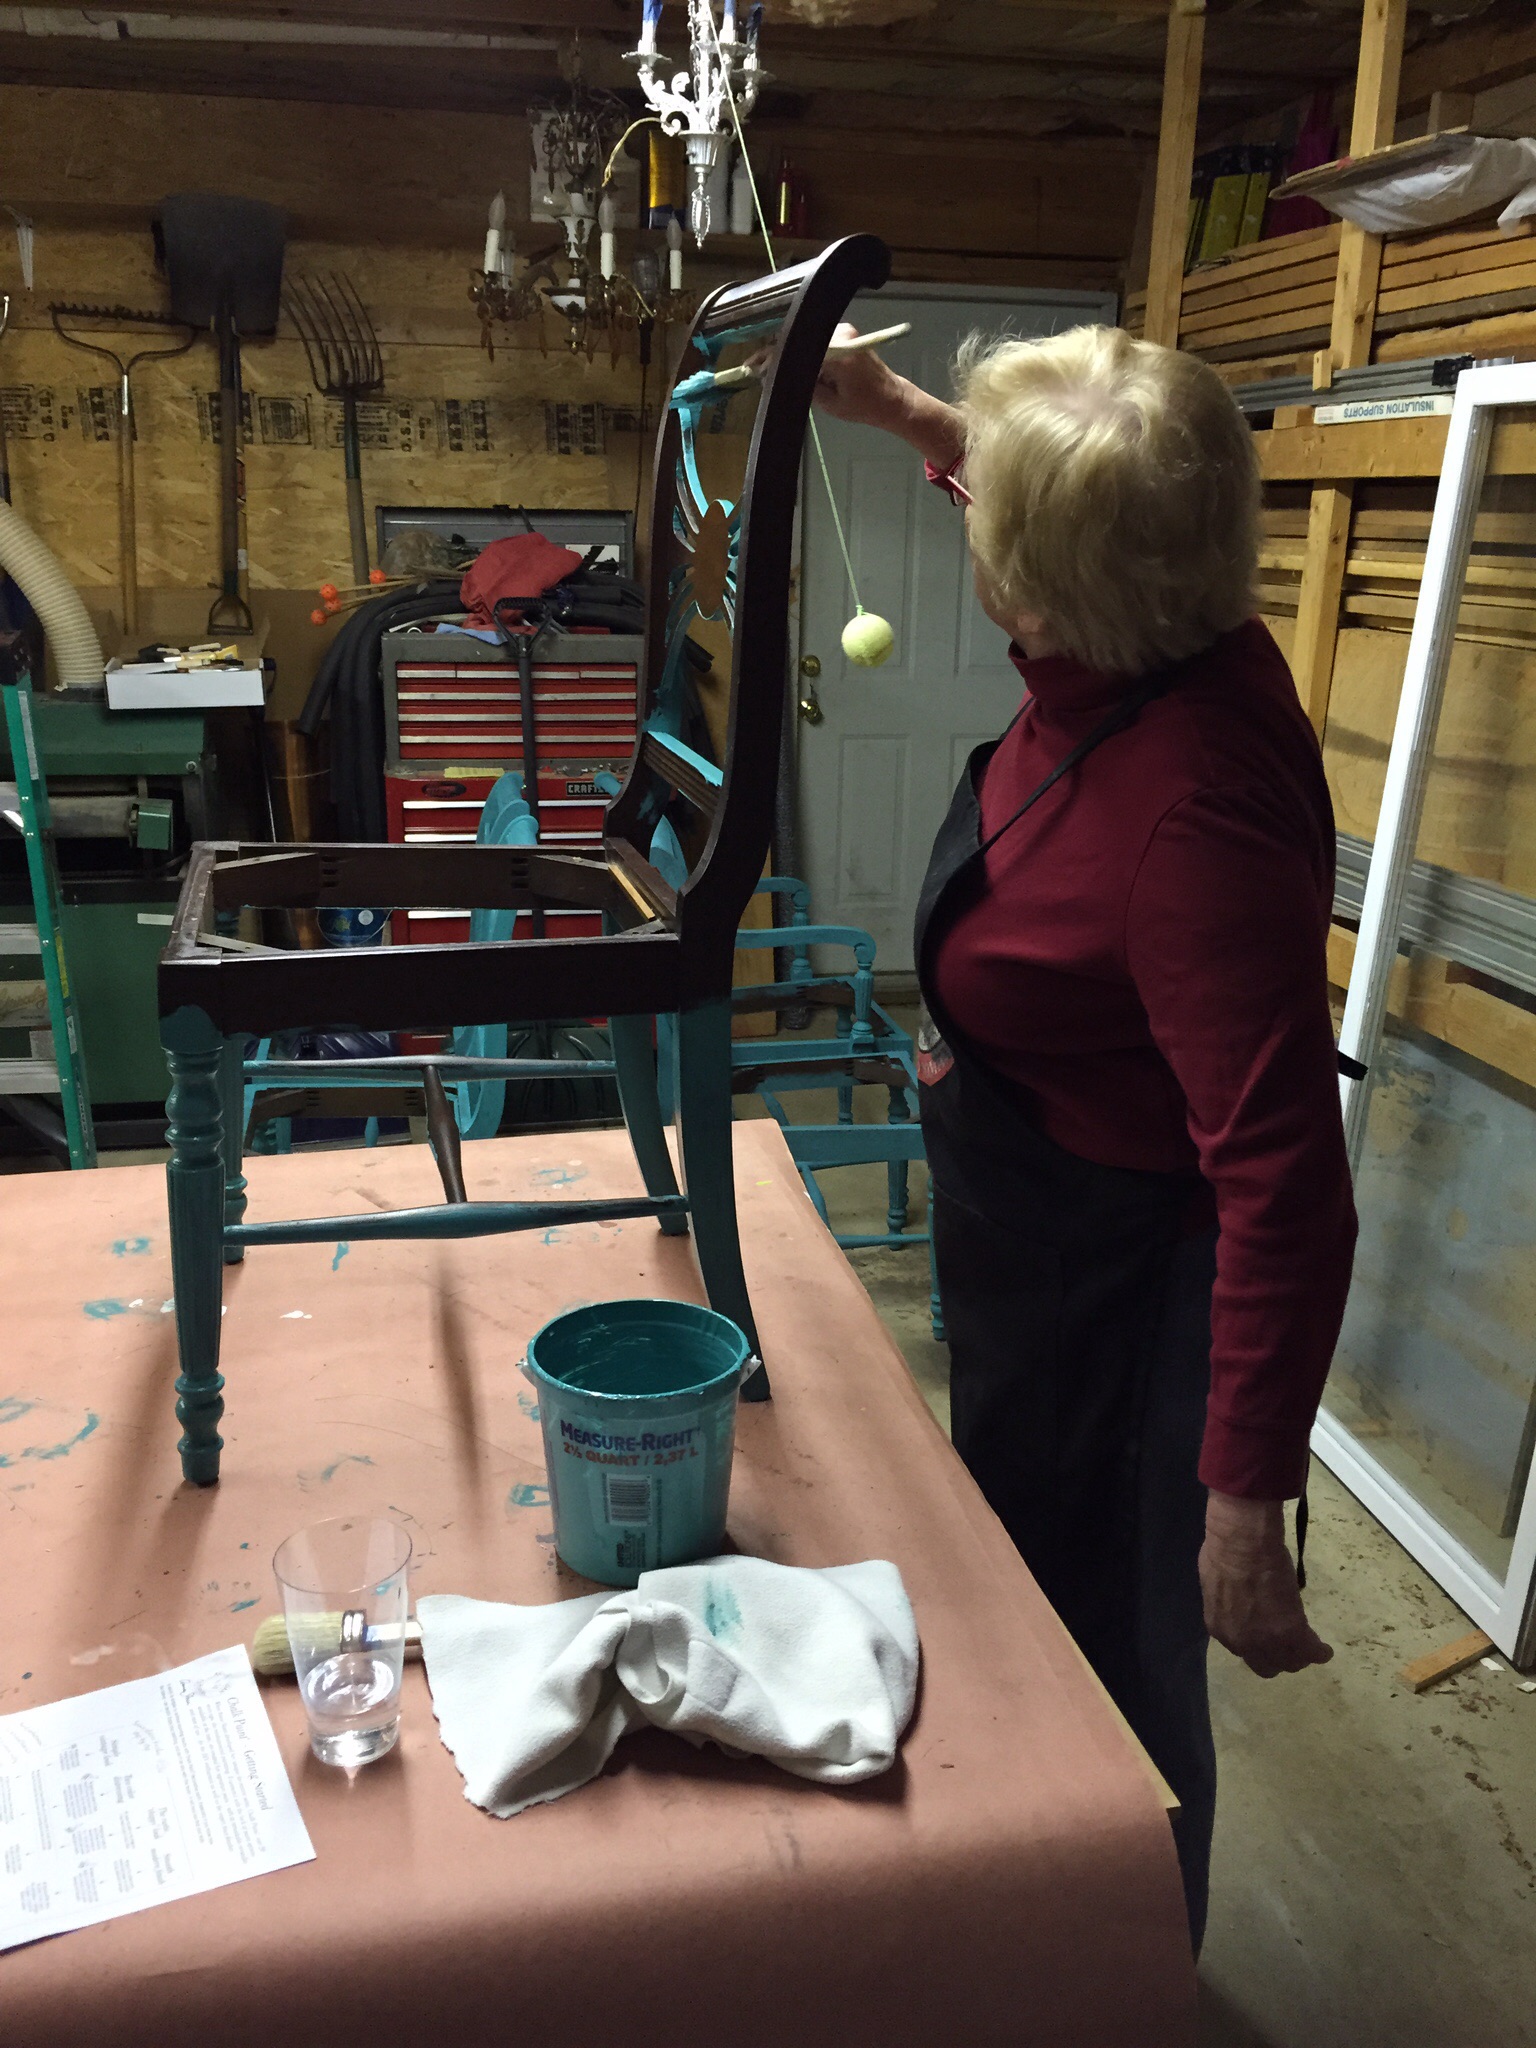
We purchased 6 chairs at auction for the Rivah house dining area in the kitchen and we are in the process of rehabbing the chairs. Chairs were striped of their previous 3 layers of fabric and old batting and new foam and batting will be appliedand we are recovering the seats with fabric on hand. We have cleaned and re glued the frames and applied a first coat of chalk paint to the frames. Estimated final cost for each chair $75.
Notice the crab like pattern on the back of the chairs, how appropriate. For the Rivah house.
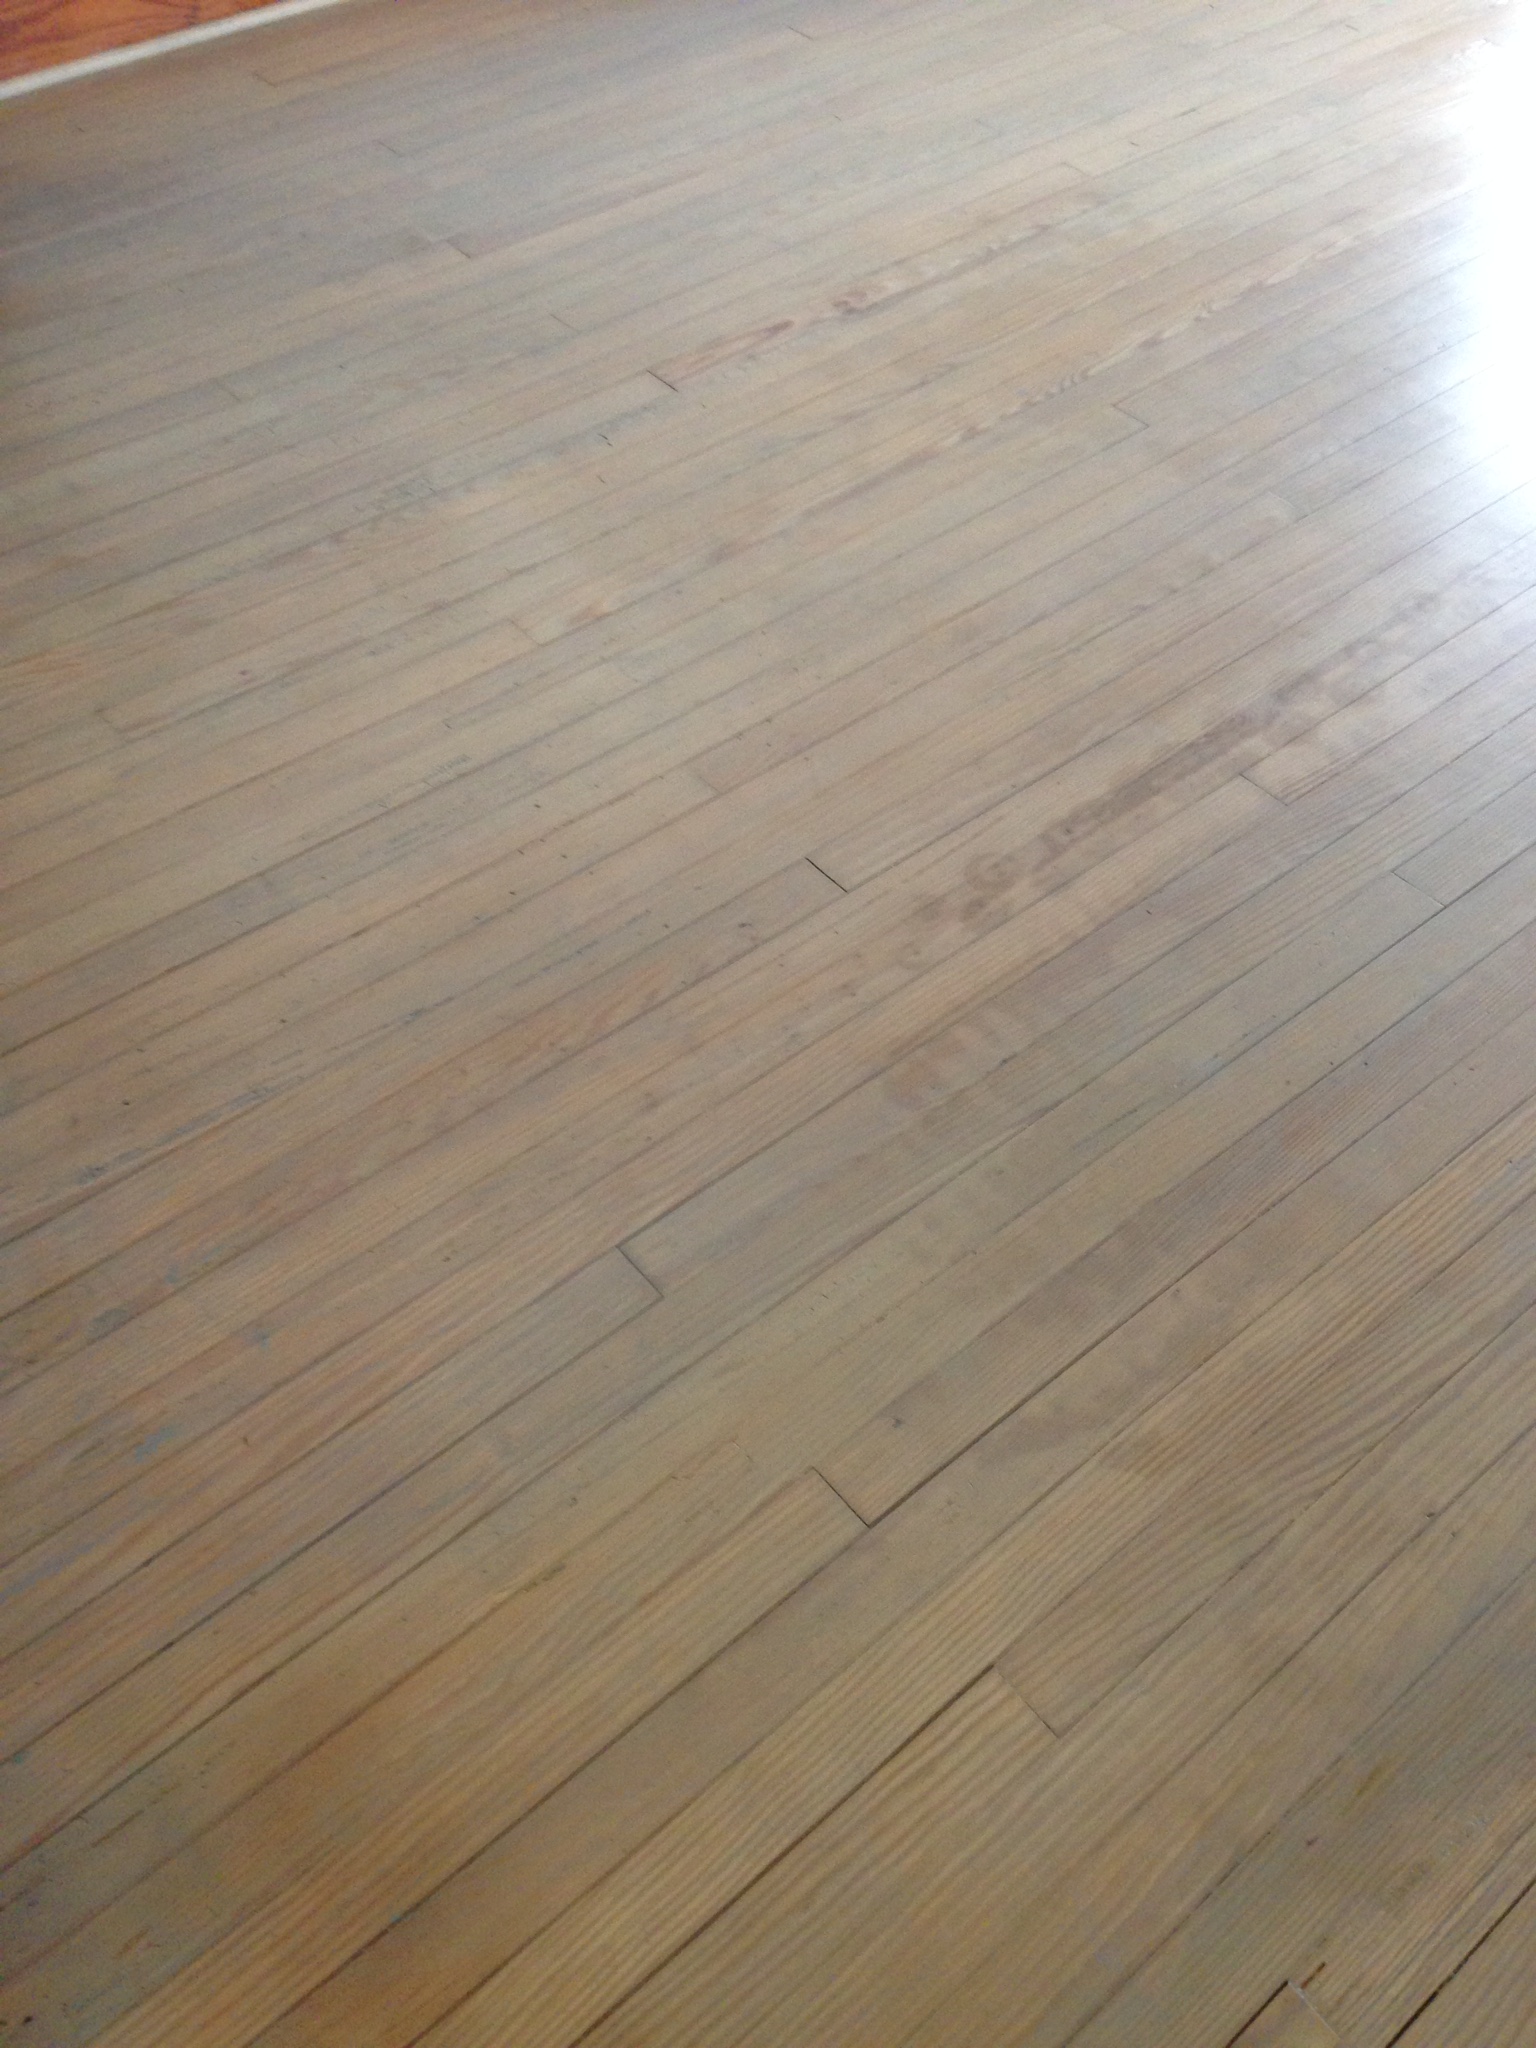
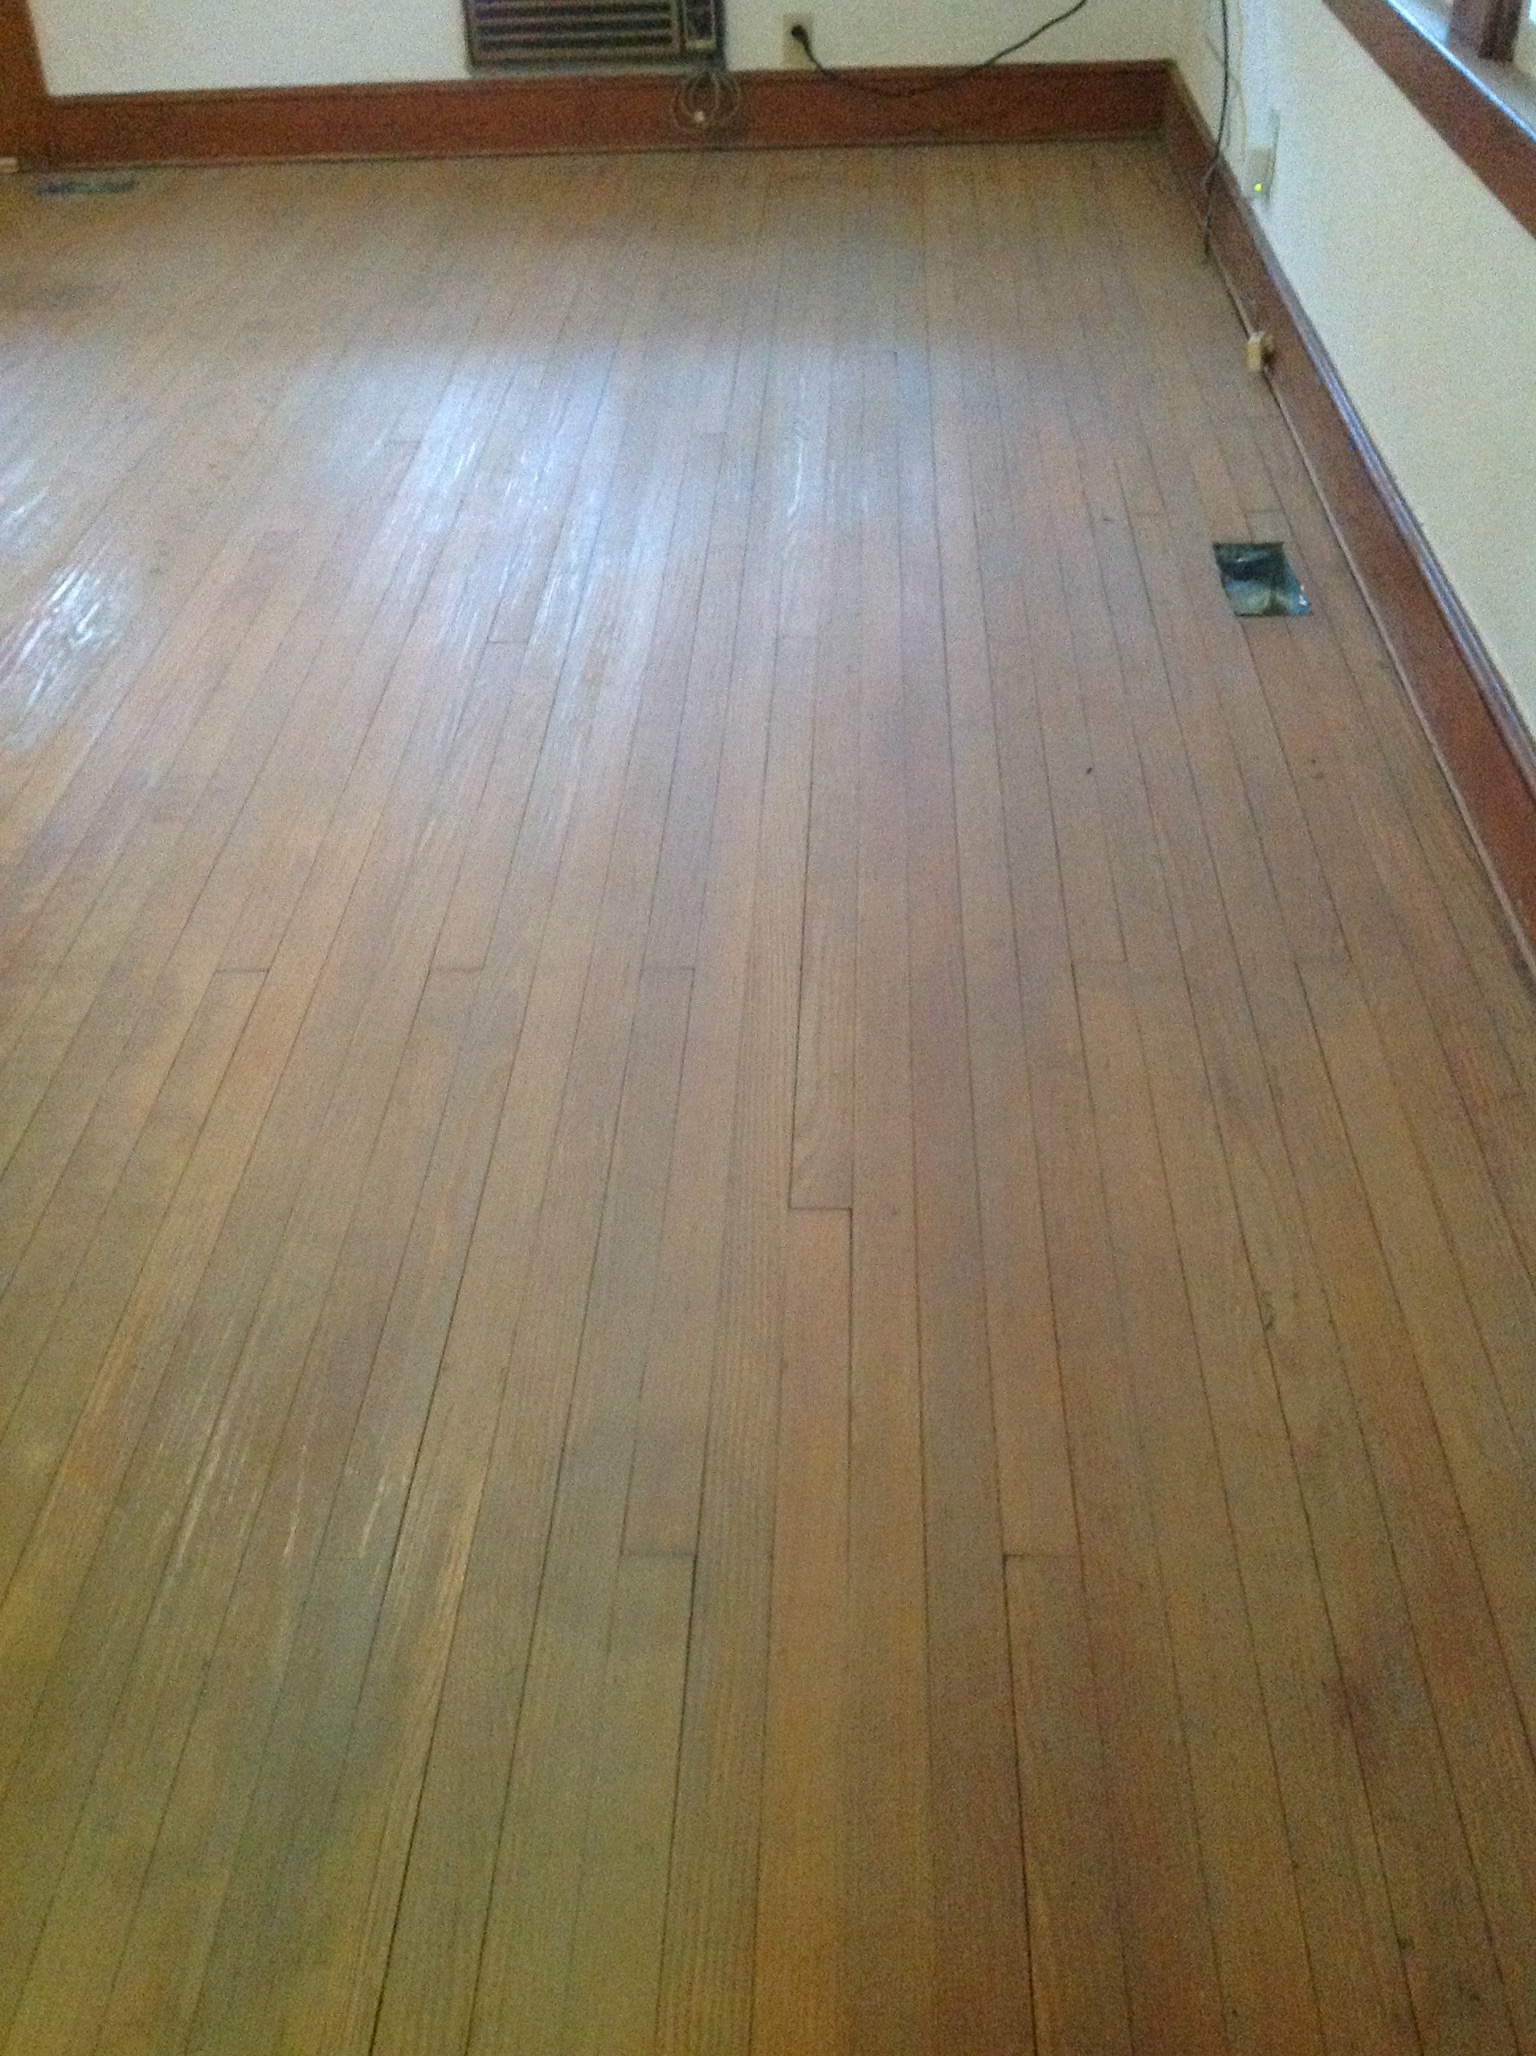
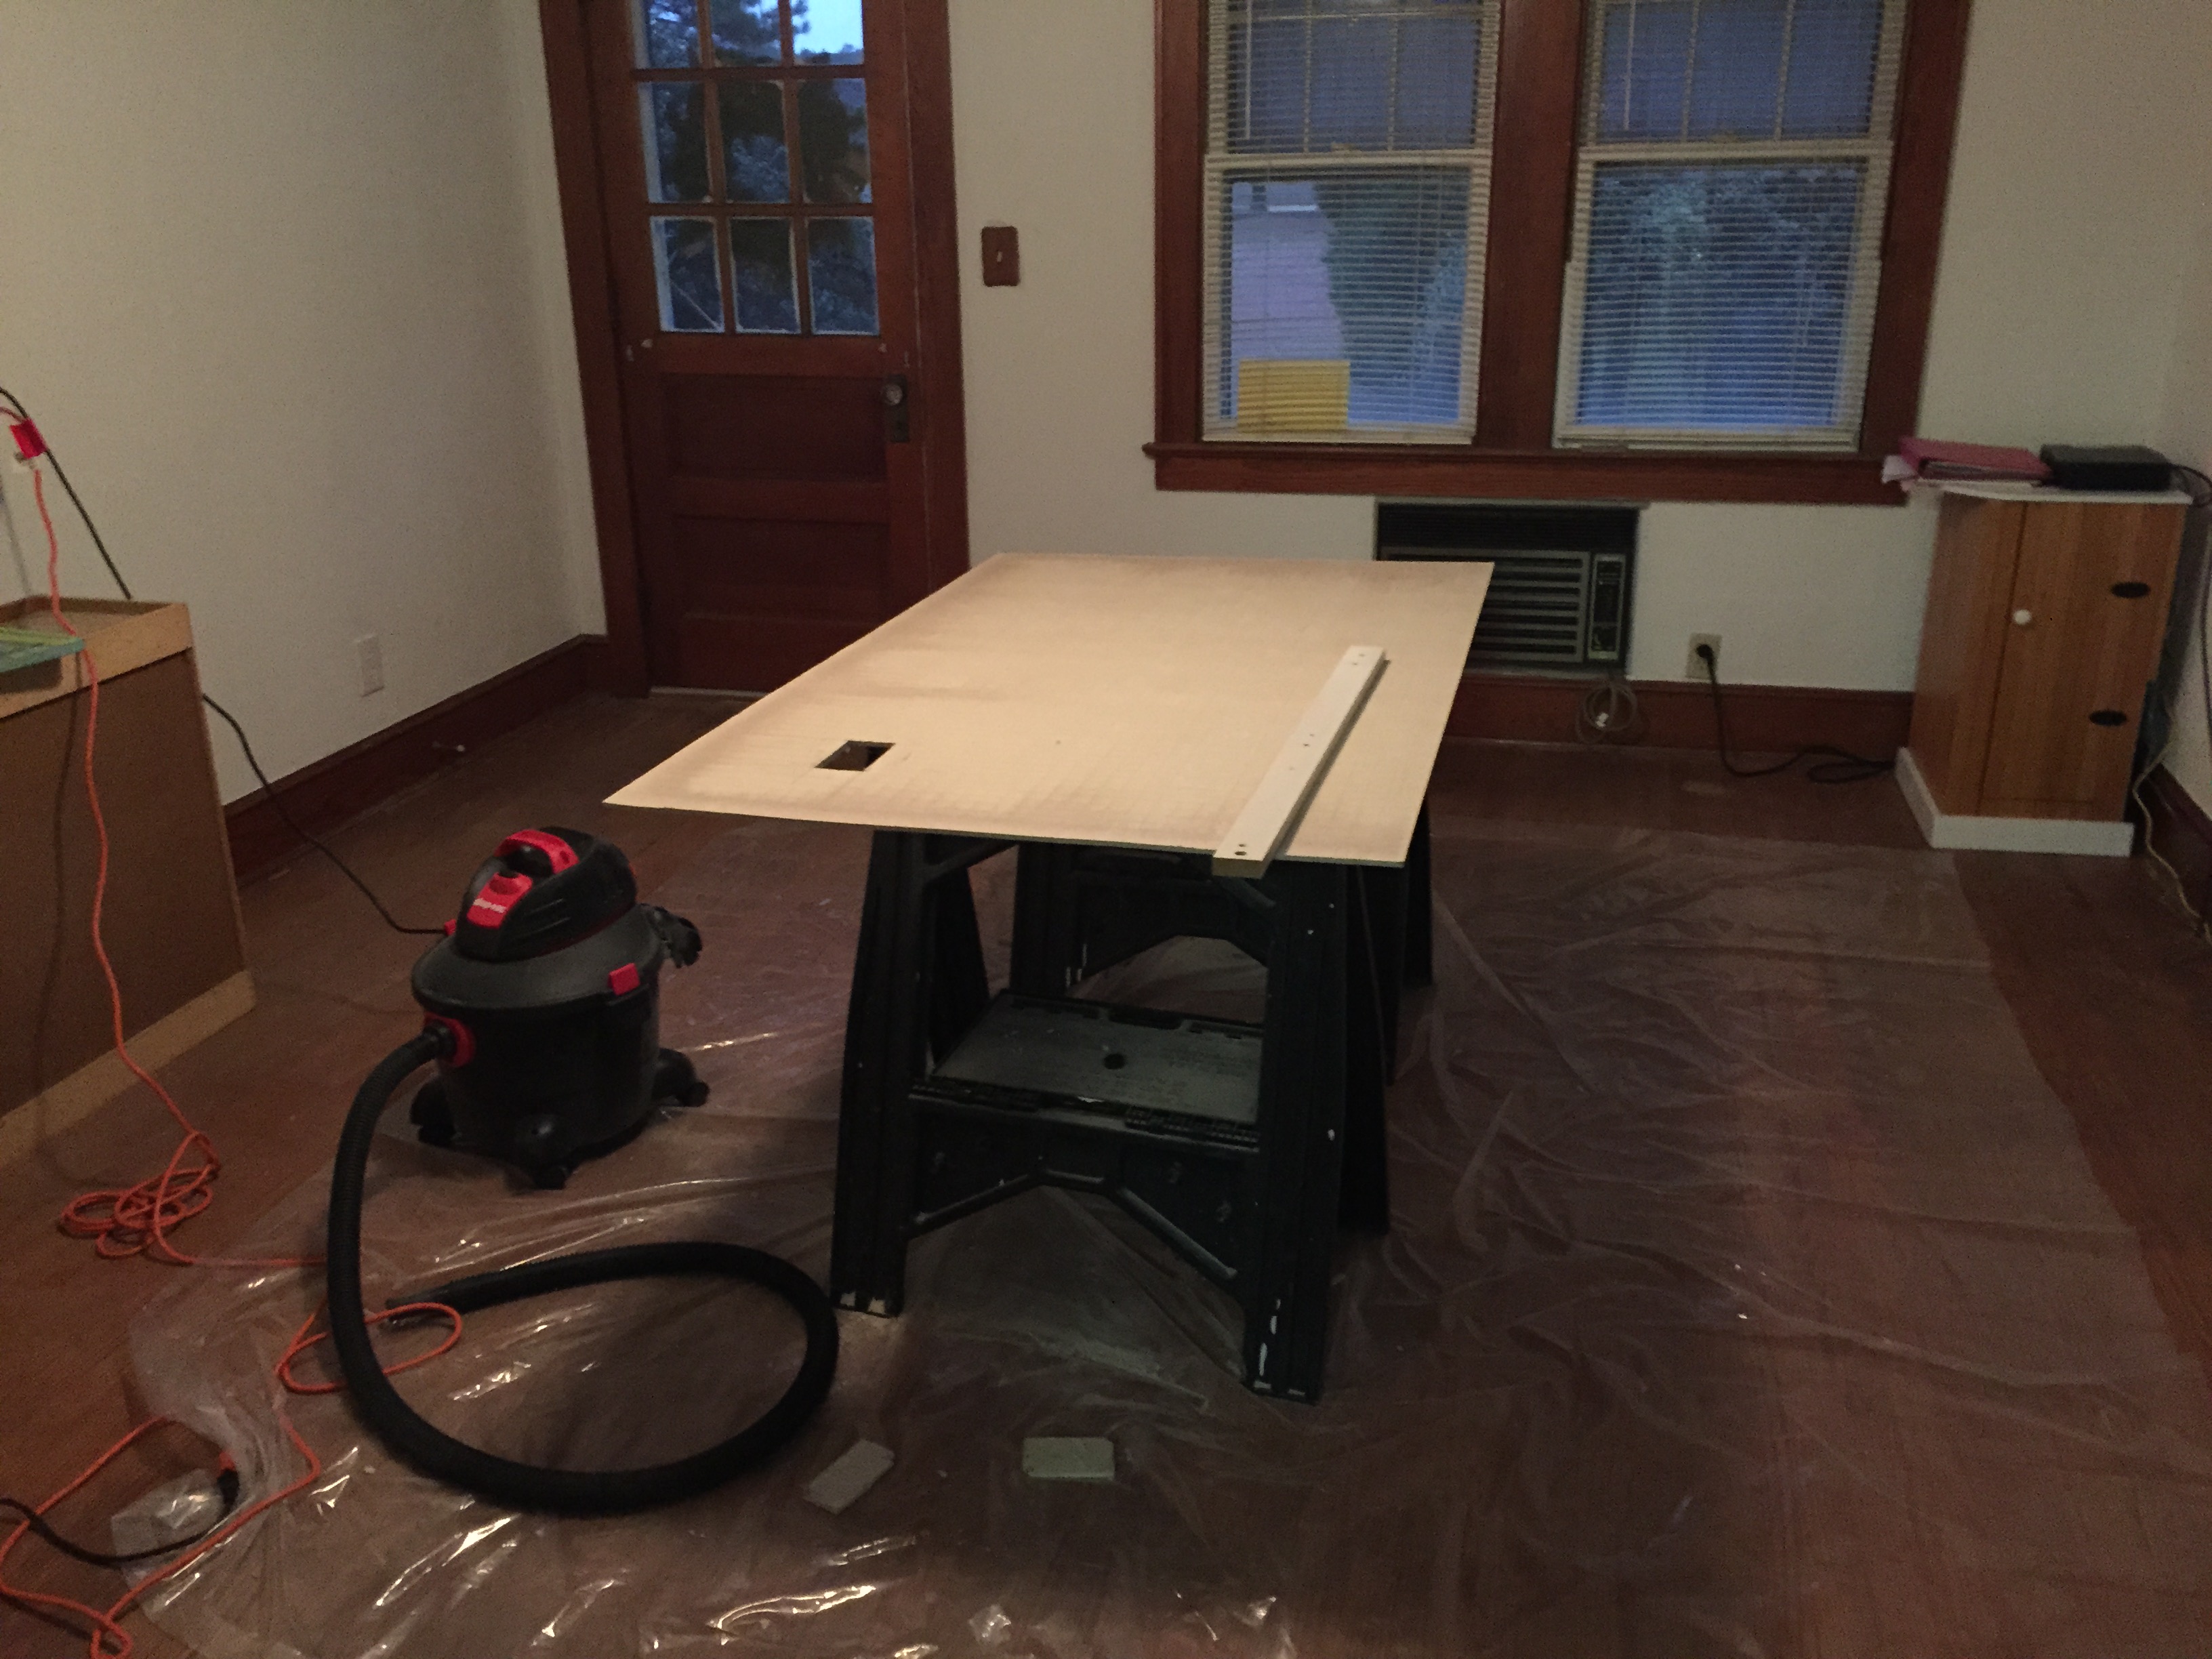
The floor refinishing was completed today with the final coat of Bona Traffic finish applied. Now sever days to cure completely so the furniture will go back on or about January 29.
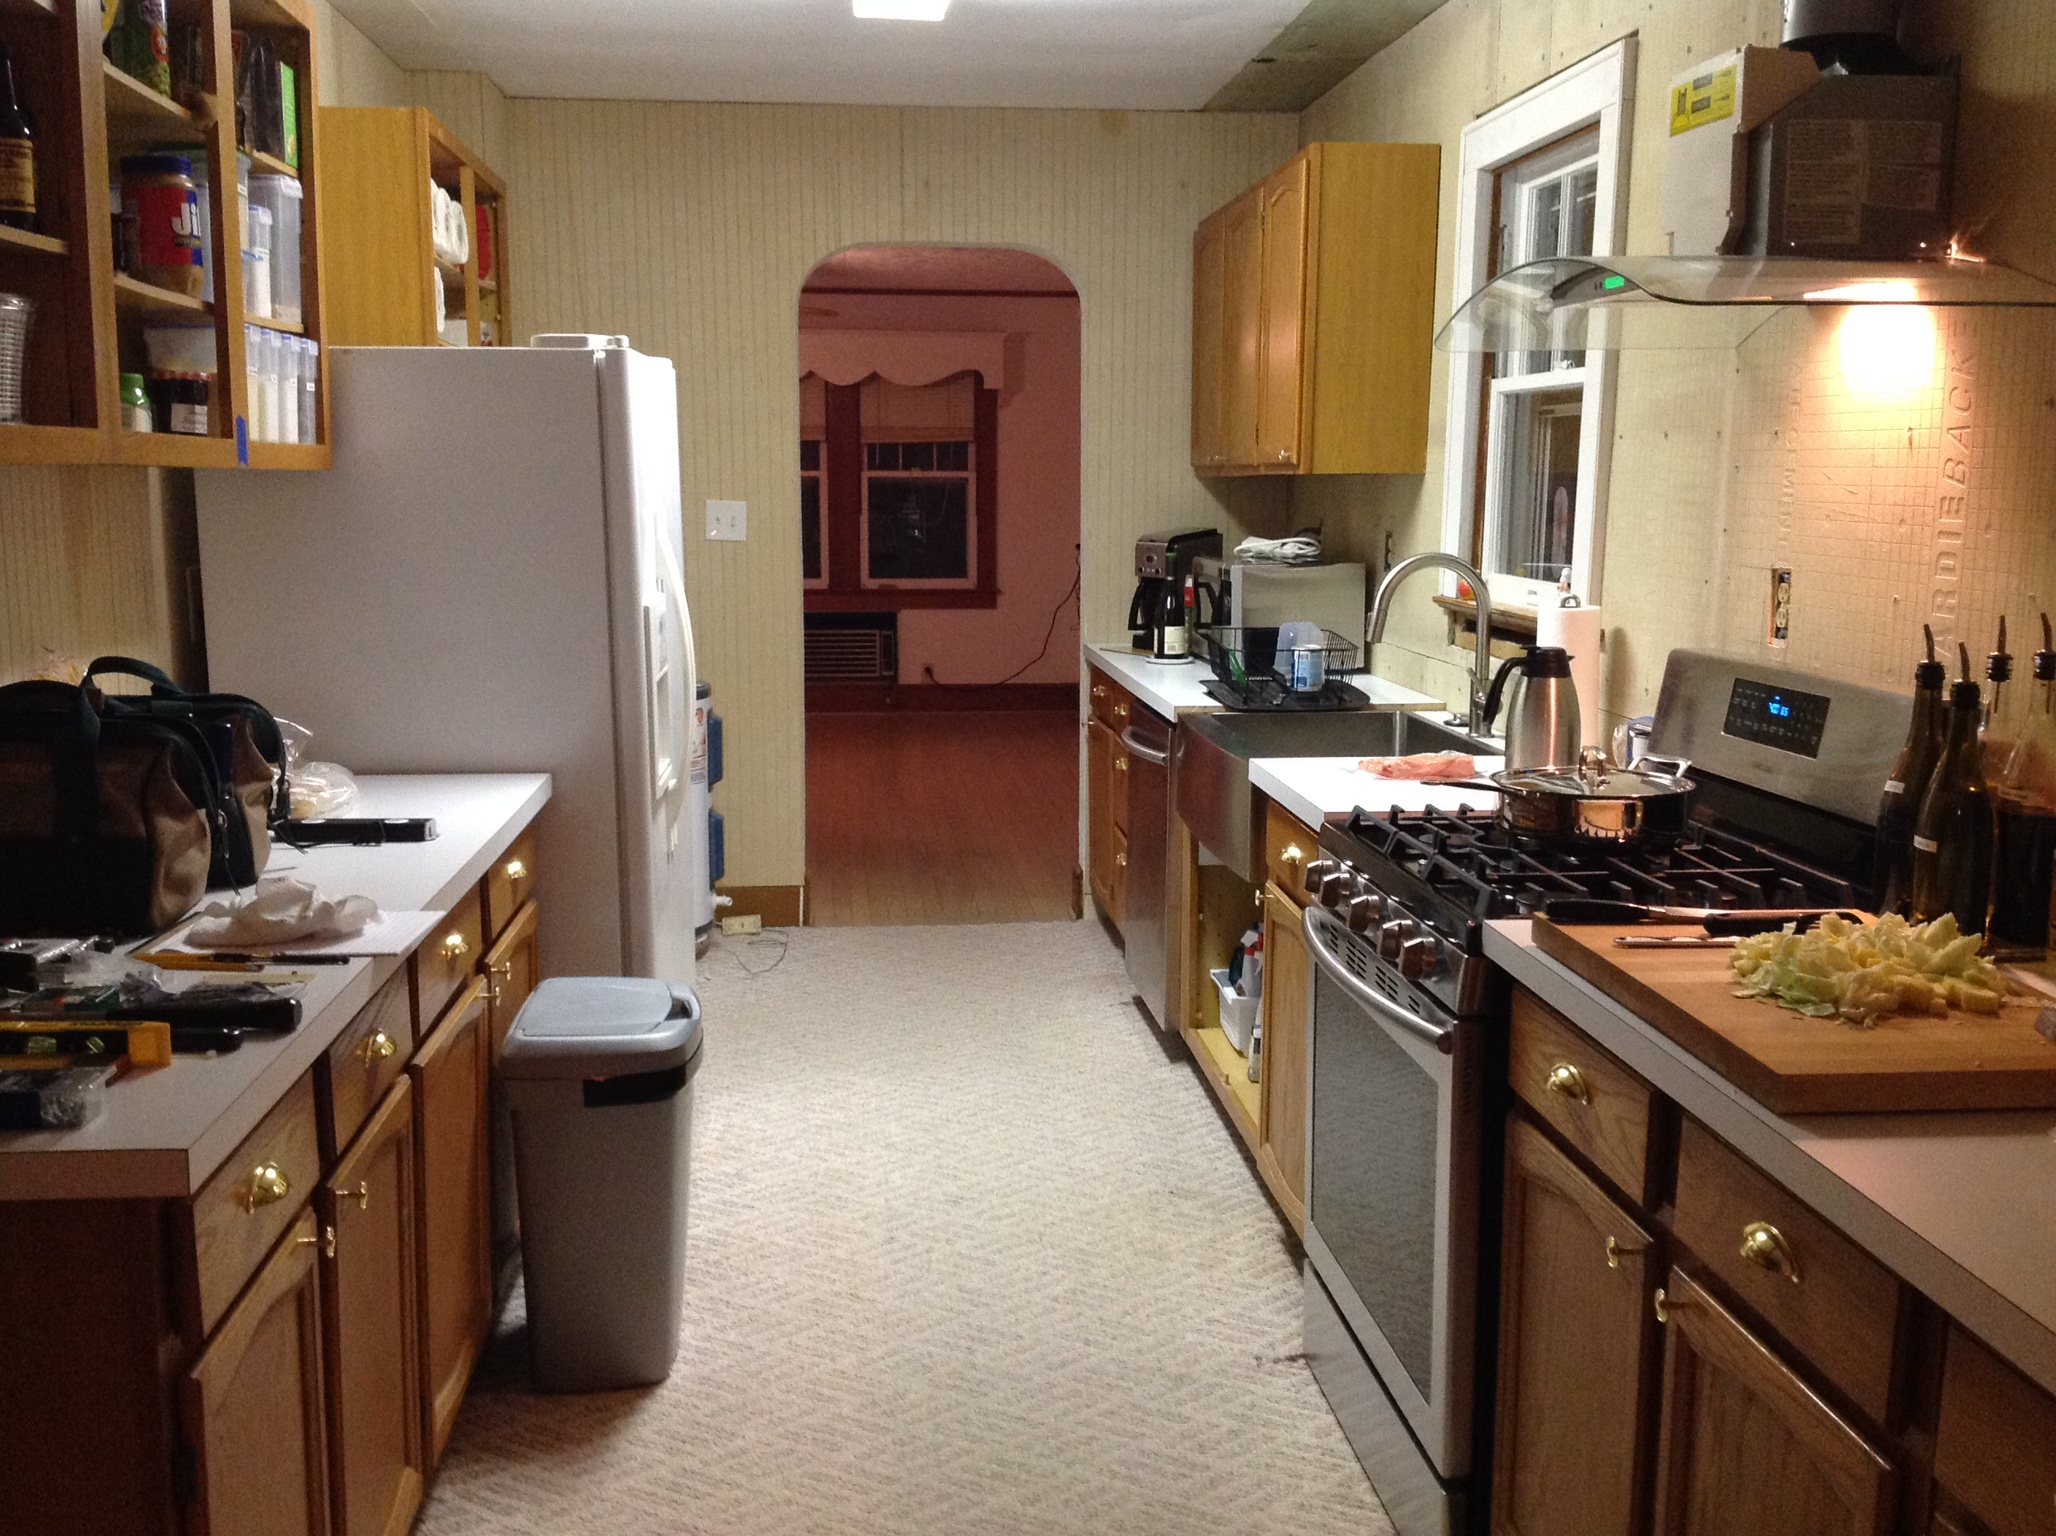
We finished the majority of the bead-board paneling today, only 2 small pieces yet to be applied tomorrow. We were able to rehang the cabinets and got the kitchen pretty much squared away, we sill have to reinstall the cabinet doors and add a small pice of sheet rock and hardi-board behind the sink.
Hopefully we can move the majority of the tools back to the garage.
The next project is to fabricate beams for the ceiling and install beard board on the ceiling. The granite people are coming on 1/20 to measure and on 1/29 to install them we subway tile the west wall and call the kitchen complete. Oh I forgot the floors still need to installed, hopefully by others. We do have the floor in the garage.
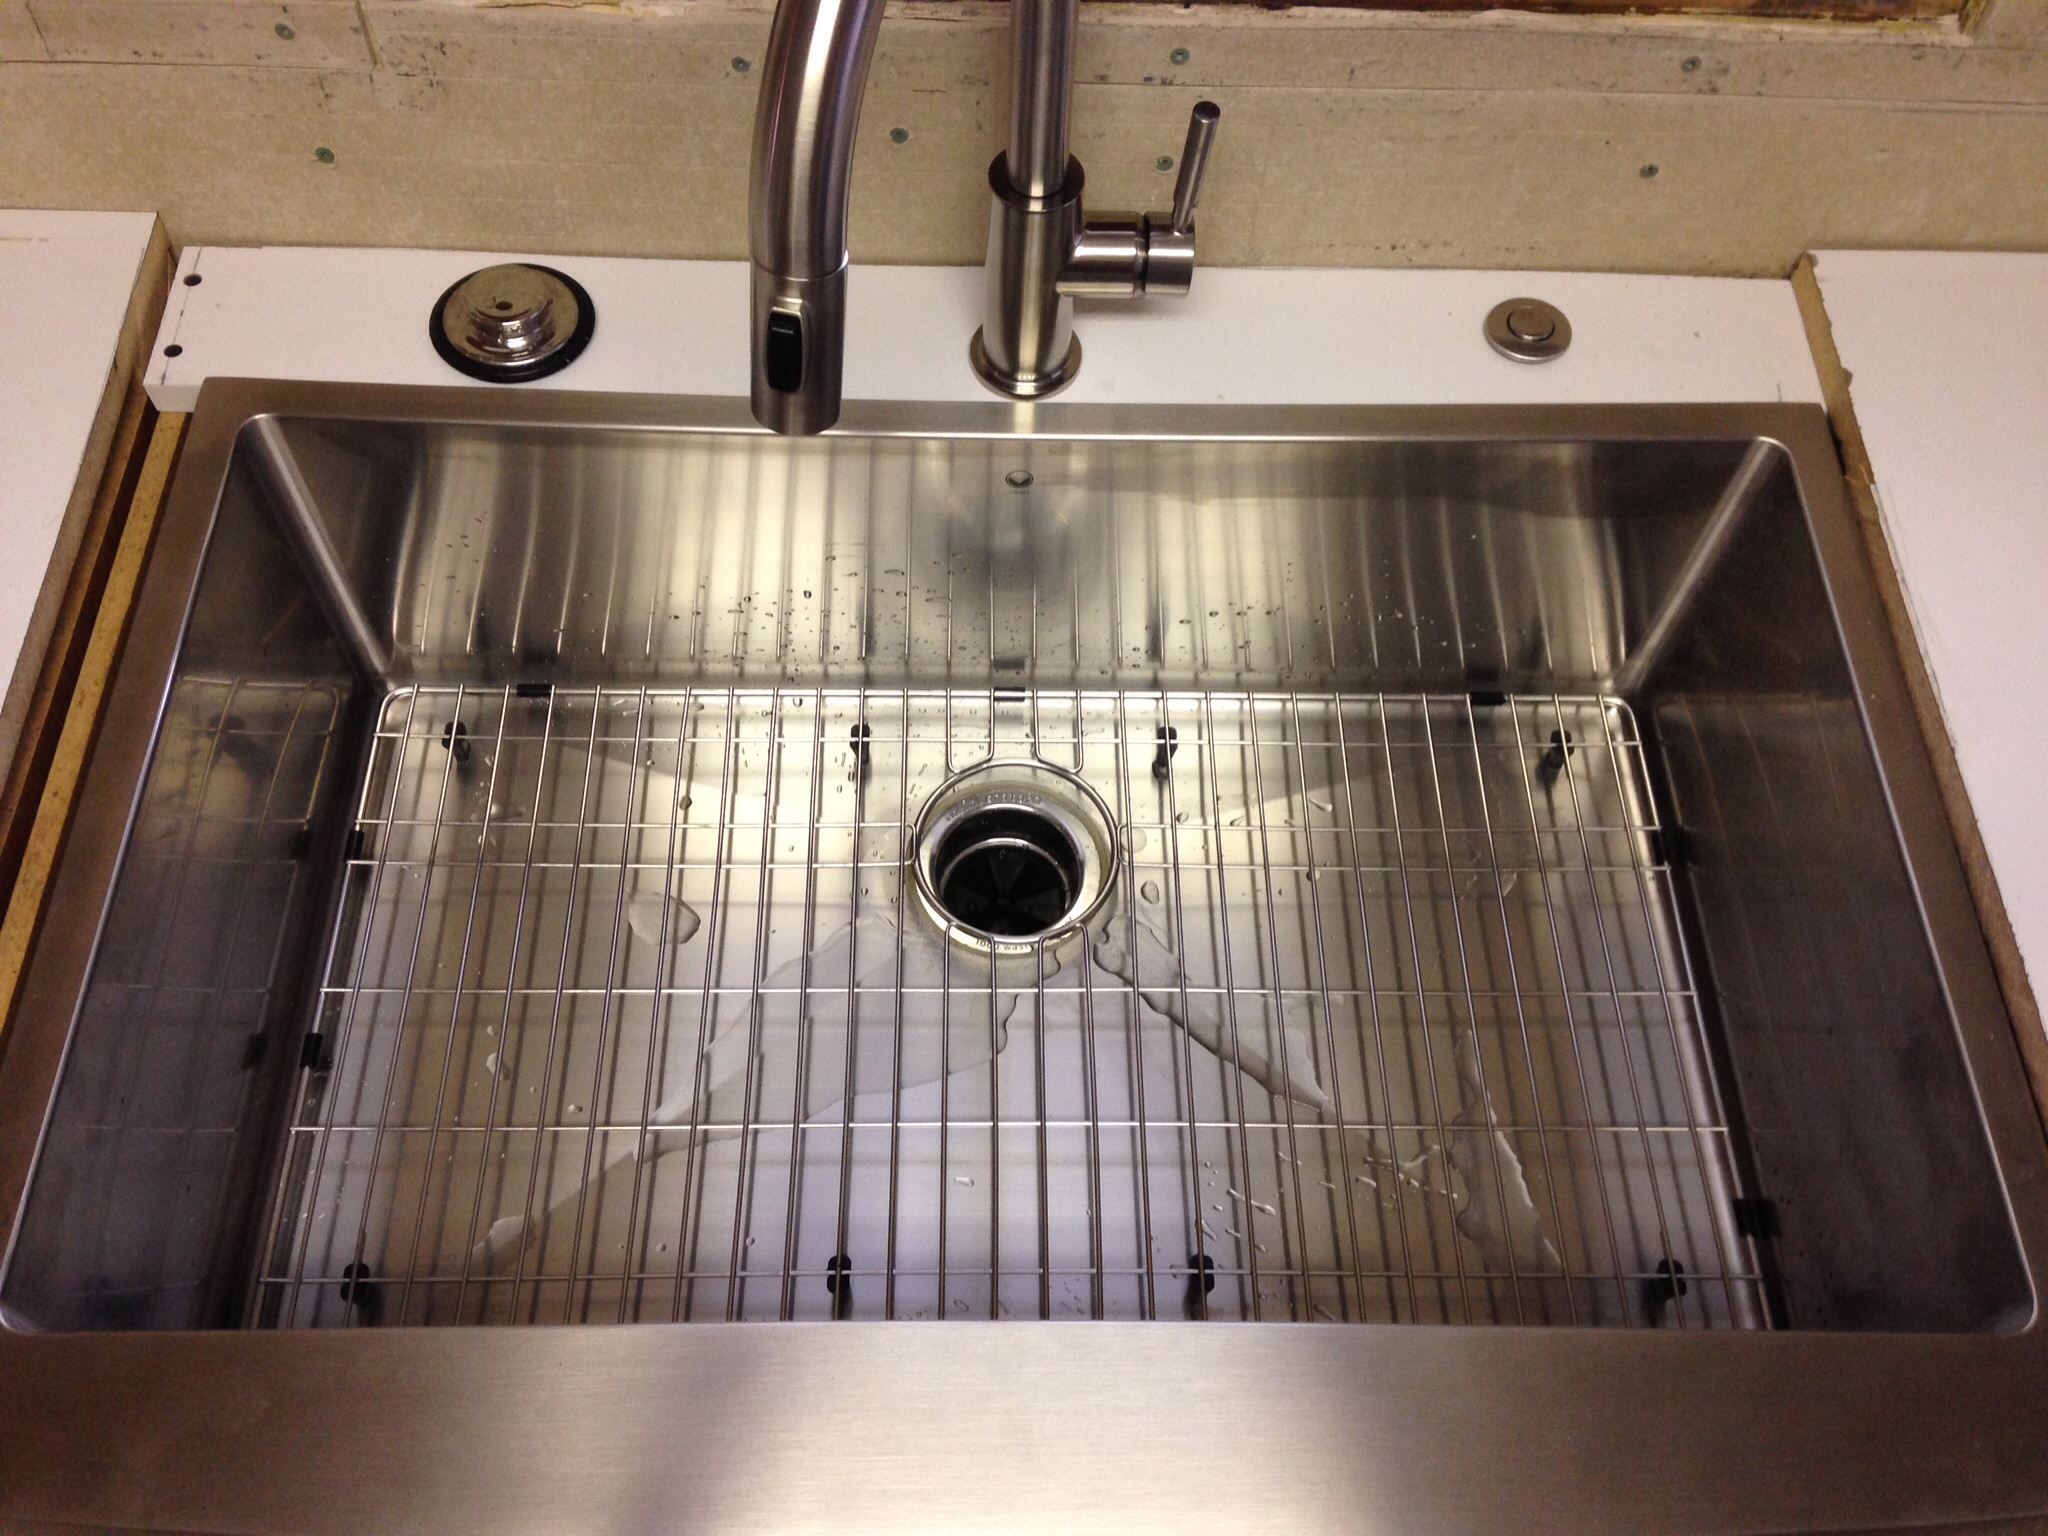
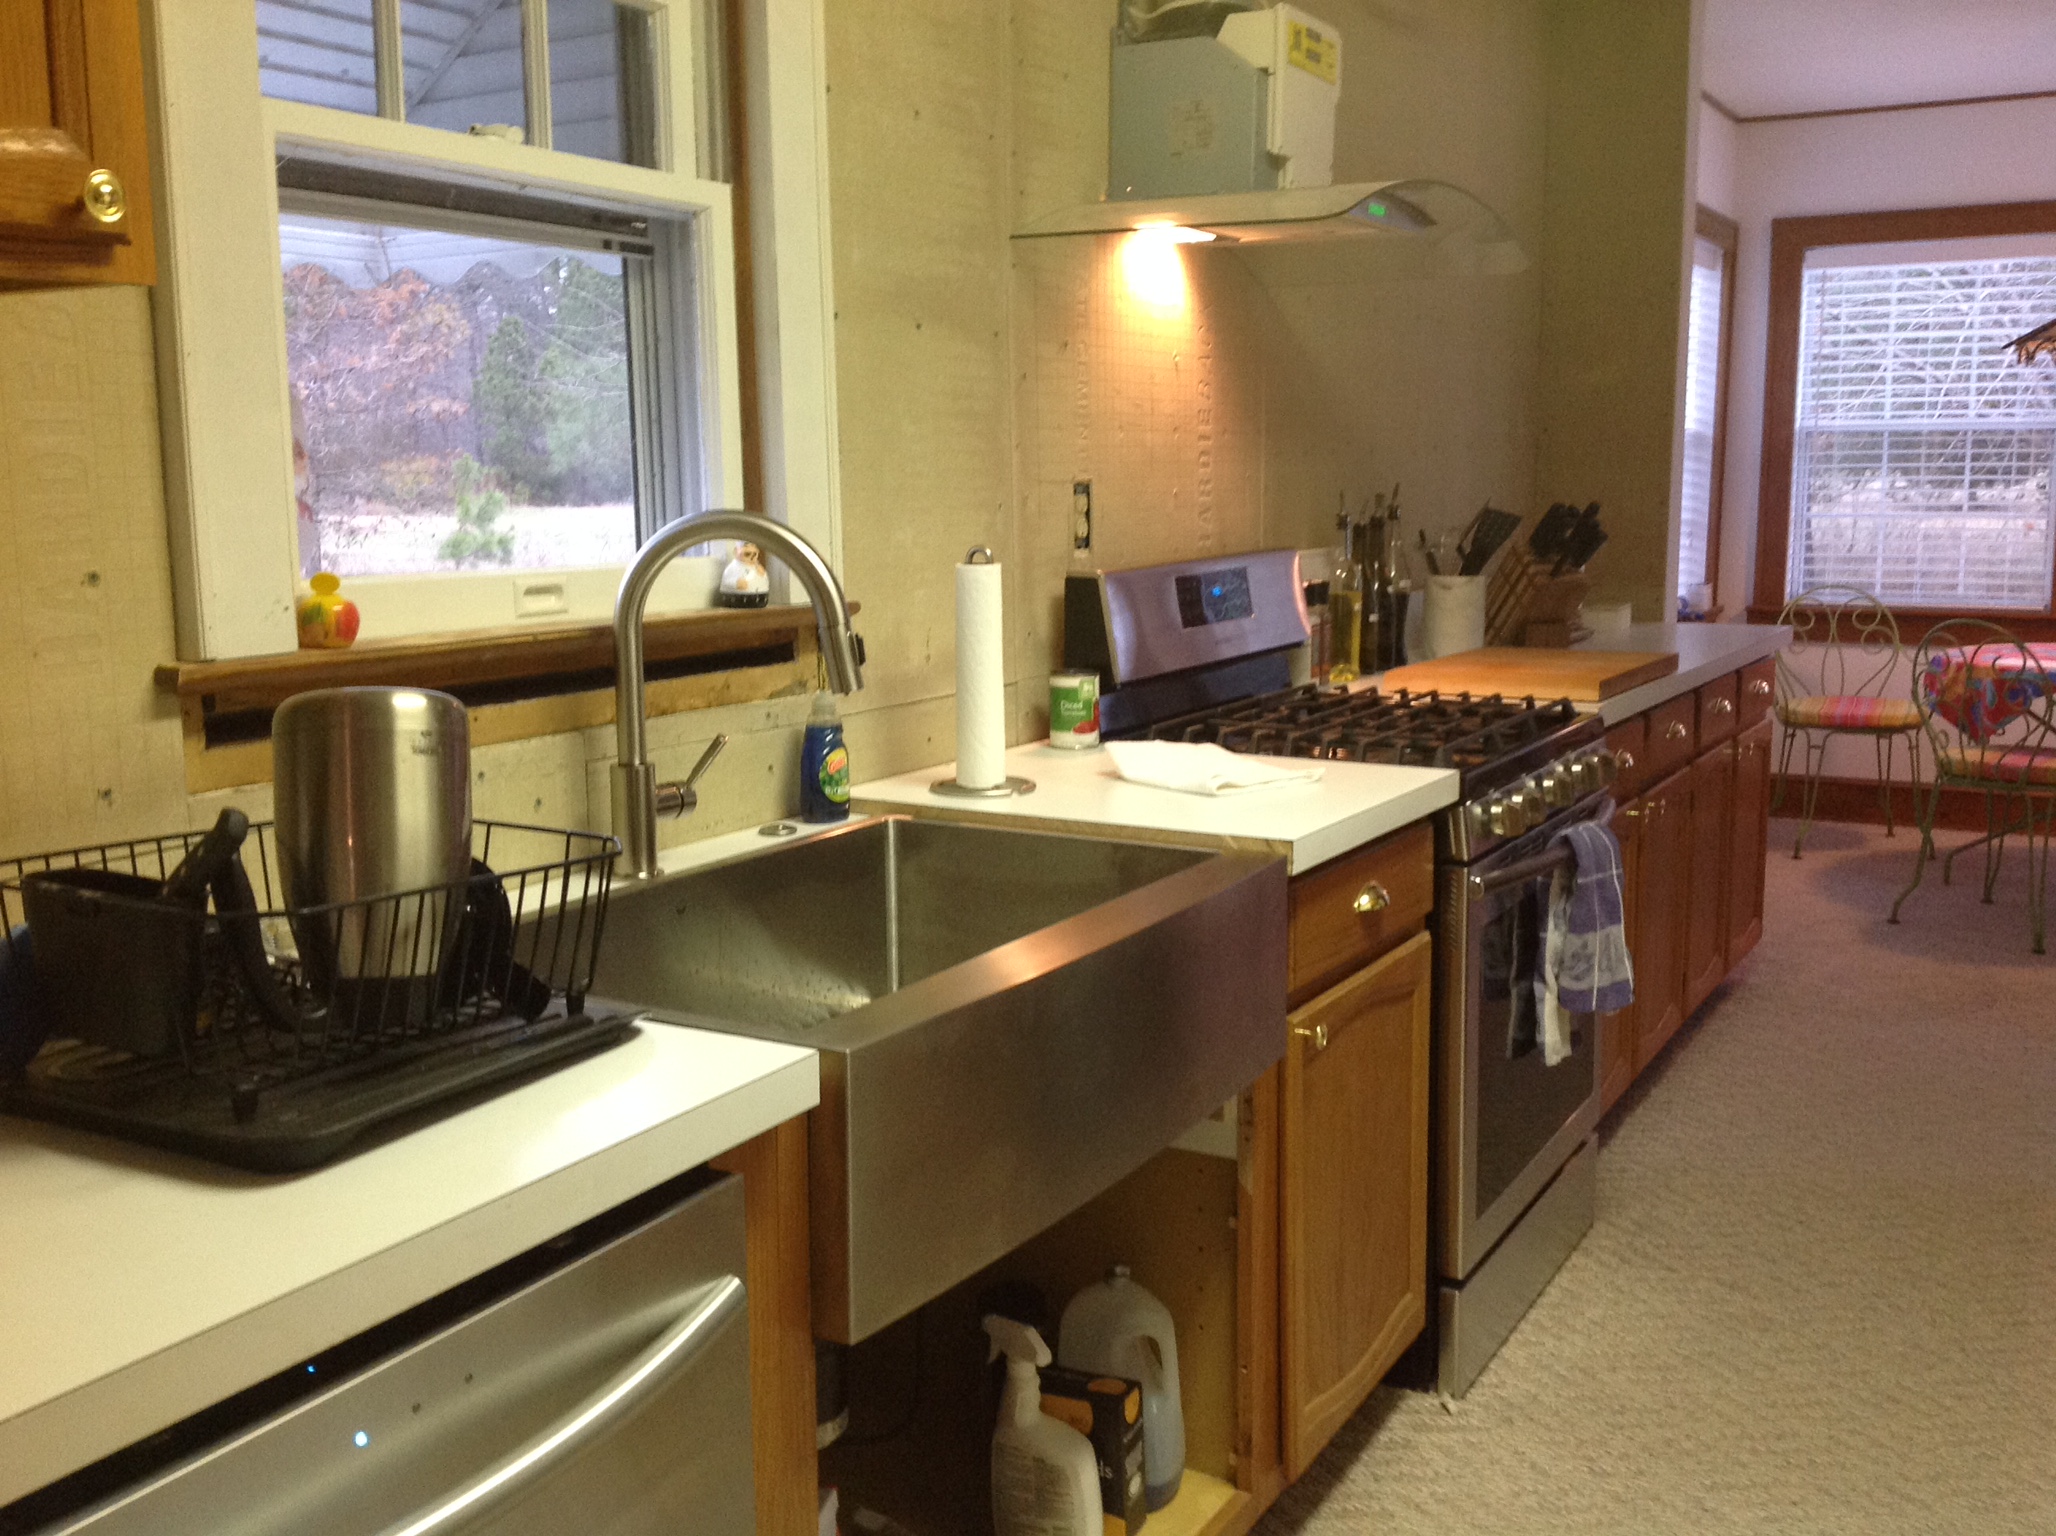
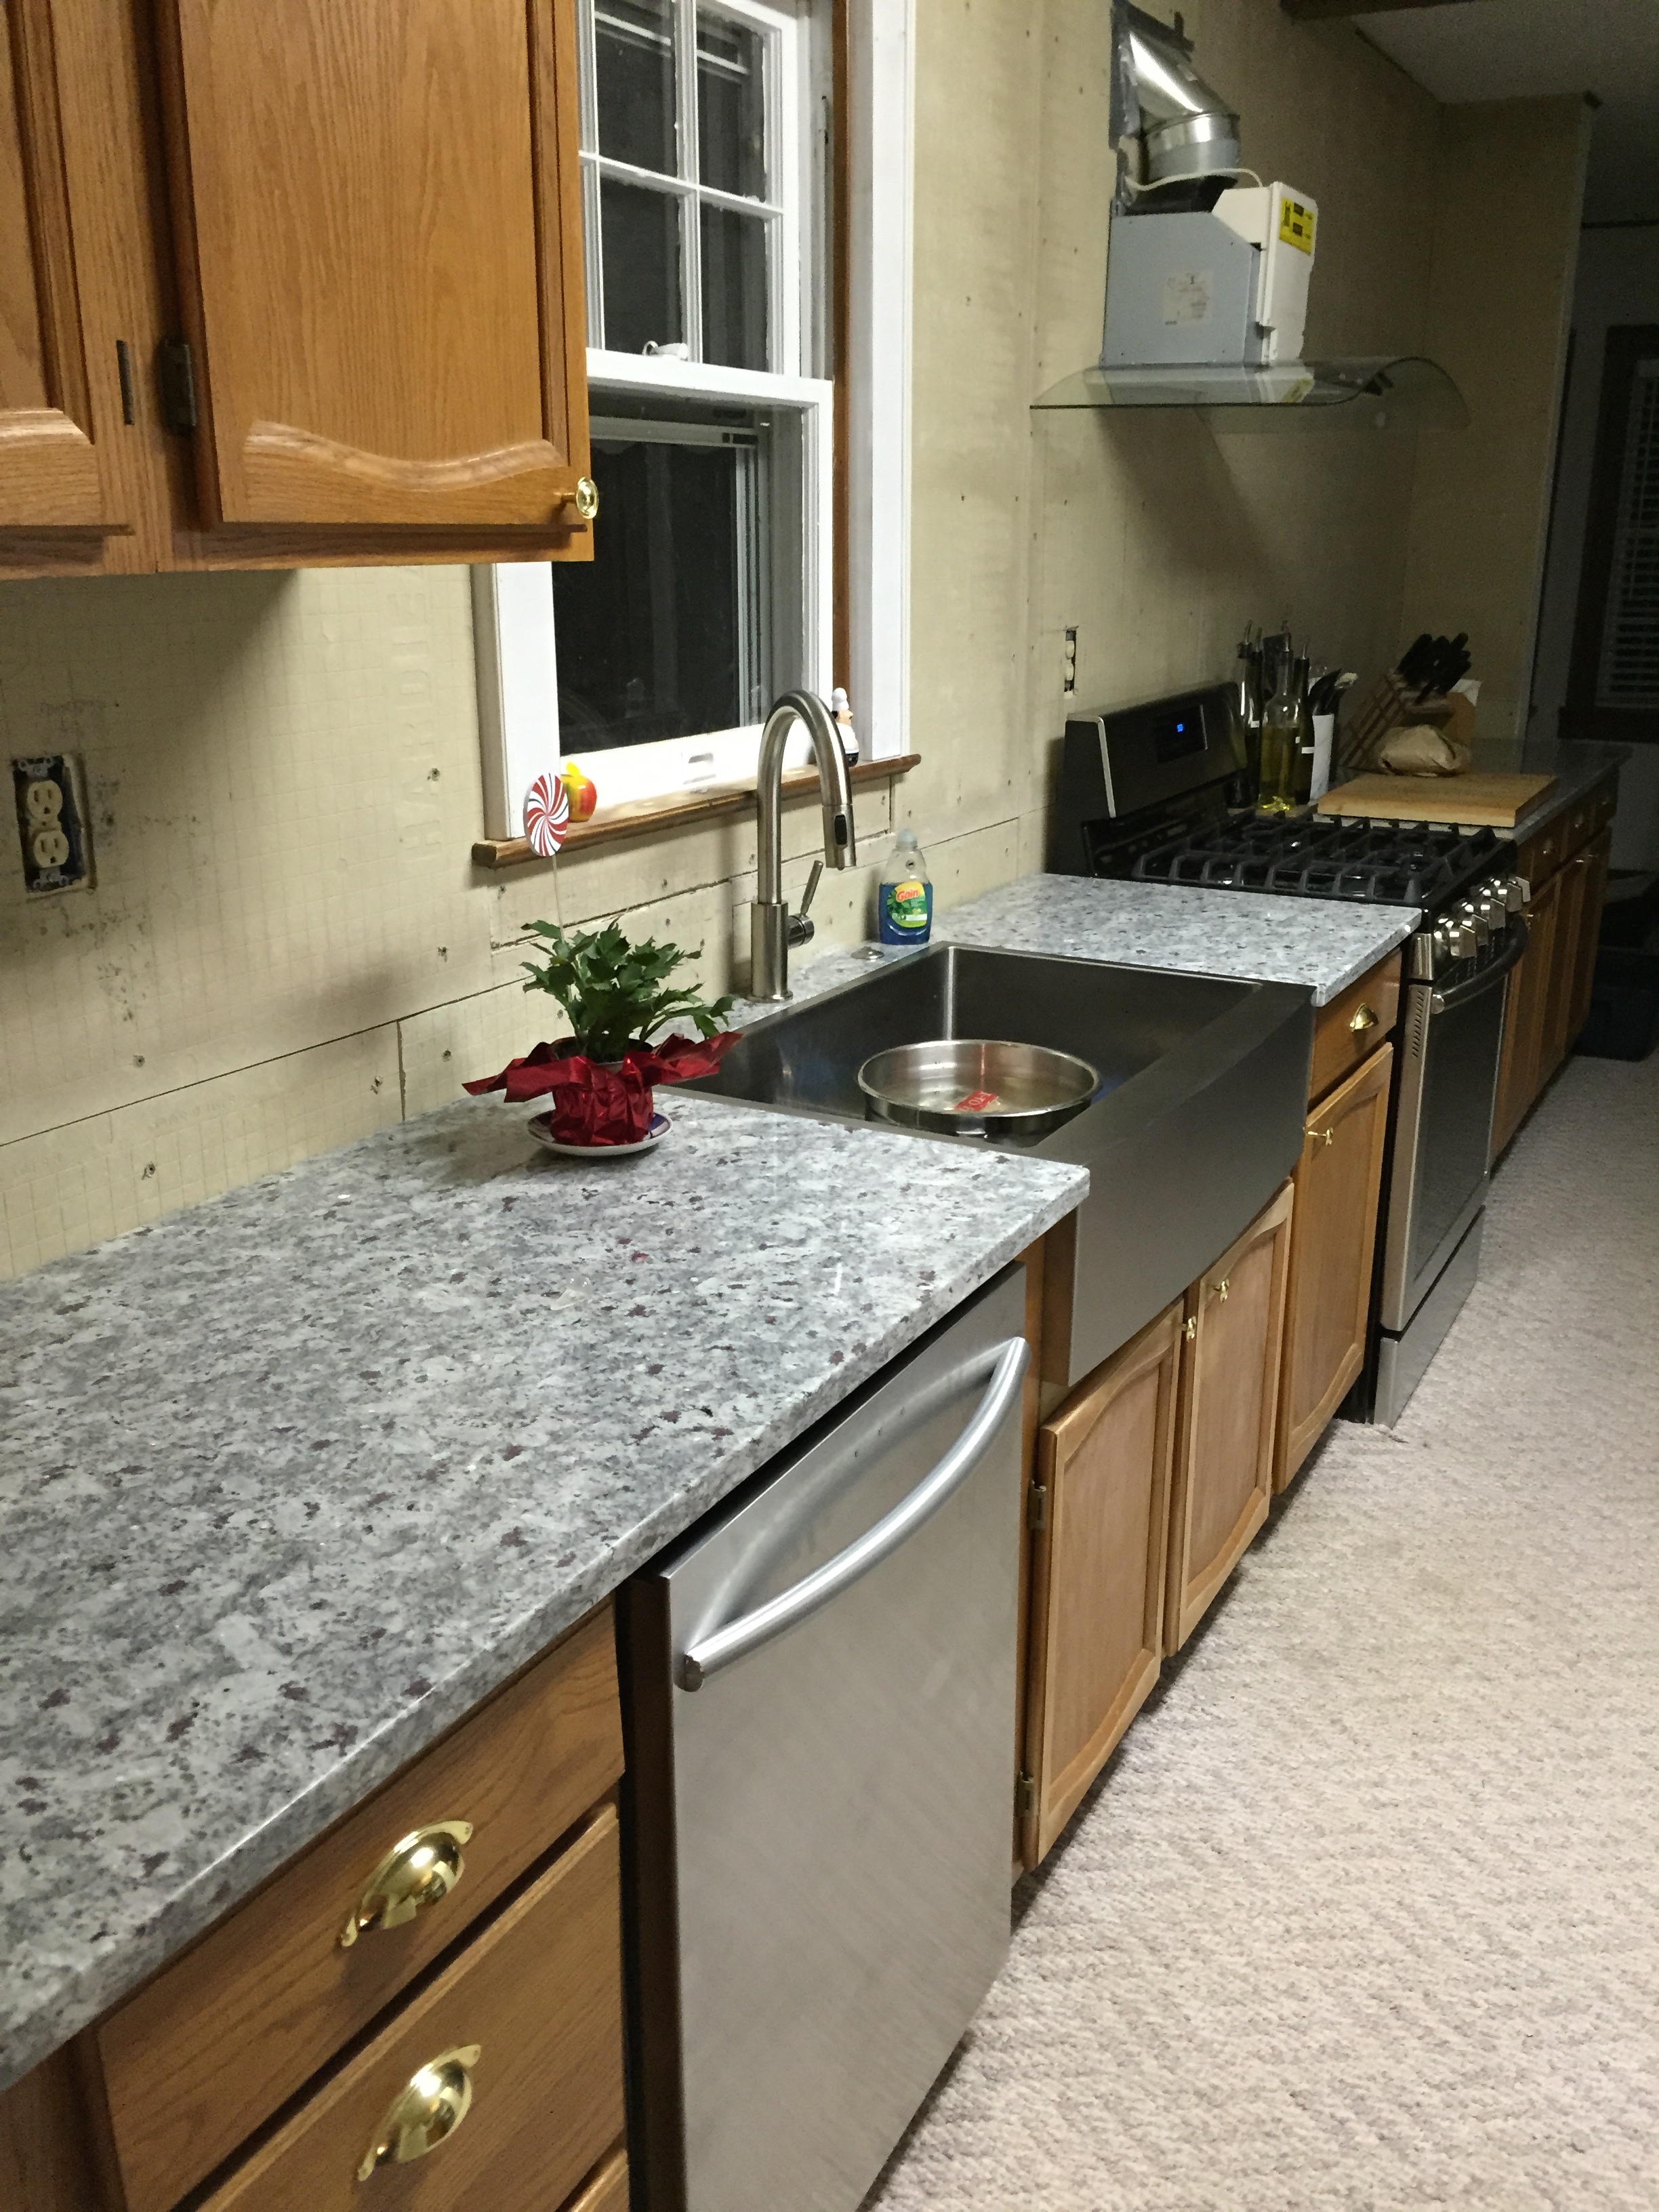
Today we installed the sink and took it operational at least on a temporary basis along with a new faucet and disposal.
The Vigo sink with a Delta Faucet.
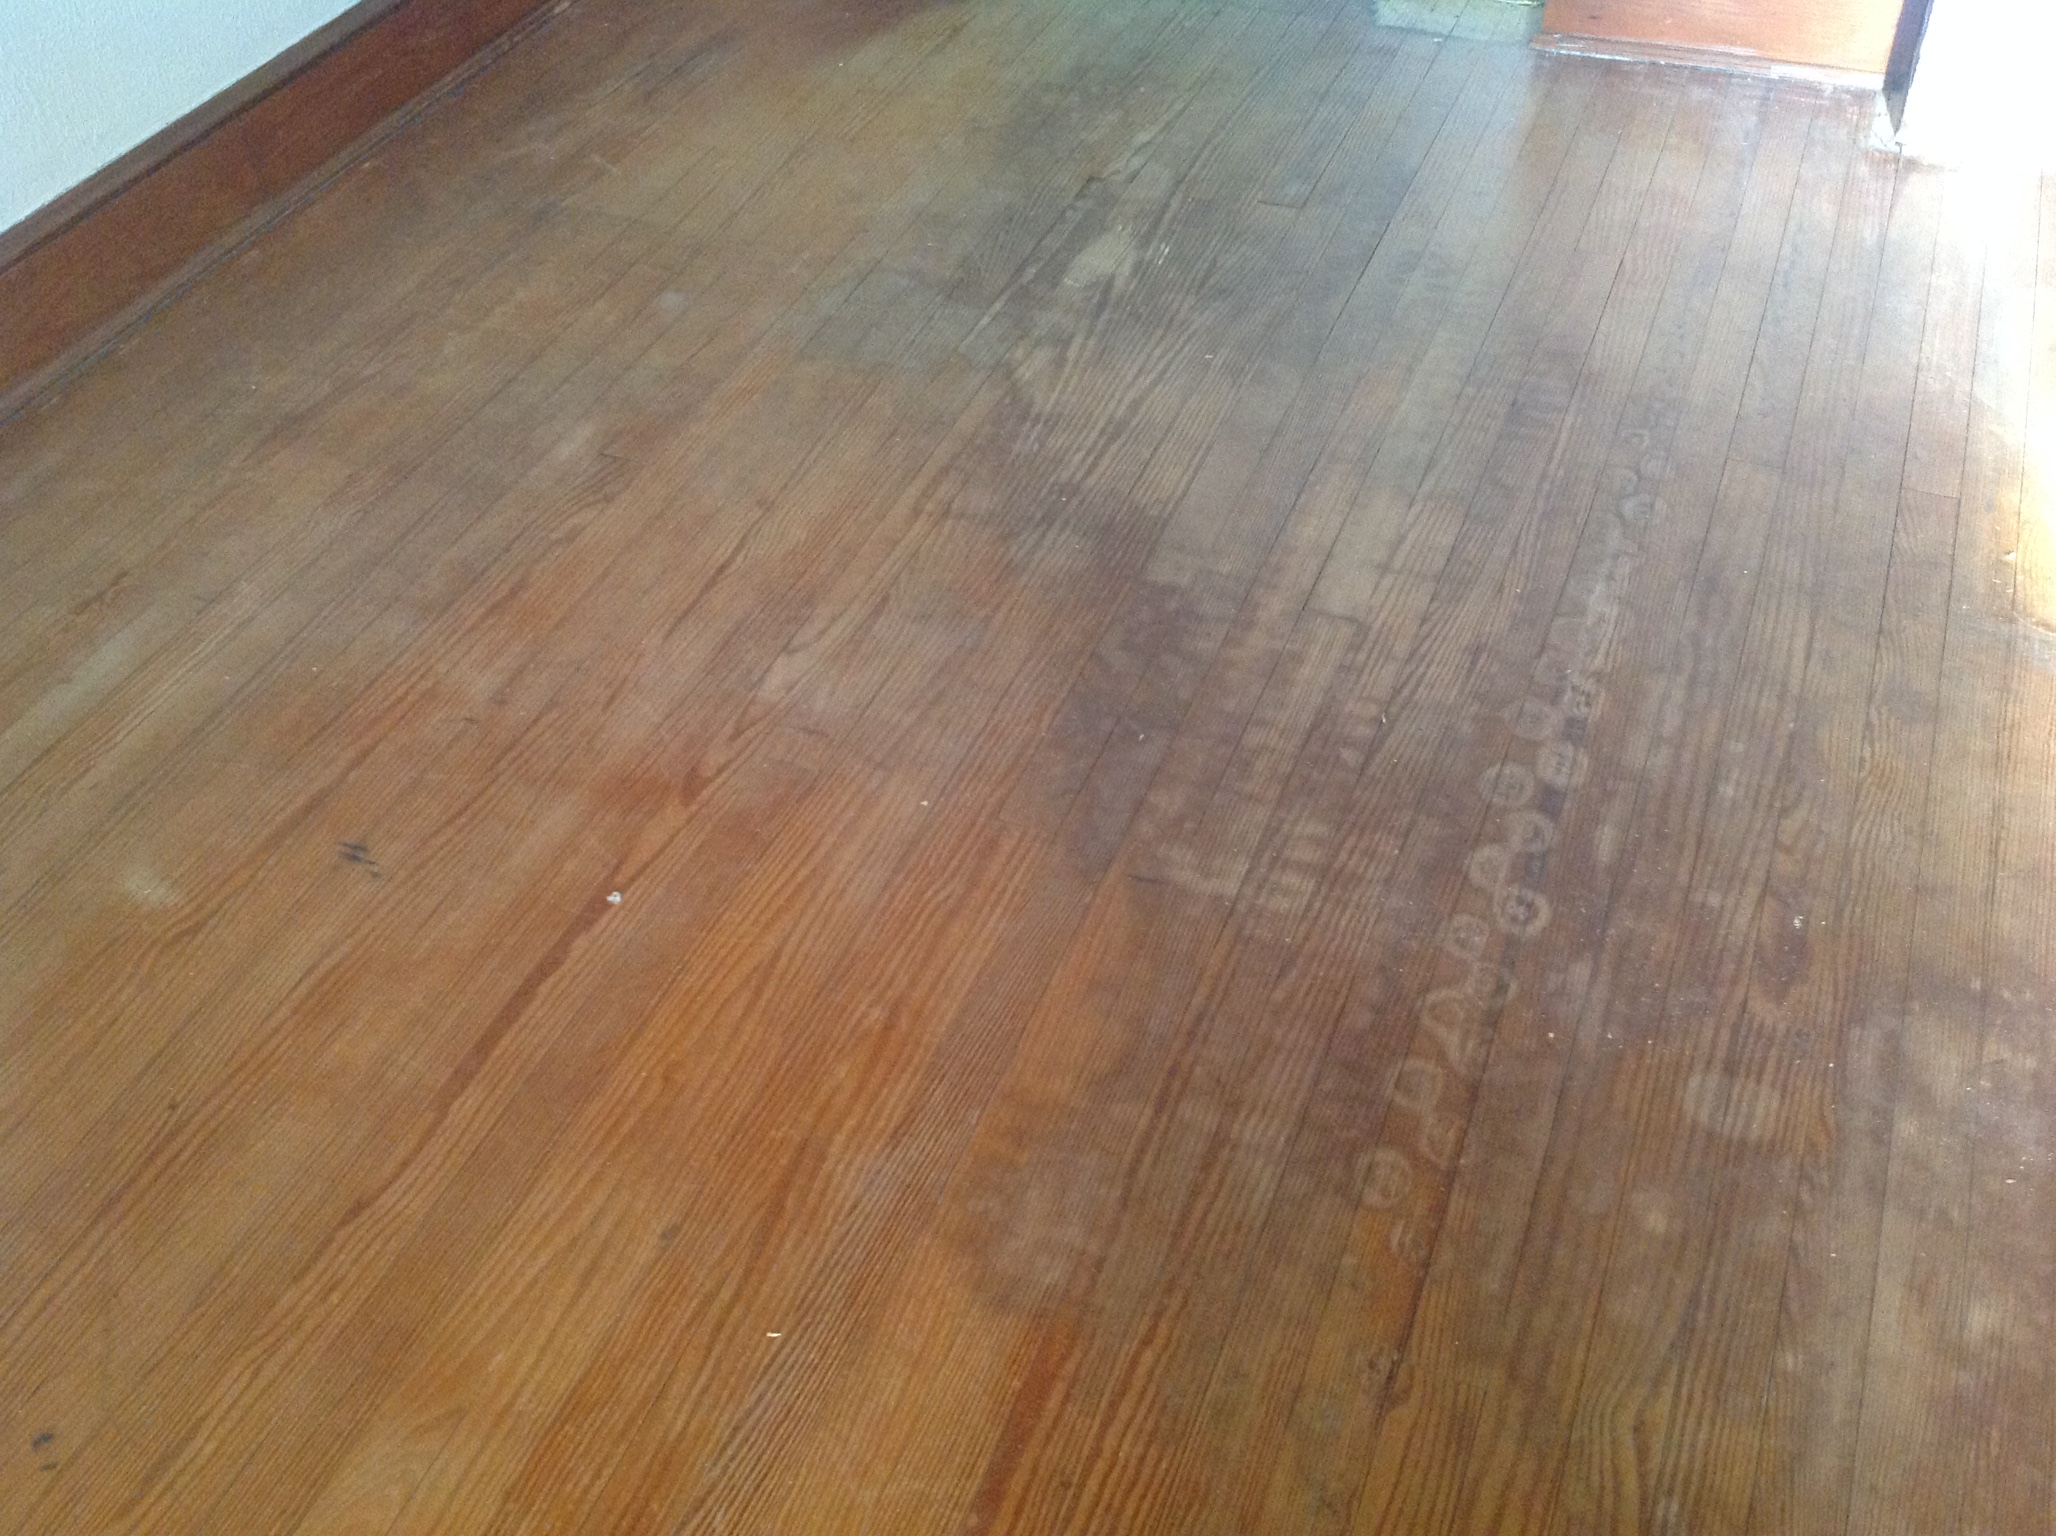
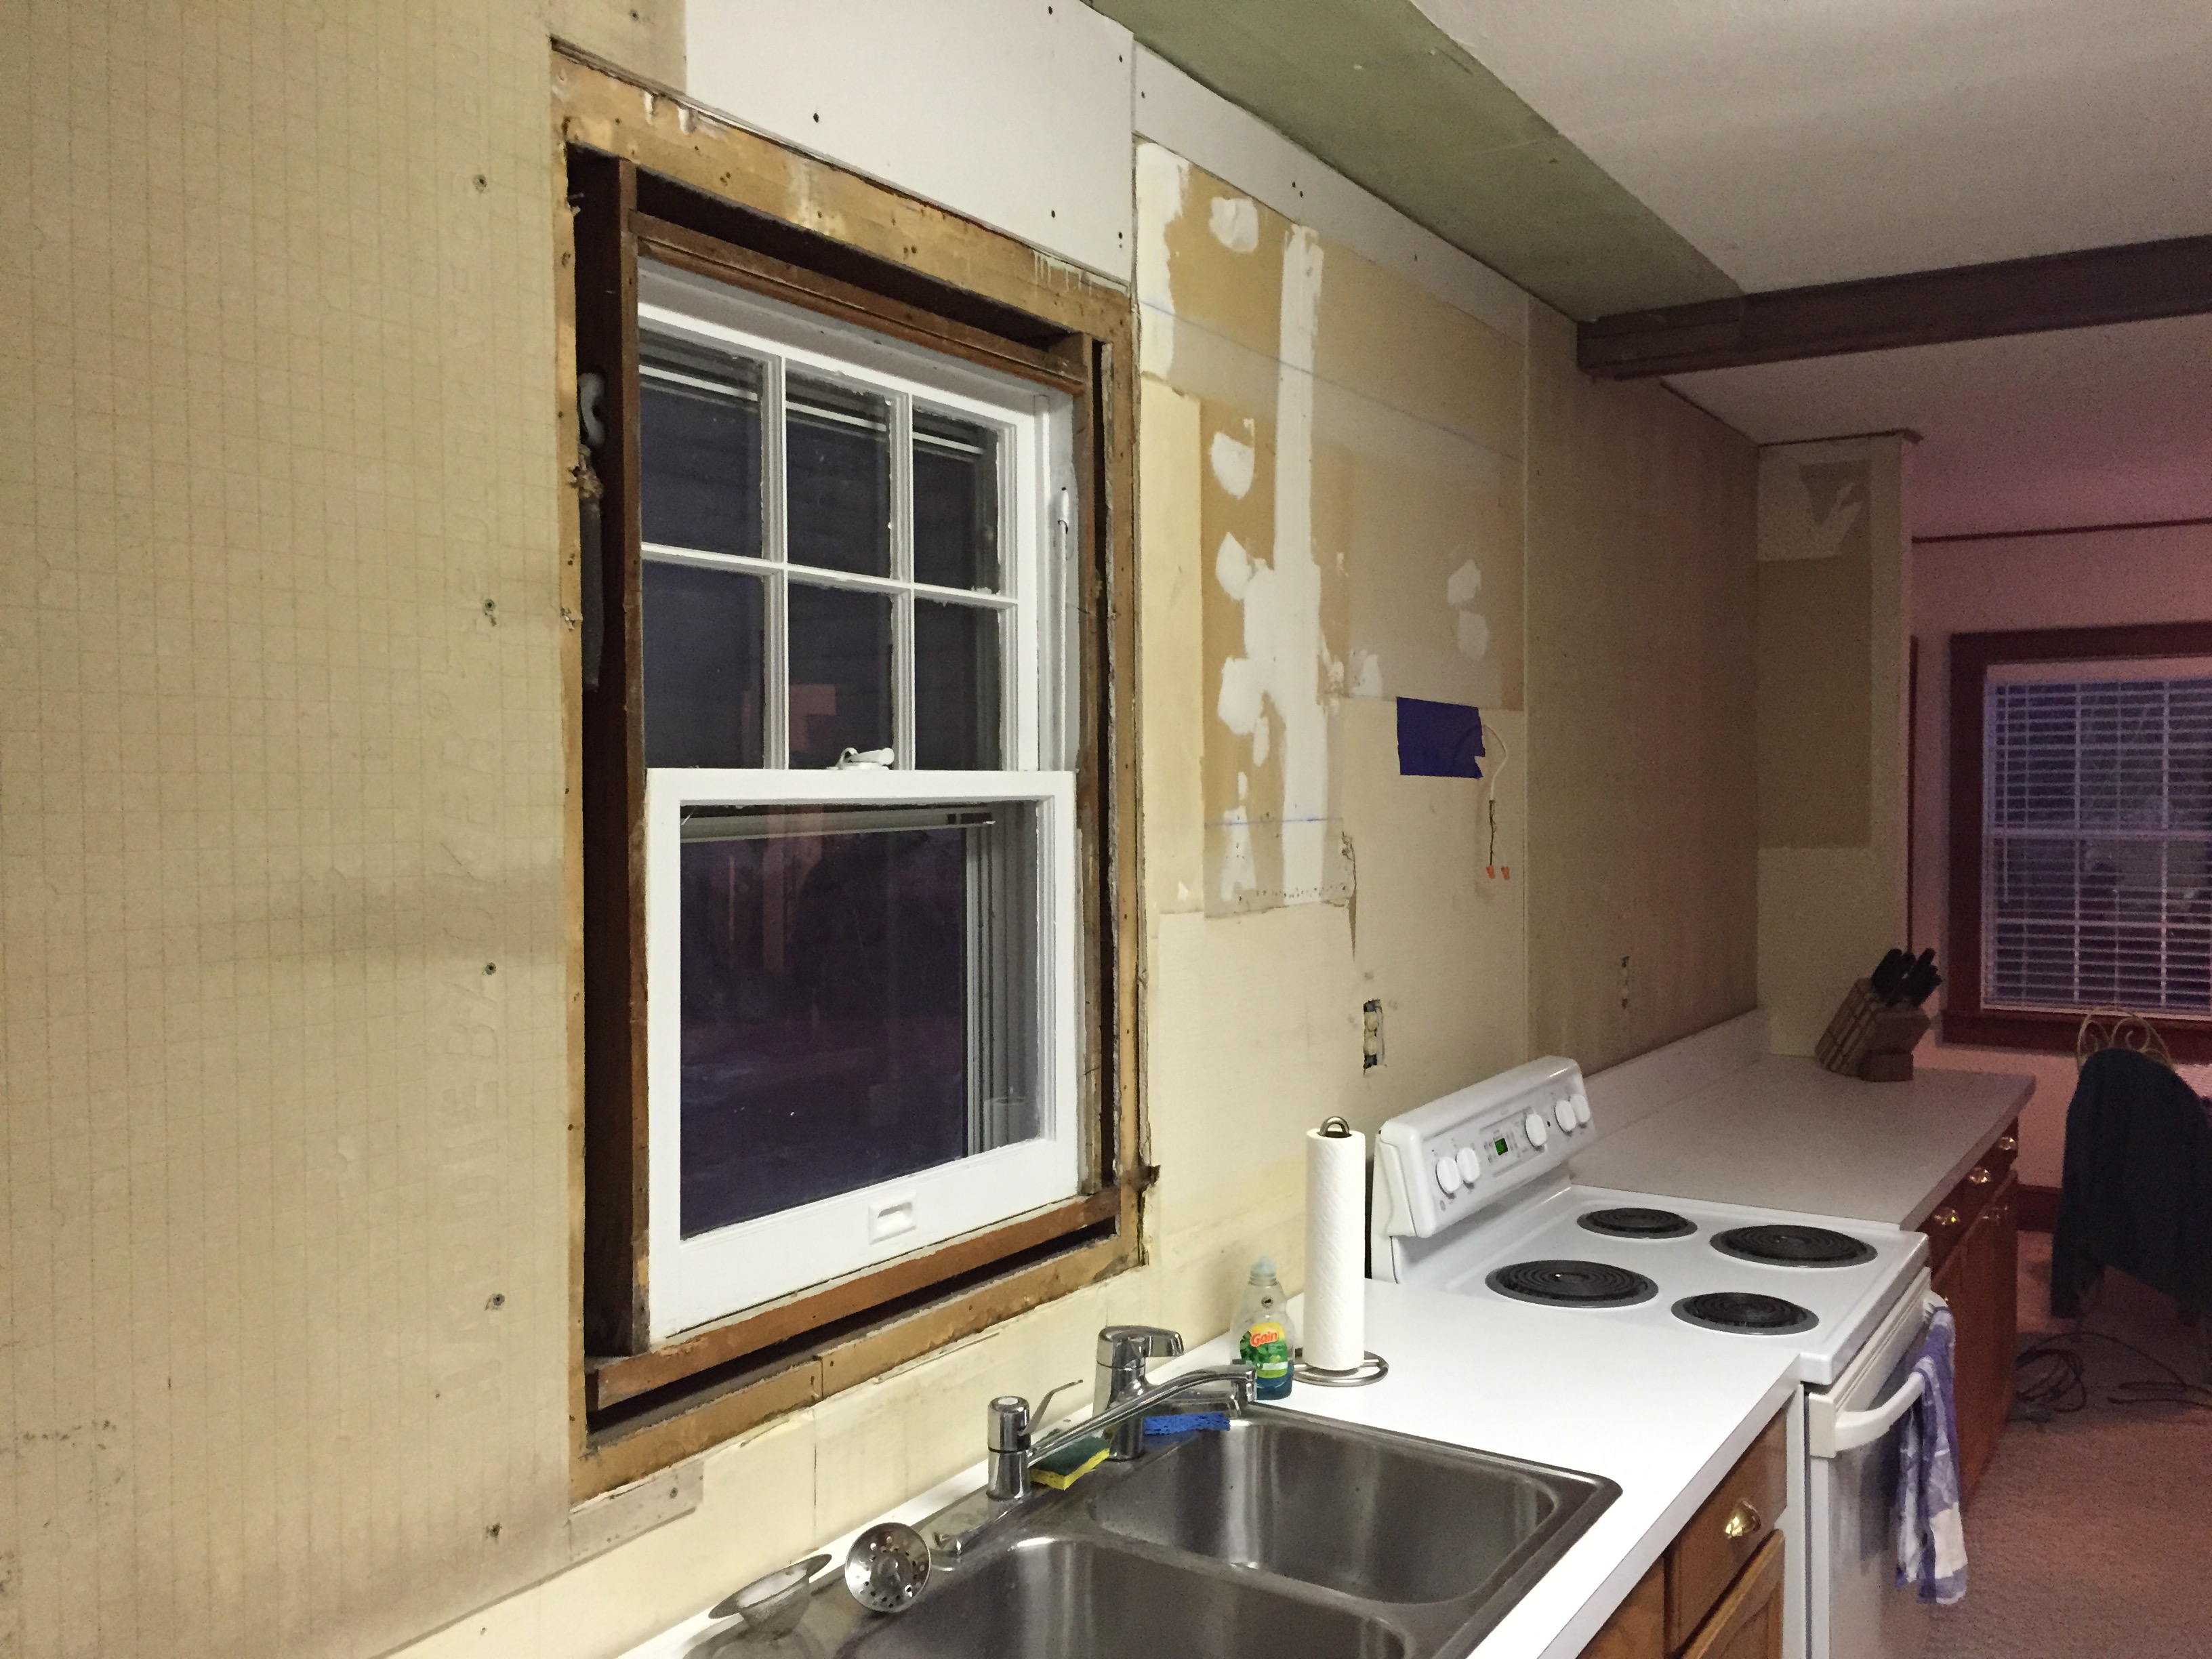
The floors got a coat of sealer after being stained a pewter gray, by Cabot, yesterday. Of course while framing out the window my 15-year old finish nailer decides to die, probable needs a $3 part but off to HomeDepot for a new nail gun, hopefully the old one can be rebuilt and recycles to a family member.
Floors after staining and sealing, tomorrow the first coat of Bona Traffic satin finish.The before
We leveled the cabinets on the west side of the kitchen in preparation for the measurement of the granite. We removed the old double bowl sink and mounted the new stainless steel Farm House sink. The sink base cabinet needed to be cut and modified and I made adjustable sides so the sink can be installed level with the granite. Next step is to install the garbage disposal and re-plumb the drain. The faucet will be installed and reinstalled when the granite arrives.
Tomorrow; garbage disposal, faucet, meet with bunkie designer, frame out the window and reinstall the window sill.
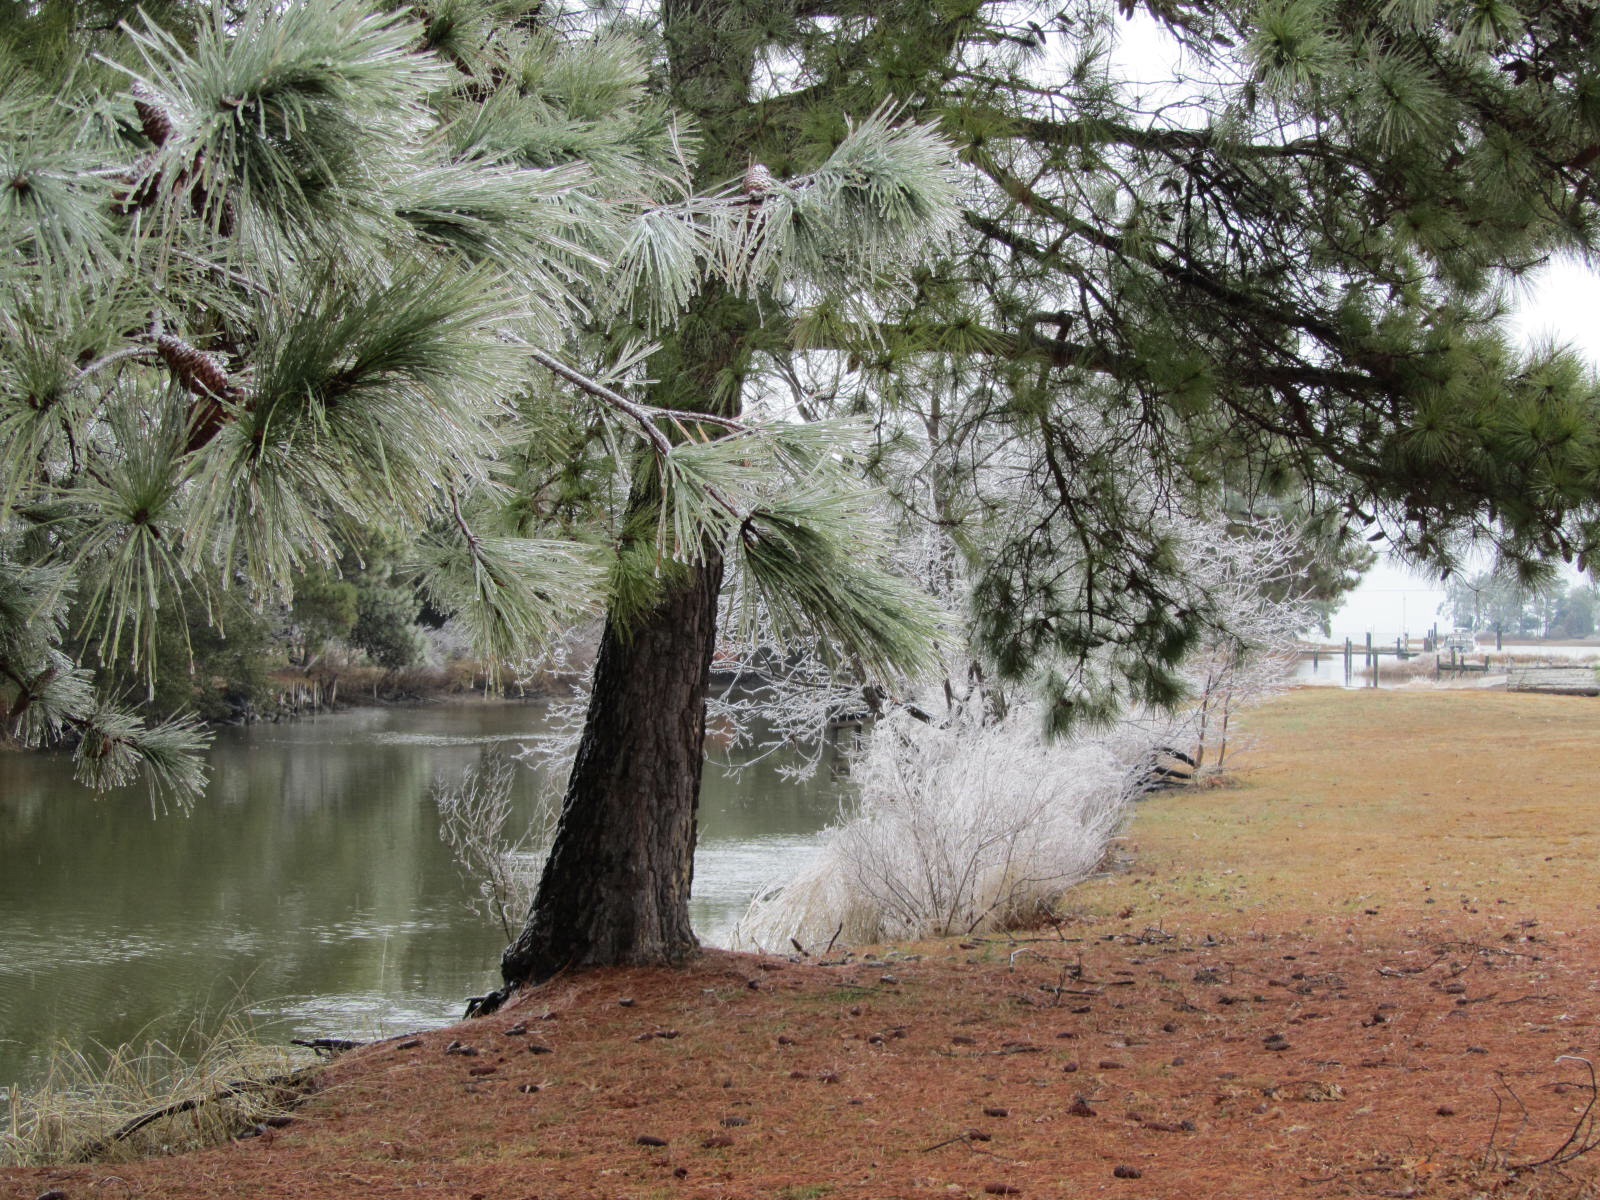
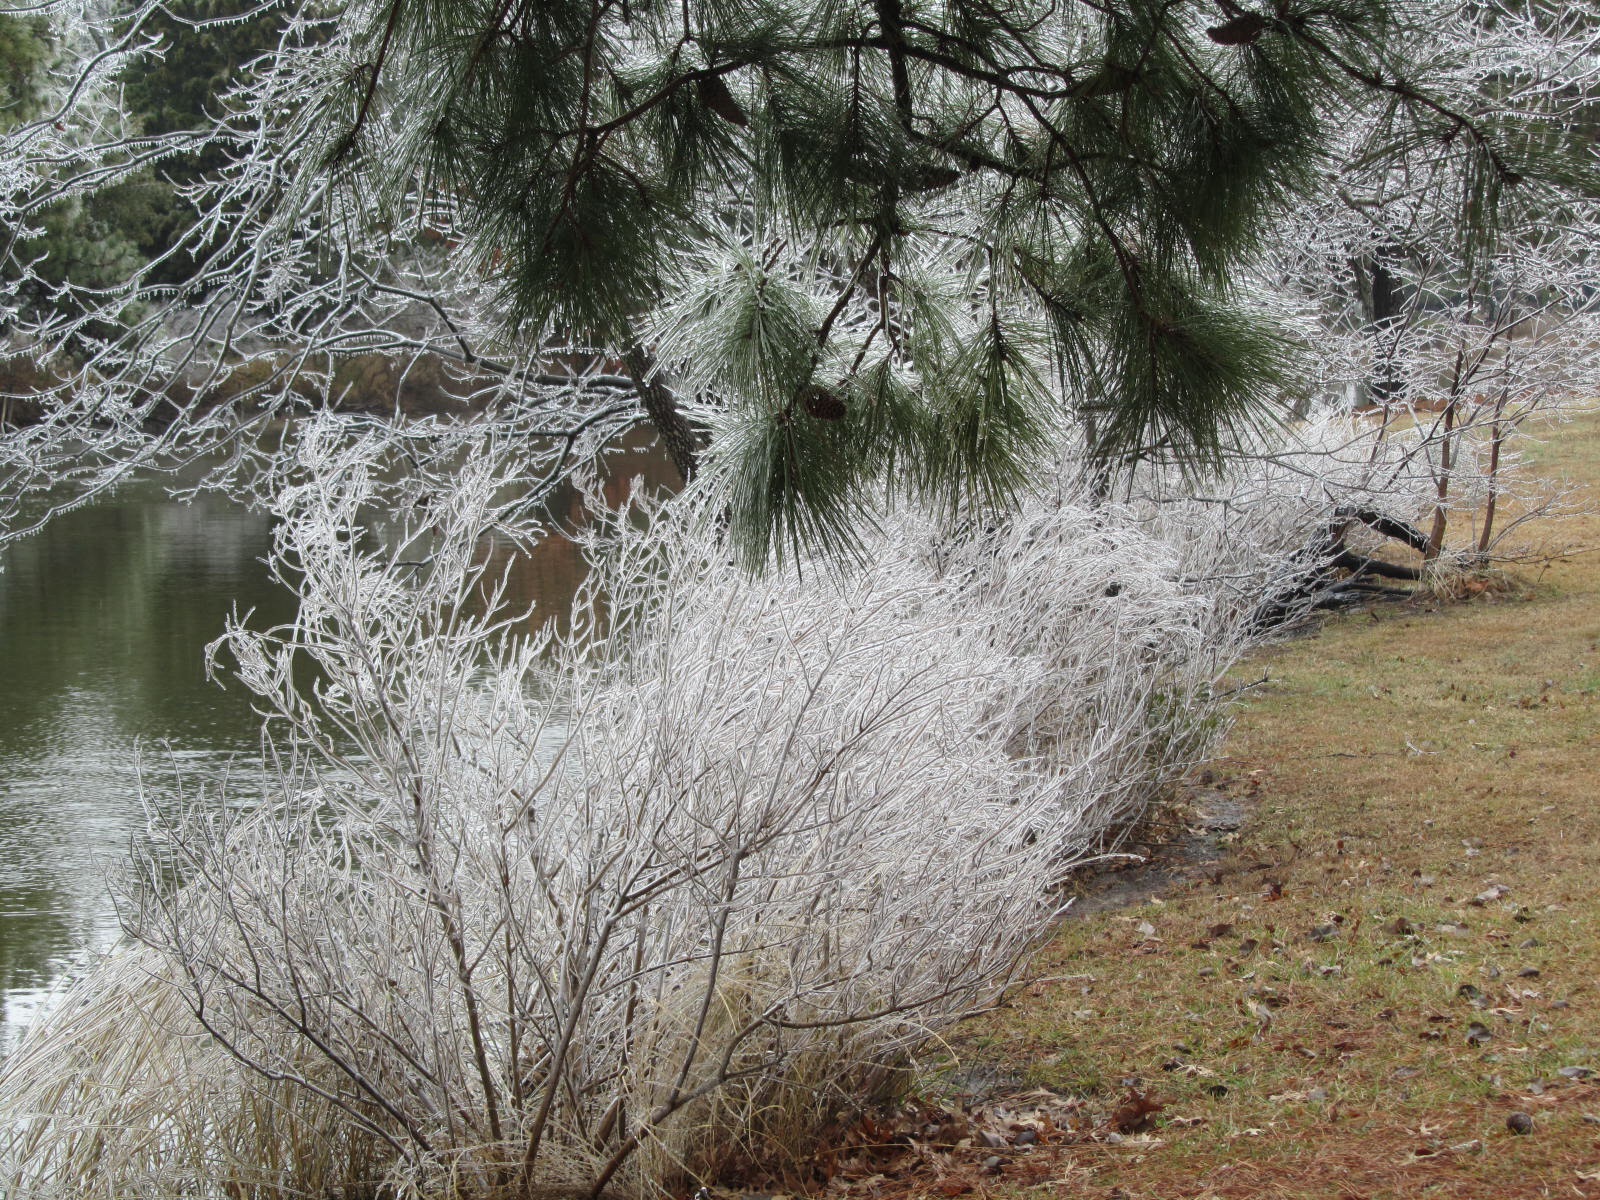
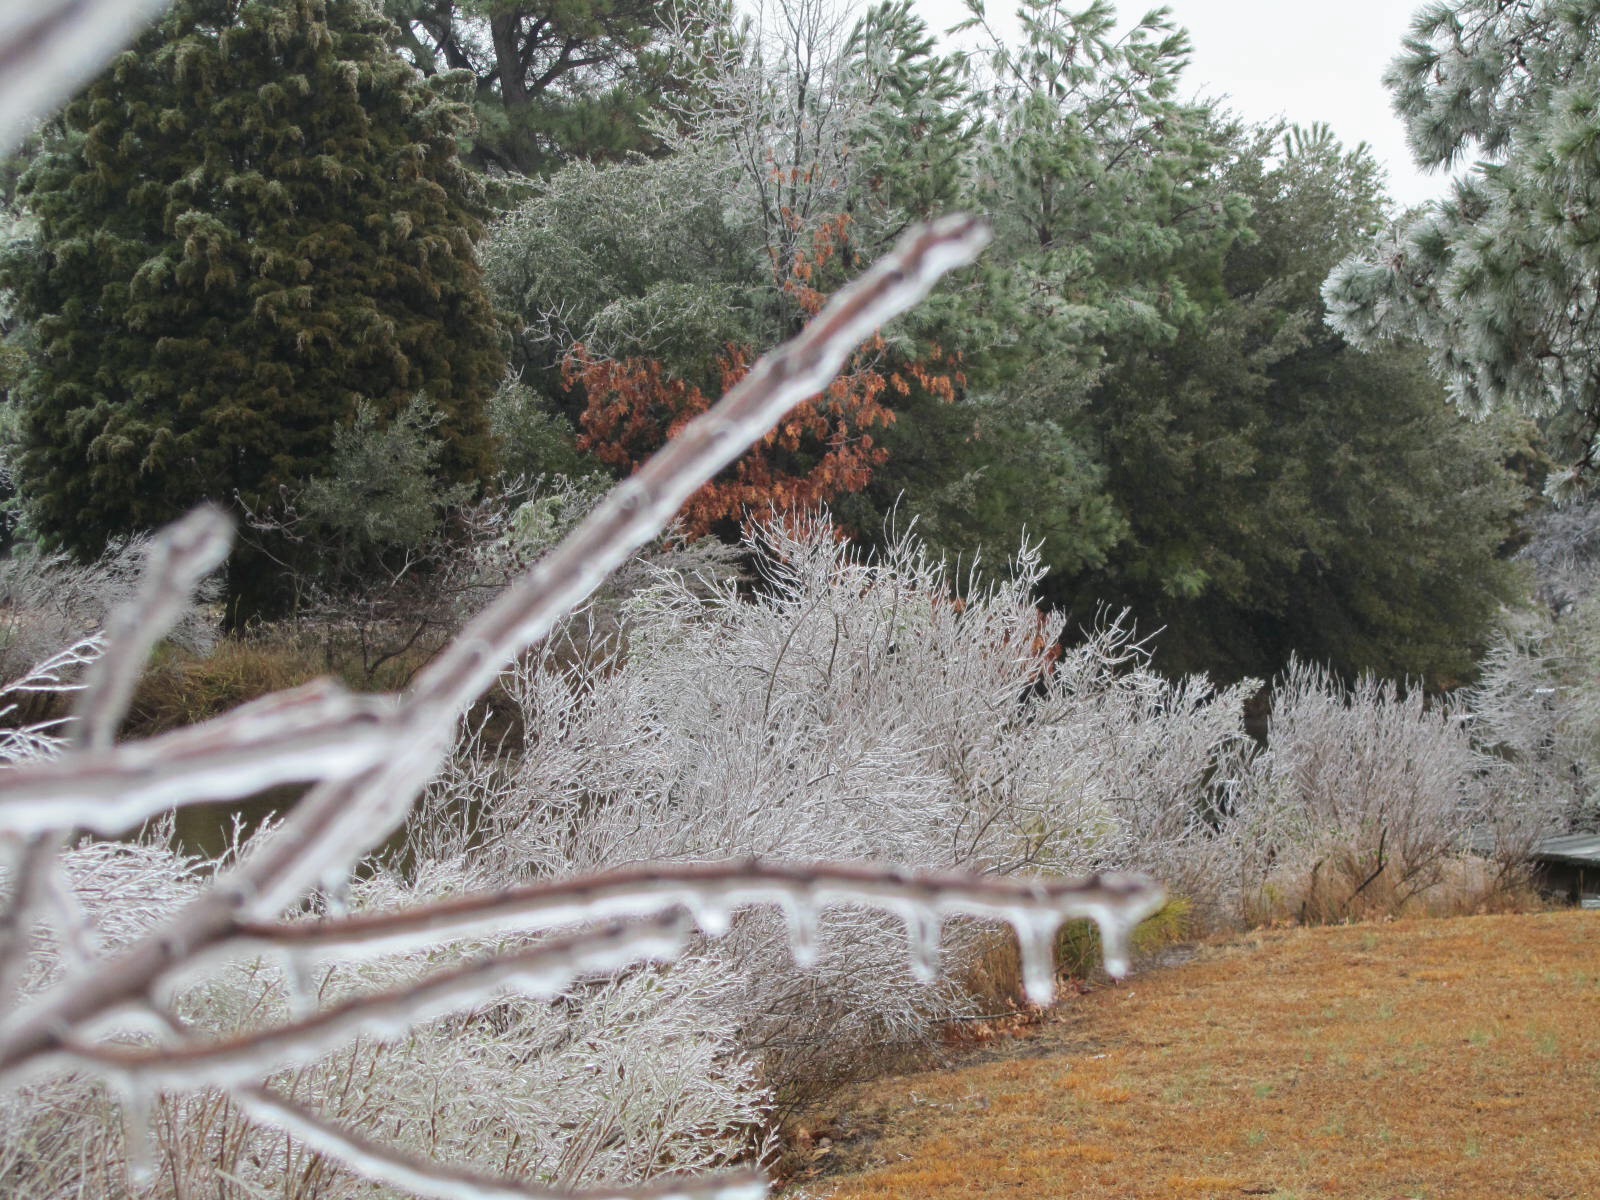
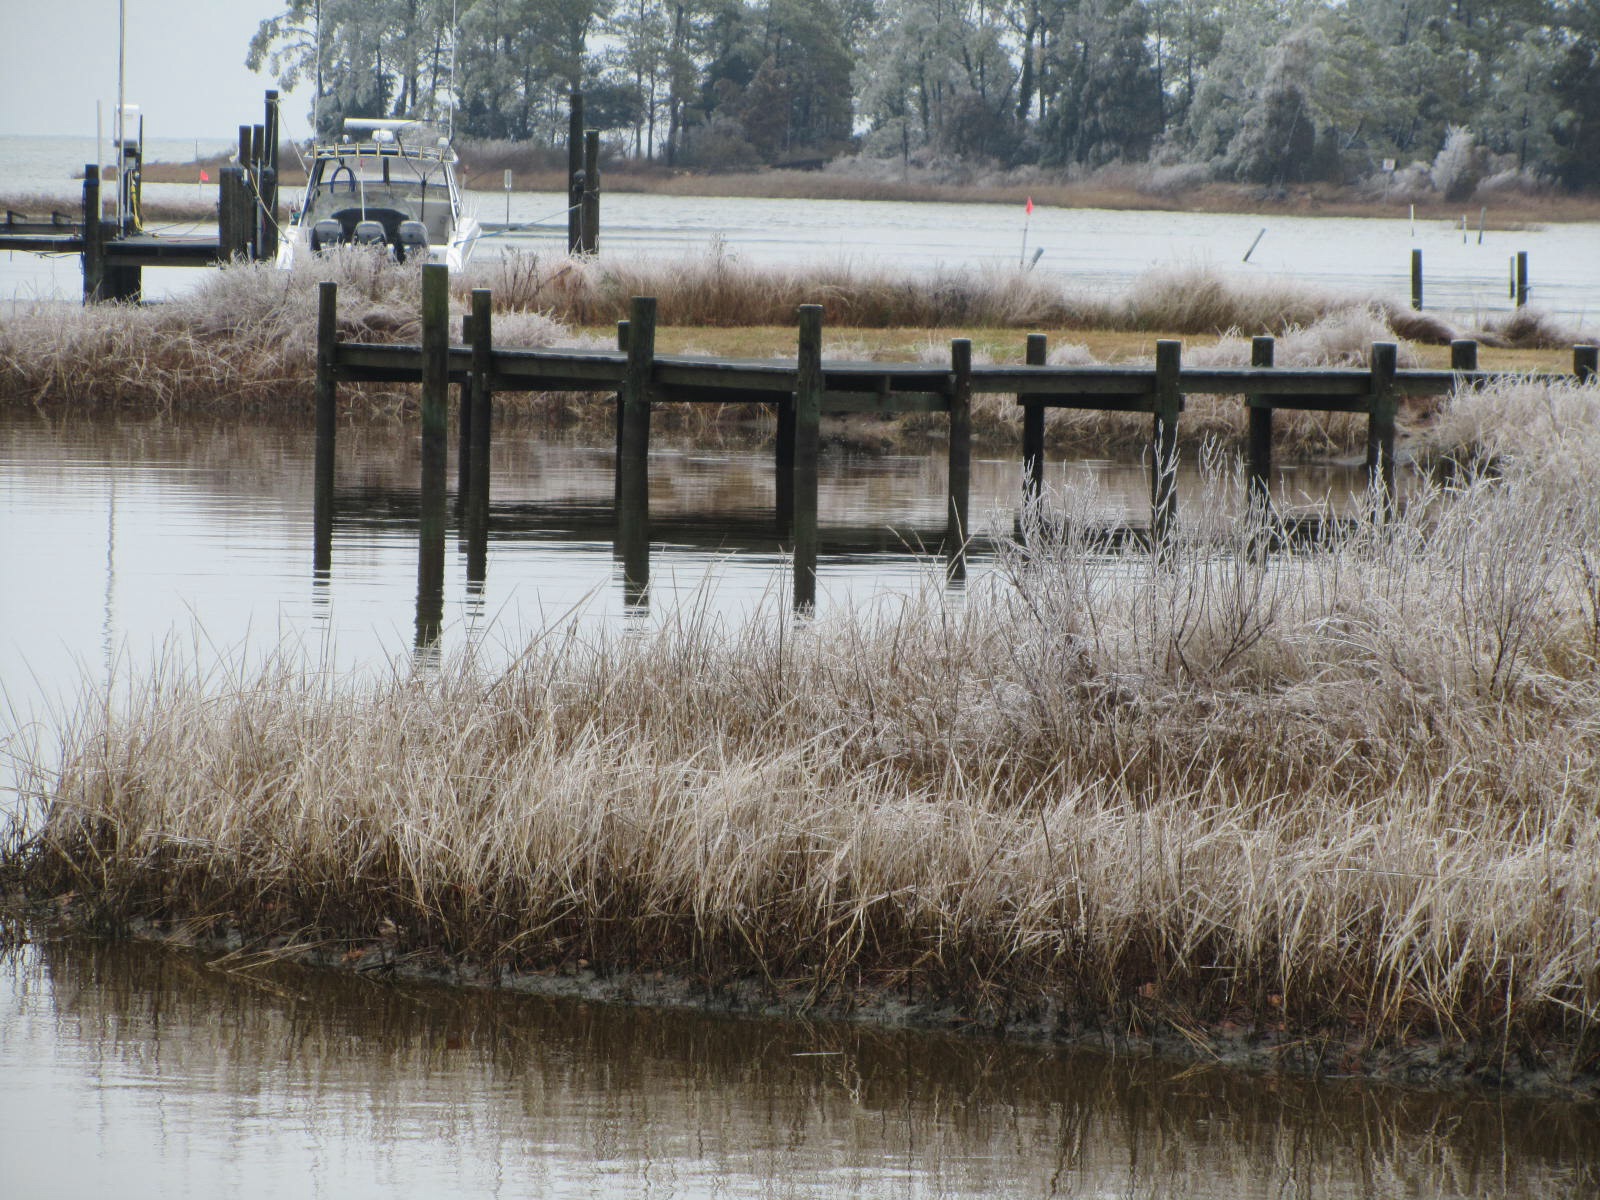
Doctors Creek bank after freezing rainGrasses along the creek after the freezing rainStaged shot of the frozen grassesShot of the neighbors dock after freezing rain
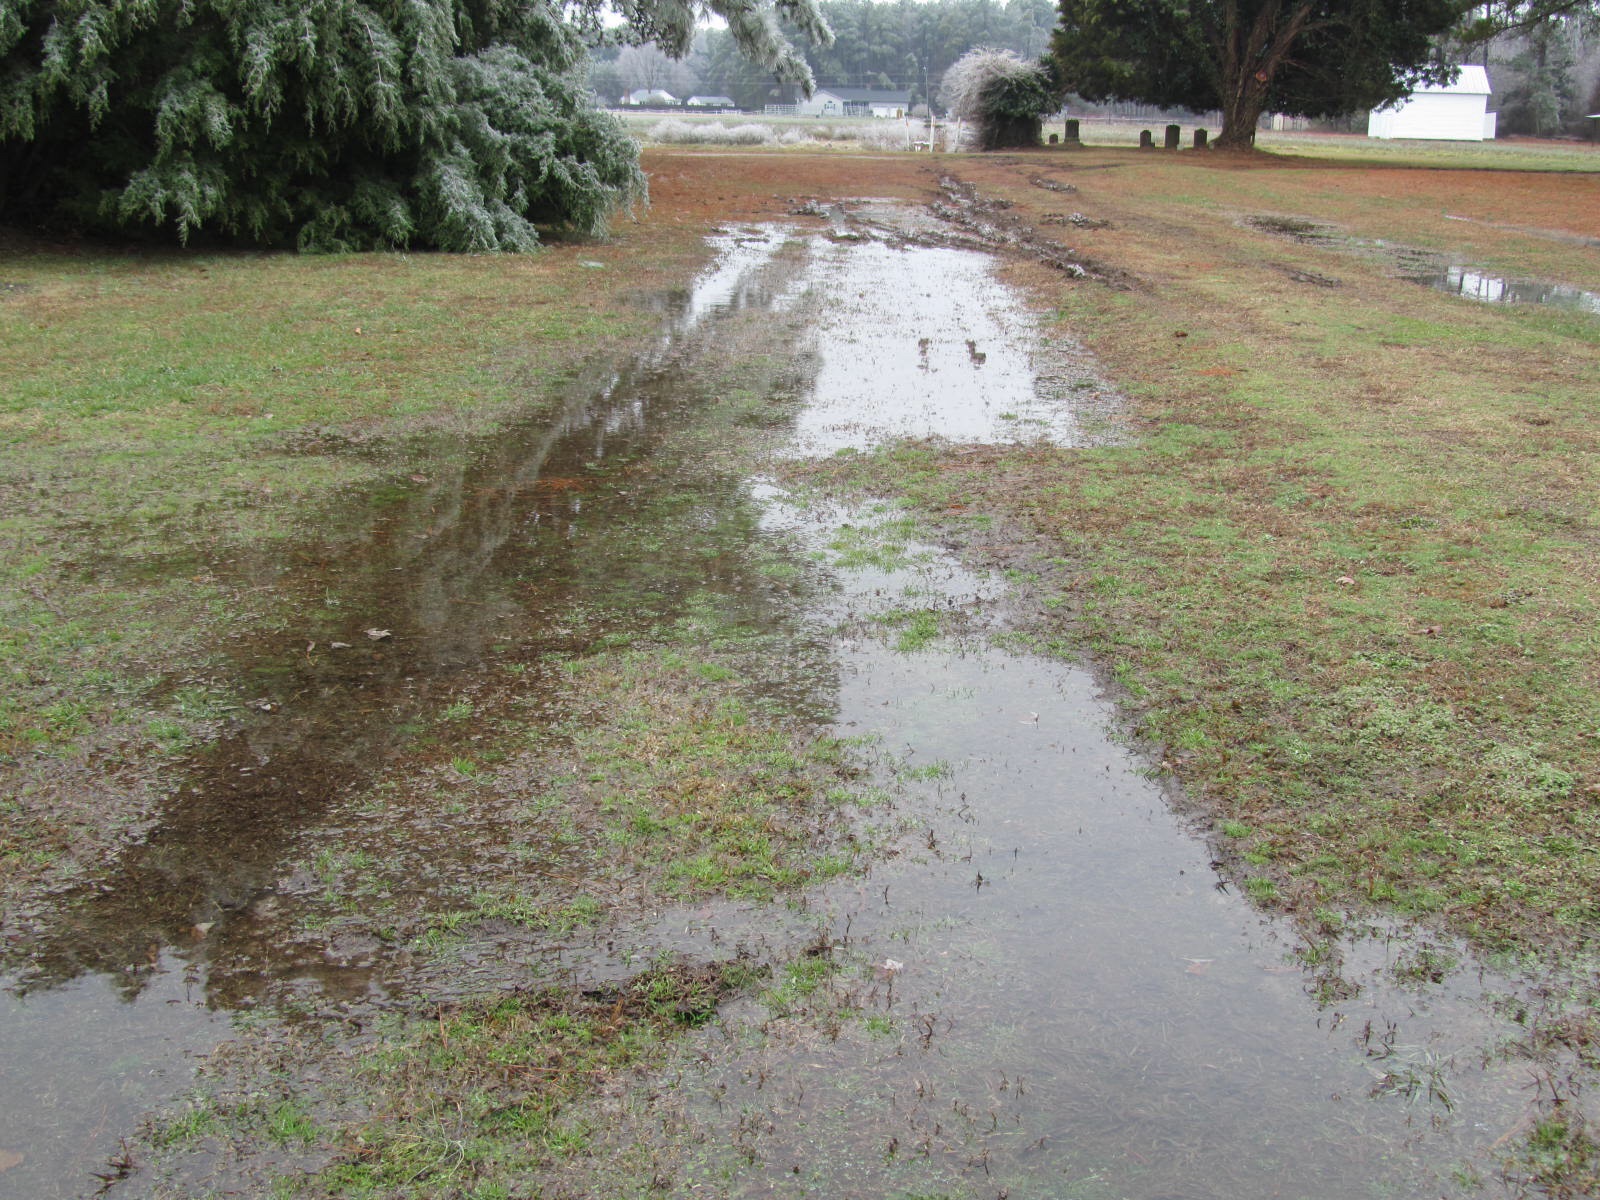
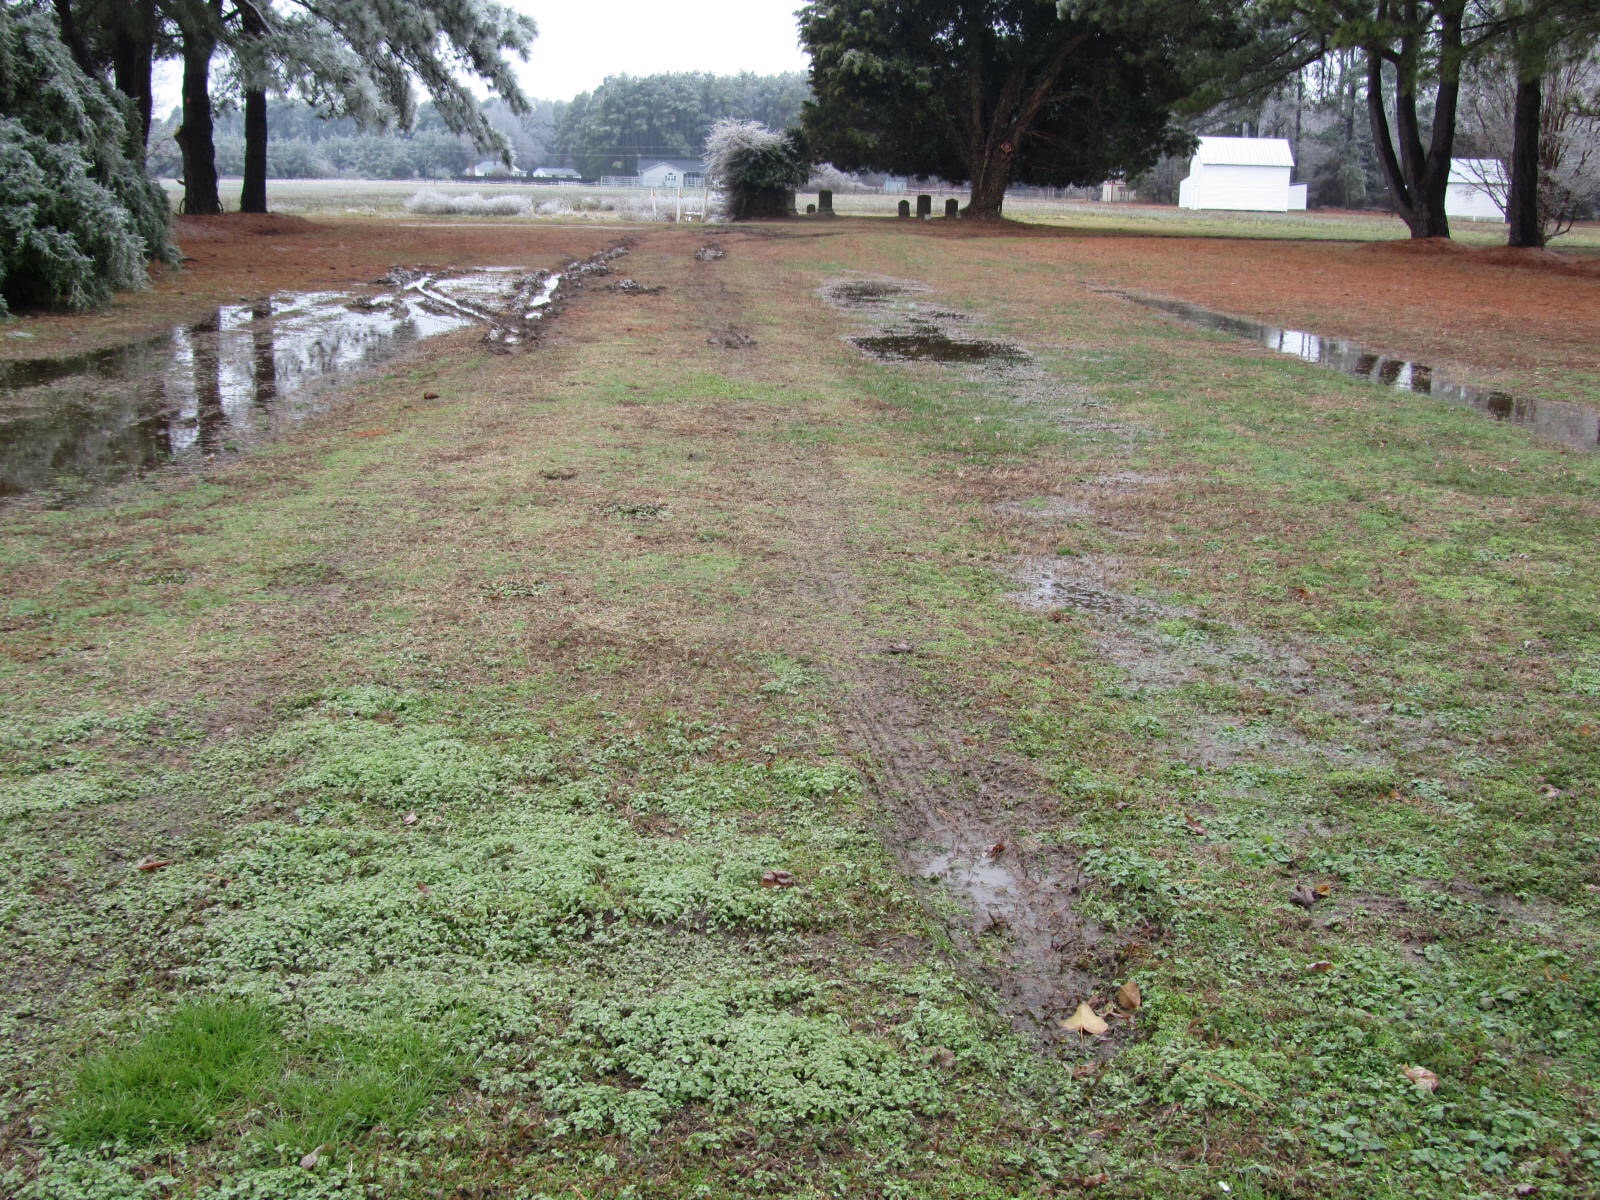
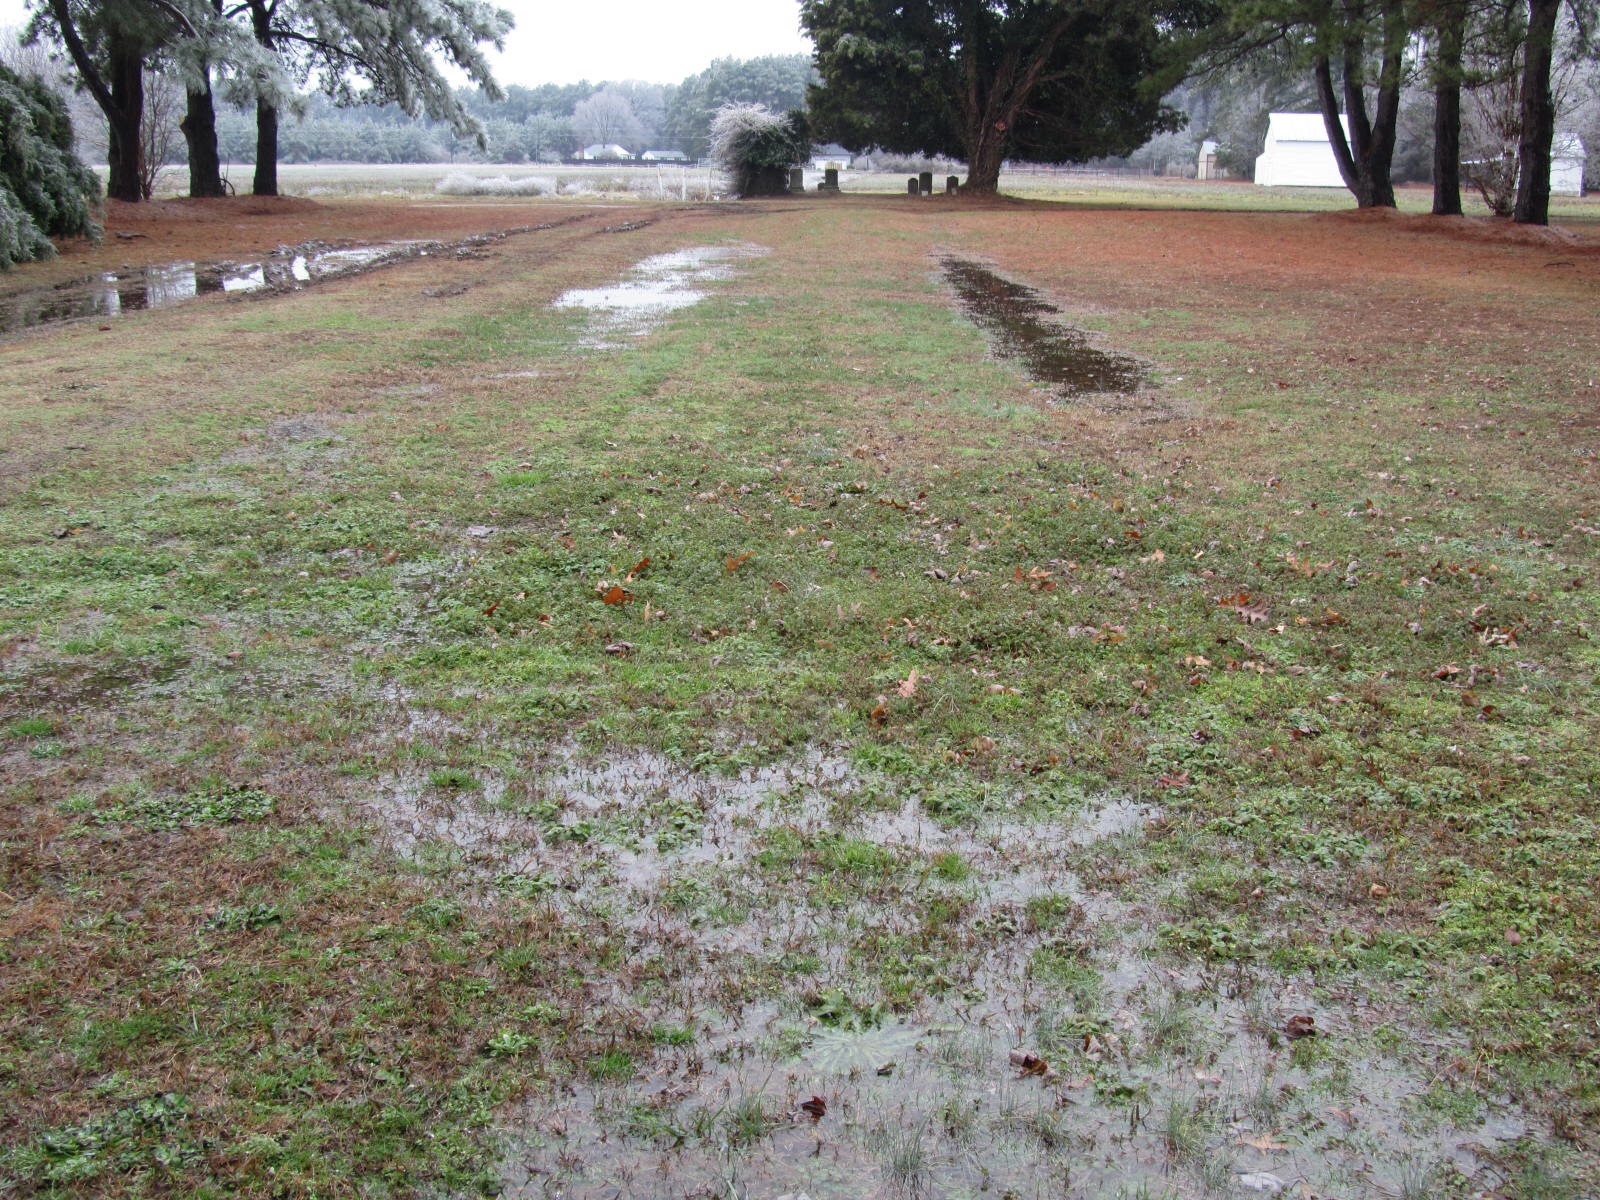
Of of course all of this rain takes its toll and will require more work.
Muddy drivewayLow spots in DrivewayDriveway low spot close to house
We finished up the Hardi Backer board today and rehung to of the cabinets in the kitchen We also added a piece of Bead Board on the wall with the arched entry to the living room. We moved all of the furniture from the living room, actually just the gas fireplace and the guest room to the master bedroom and Rivah room in preparation for the floor refinishers who are due at 0830.
Floors after staining and sealing, tomorrow the first coat of Bona Traffic satin finish.
Today we started to install the Hardy Backer board for the subway tile. We have a couple of small piece to go, however we are holding until the new vent arrives, it was ordered yesterday from Home Depot, our new best friend.
Tomorrow Revere Gas comes for the final installation of the new gas stove.
We applied for our electrical permit today at the County office, the final will come with the pool final. Of course all of the electrical work is complete with the exception of the final hook ups.
No trip to Home Depot or Lowe’s today but I did have to go to M&M Building Supply to buy a carbide saw blade for cutting the hardy board.
Today was a beautiful day at the the Cottage. We decided to pull back one of the old 20 amp lines that ran to the old base board electric heat in the living room. Pat when under the house while I cut the drywall and drilled the first hole, she then pushed the rerouted line up to the outlet. We then proceed to daisy chain 4 more outlets. After completion of all wiring I rewired the 2 phase line to a single phase and reduced the breaker size from 20 amp to 15 amp. We also replace several of the old non-grounded outlets with new receptacles but still ungrounded. While Pat was in the crawl space we also rerouted the old line for the baseboard in the kitchen eating area for the dedicated line for the new gas stove. This line was also changed in the breaker box from 2 phase to a single phase but will remain 20 amp as required by the manufacturer.
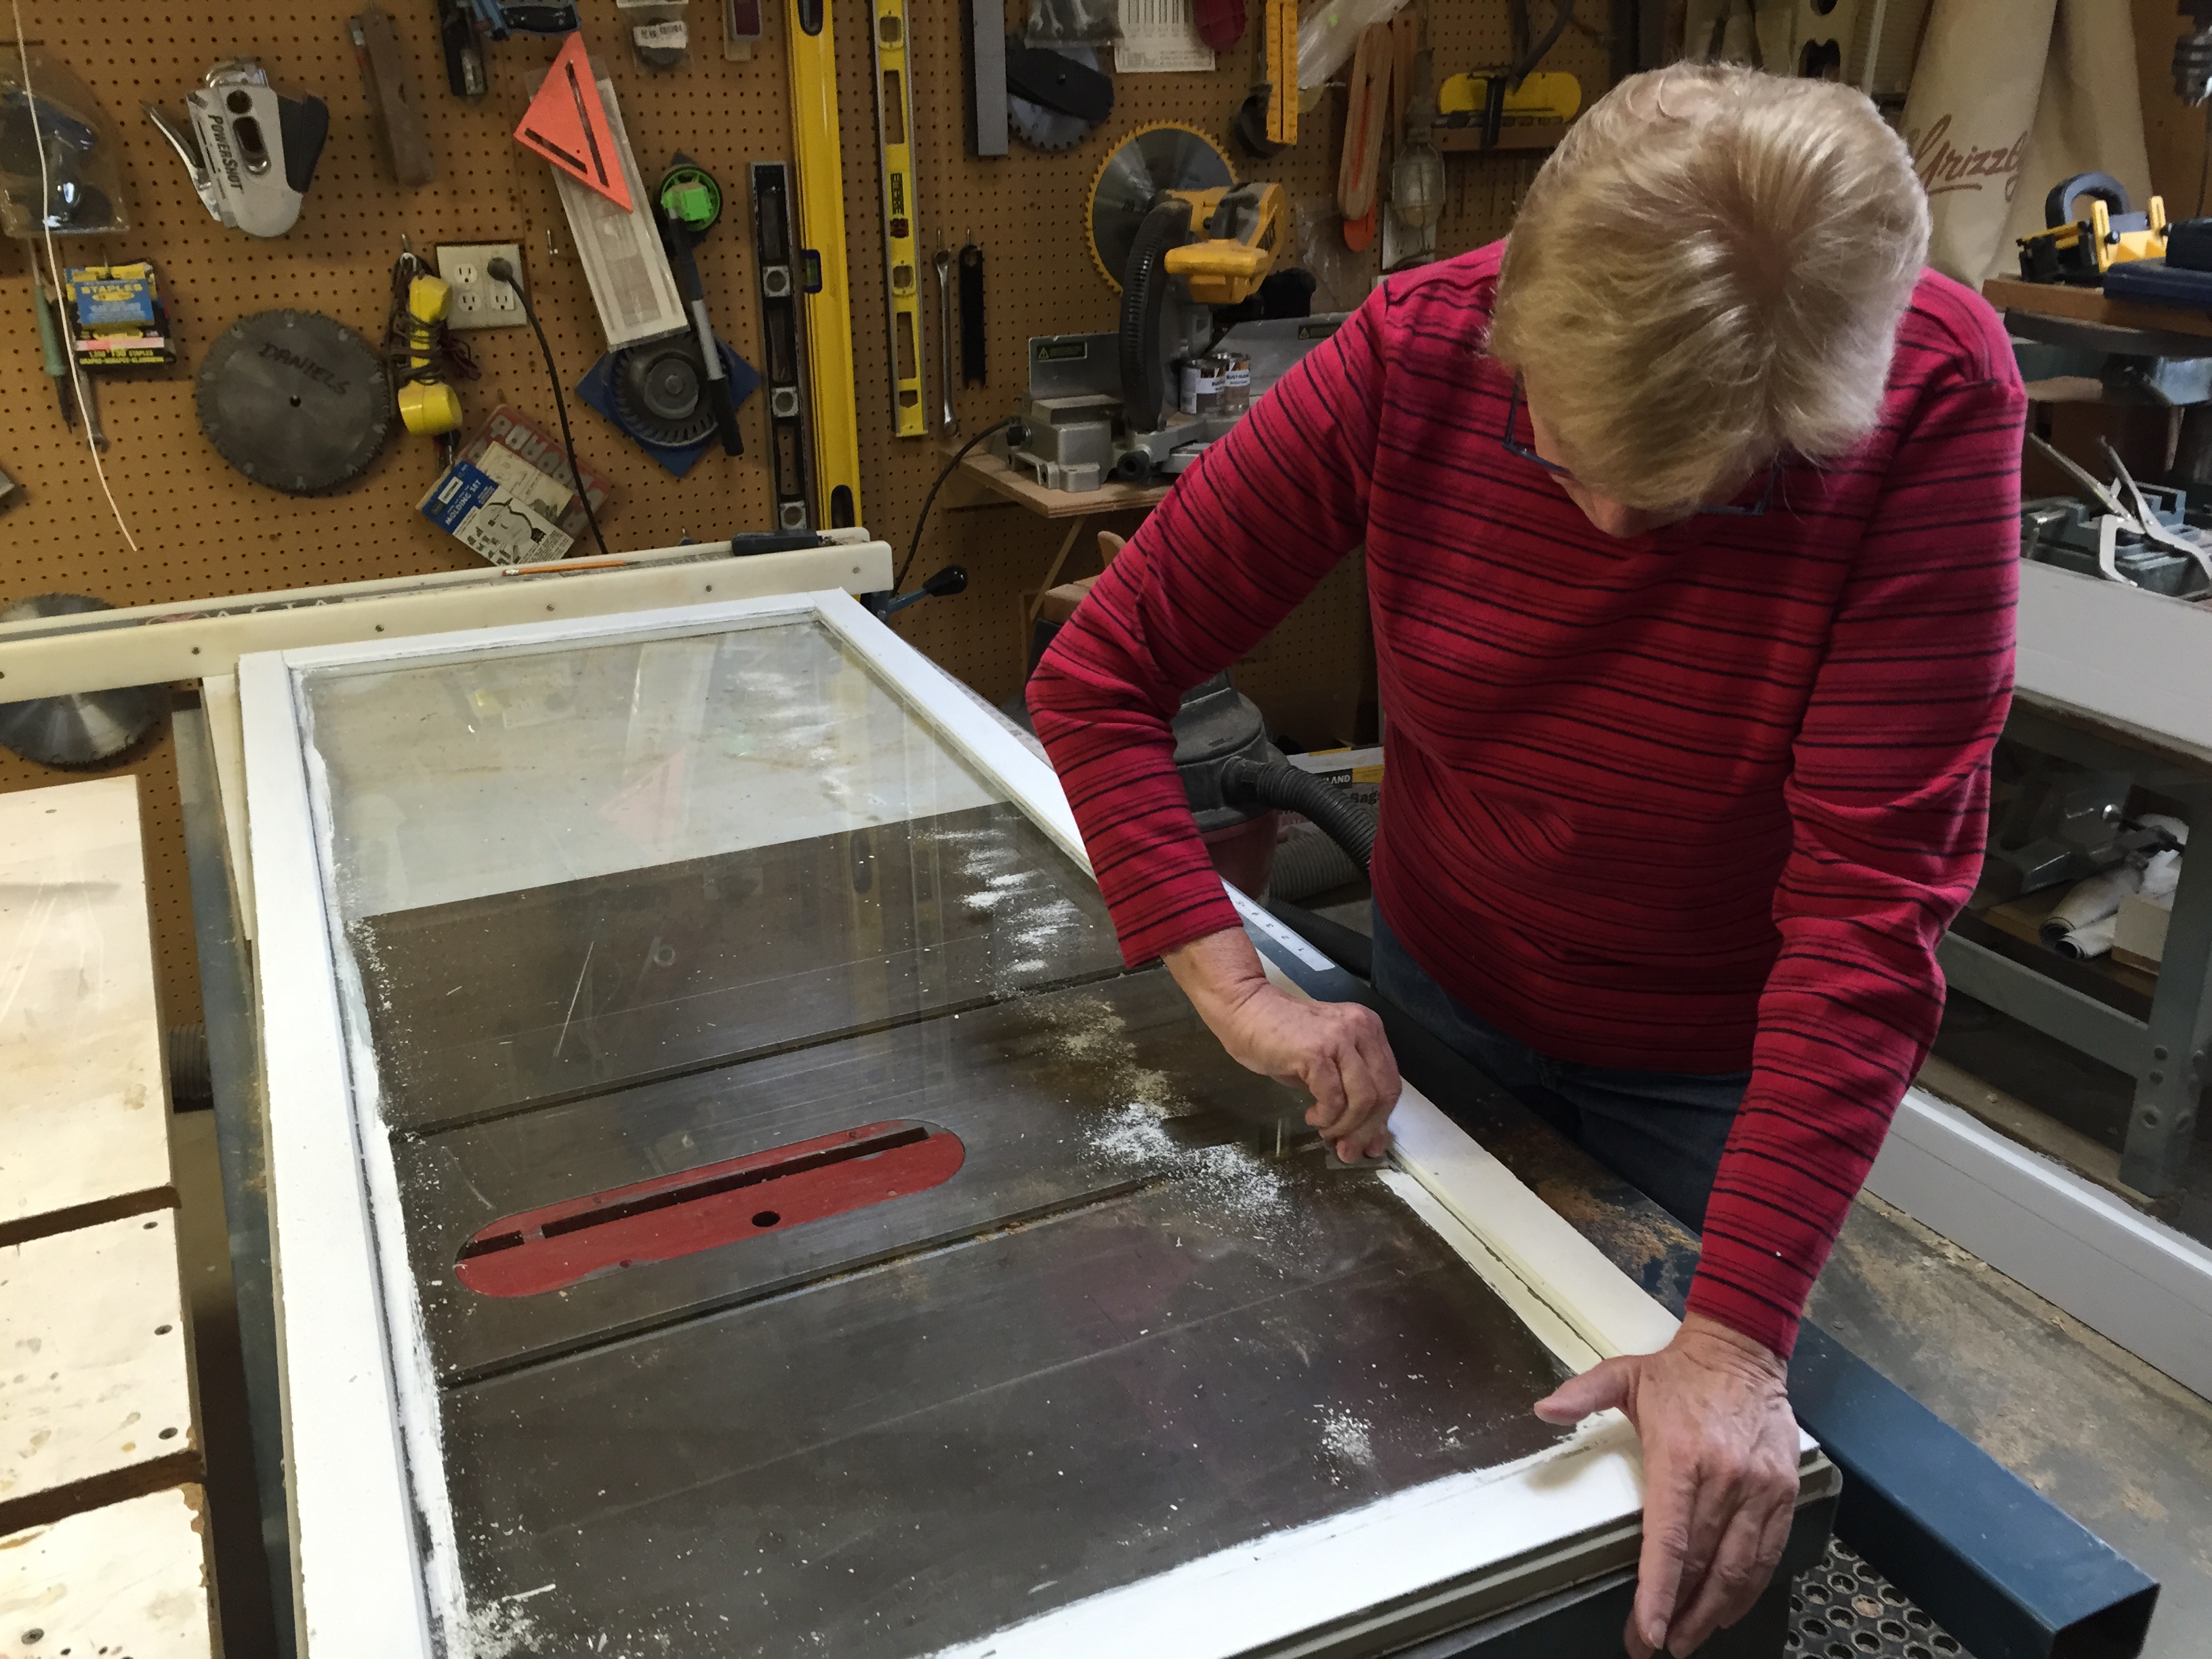
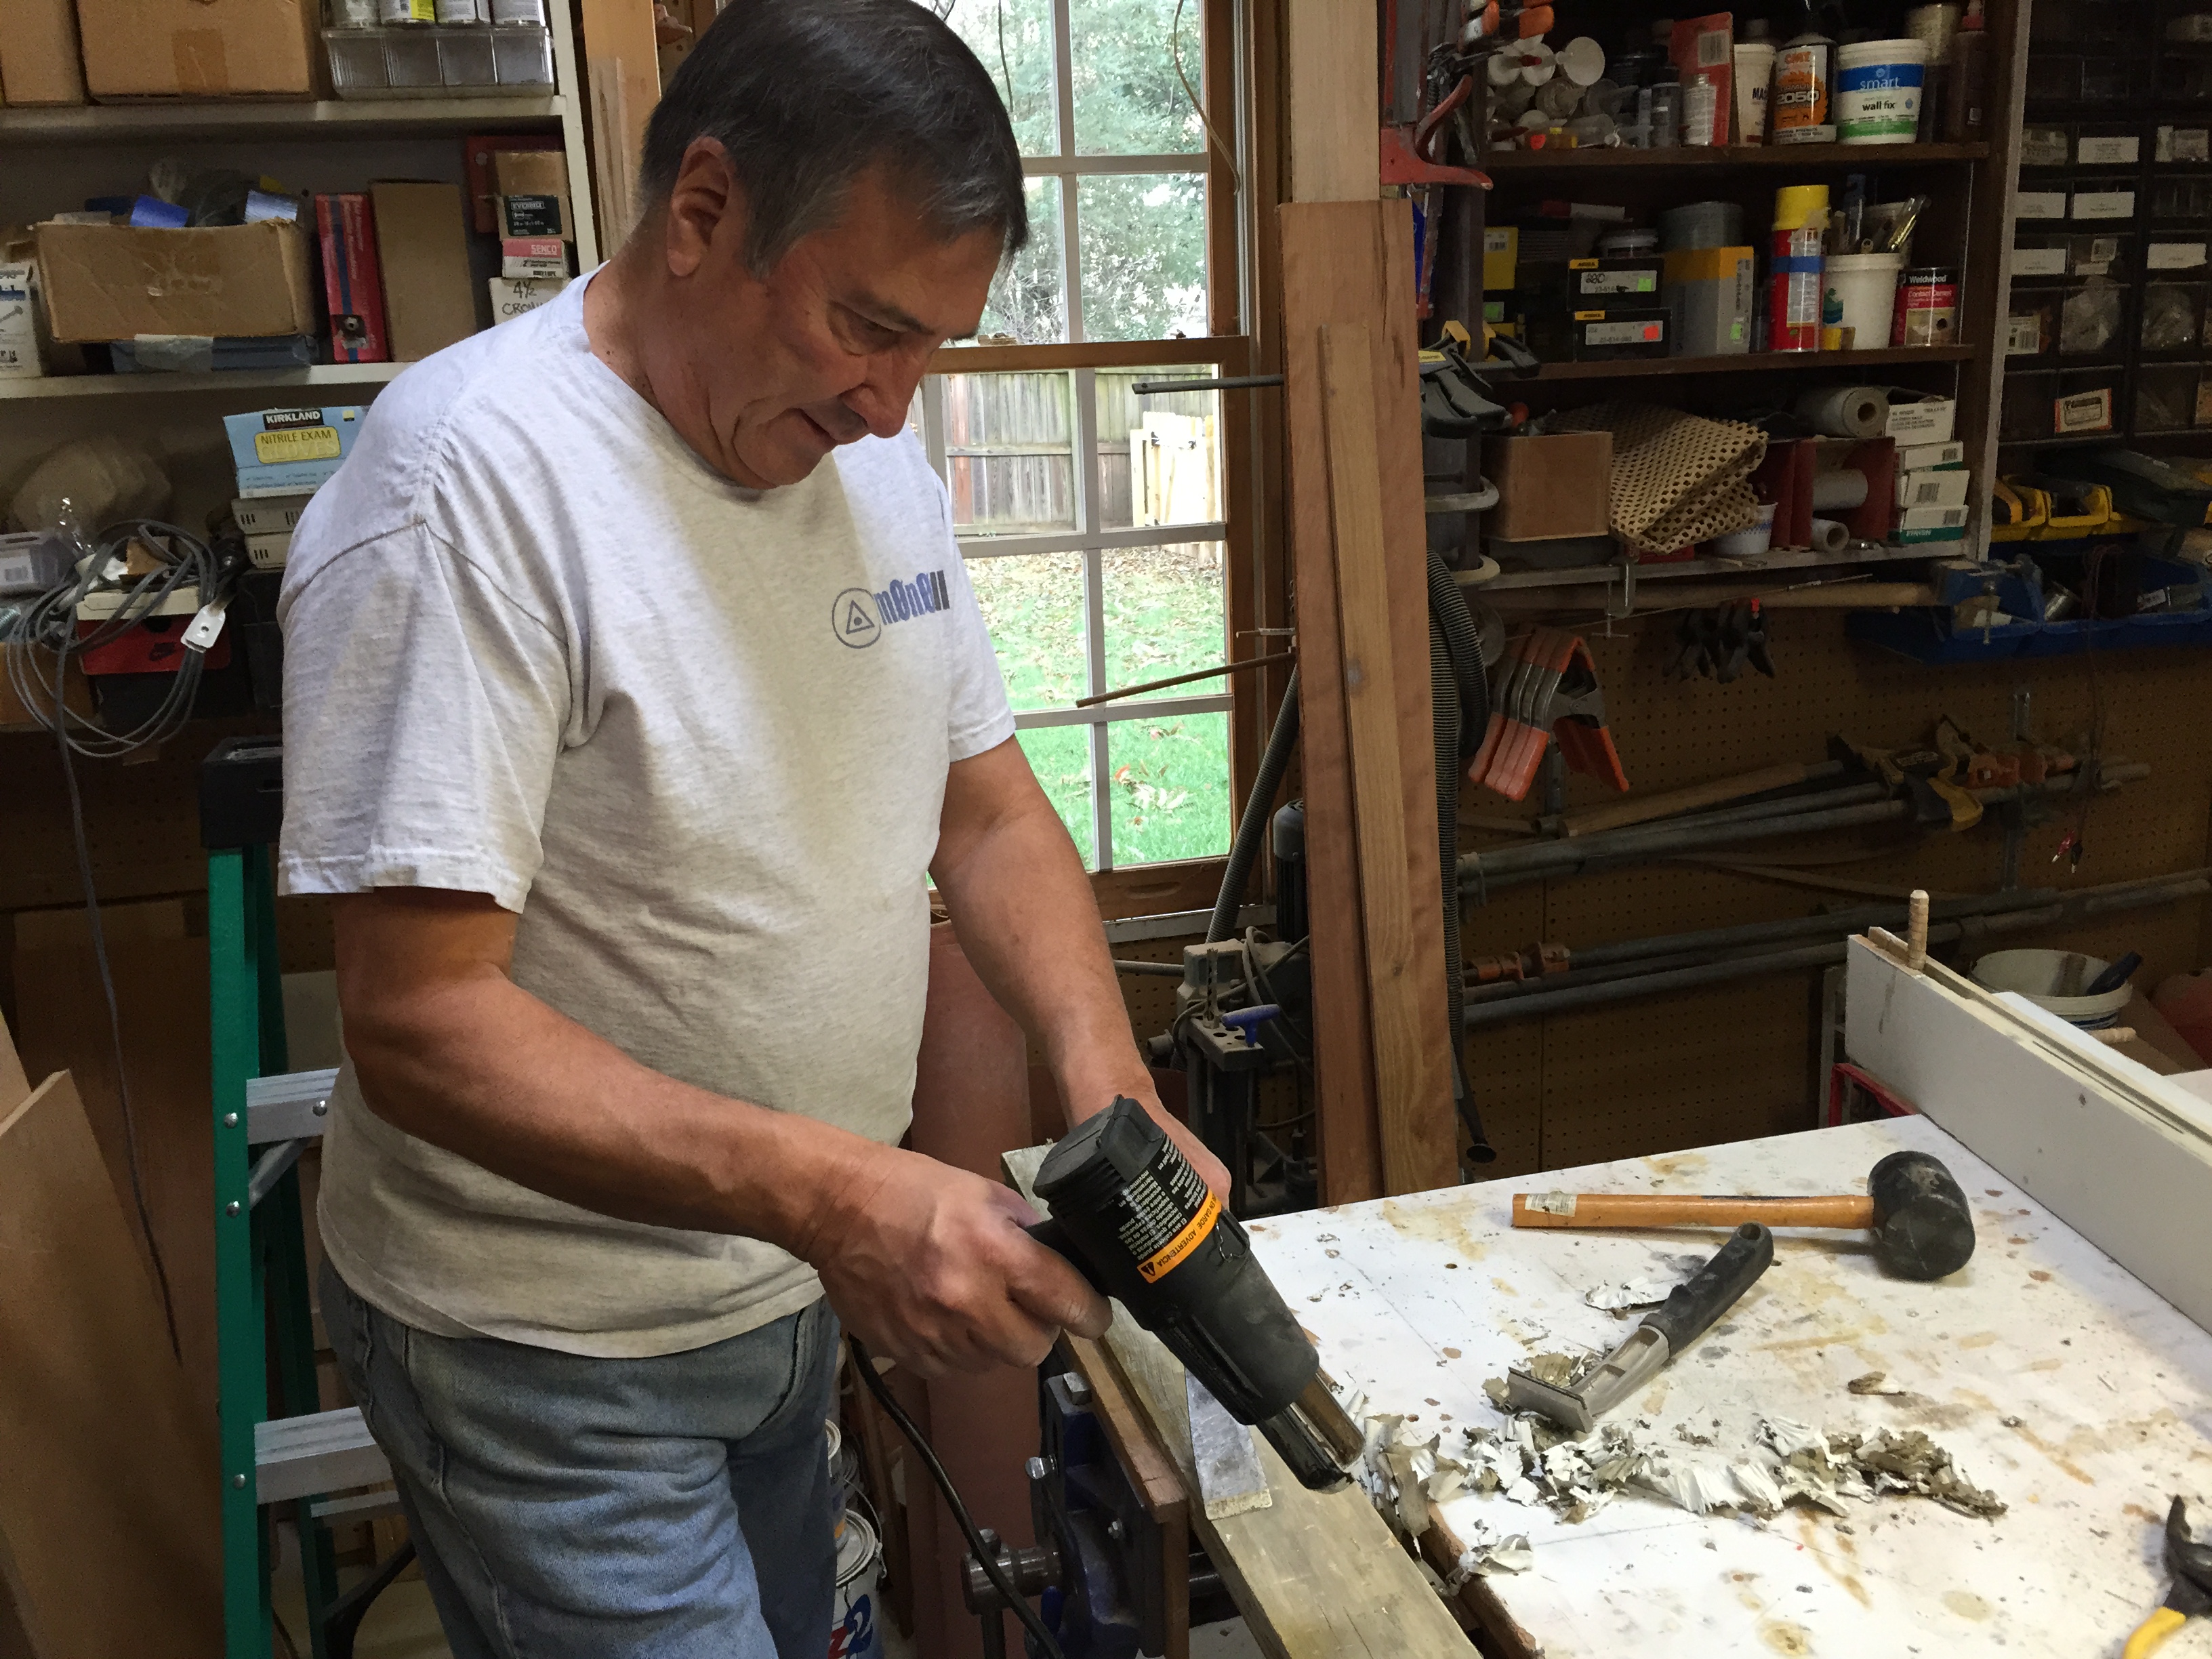
Last week just prior to departing DR Creek View we took off the doors from the River Room French Doors and loaded them into the pickup truck. The doors were hung poorly and required a refit, and due to water getting into the joints were coming apart. The thought was “it easier to repair them in Richmond than trying to bring all of the necessary tools to the river.”
We are in the process of disassembly, repair and reassemble. The doors will be repainted, fitted with new hardware, hinges and rehung.
Update (12/16/2014) – Doors are complete and repainted all that remains is to pain the window inserts and then re-install the doors with the new hardware.
We will be posting completed photos.
Pat removing paint from glassMike, using the heat gun to remove the pain from areas requiring epoxy and major work.
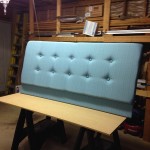
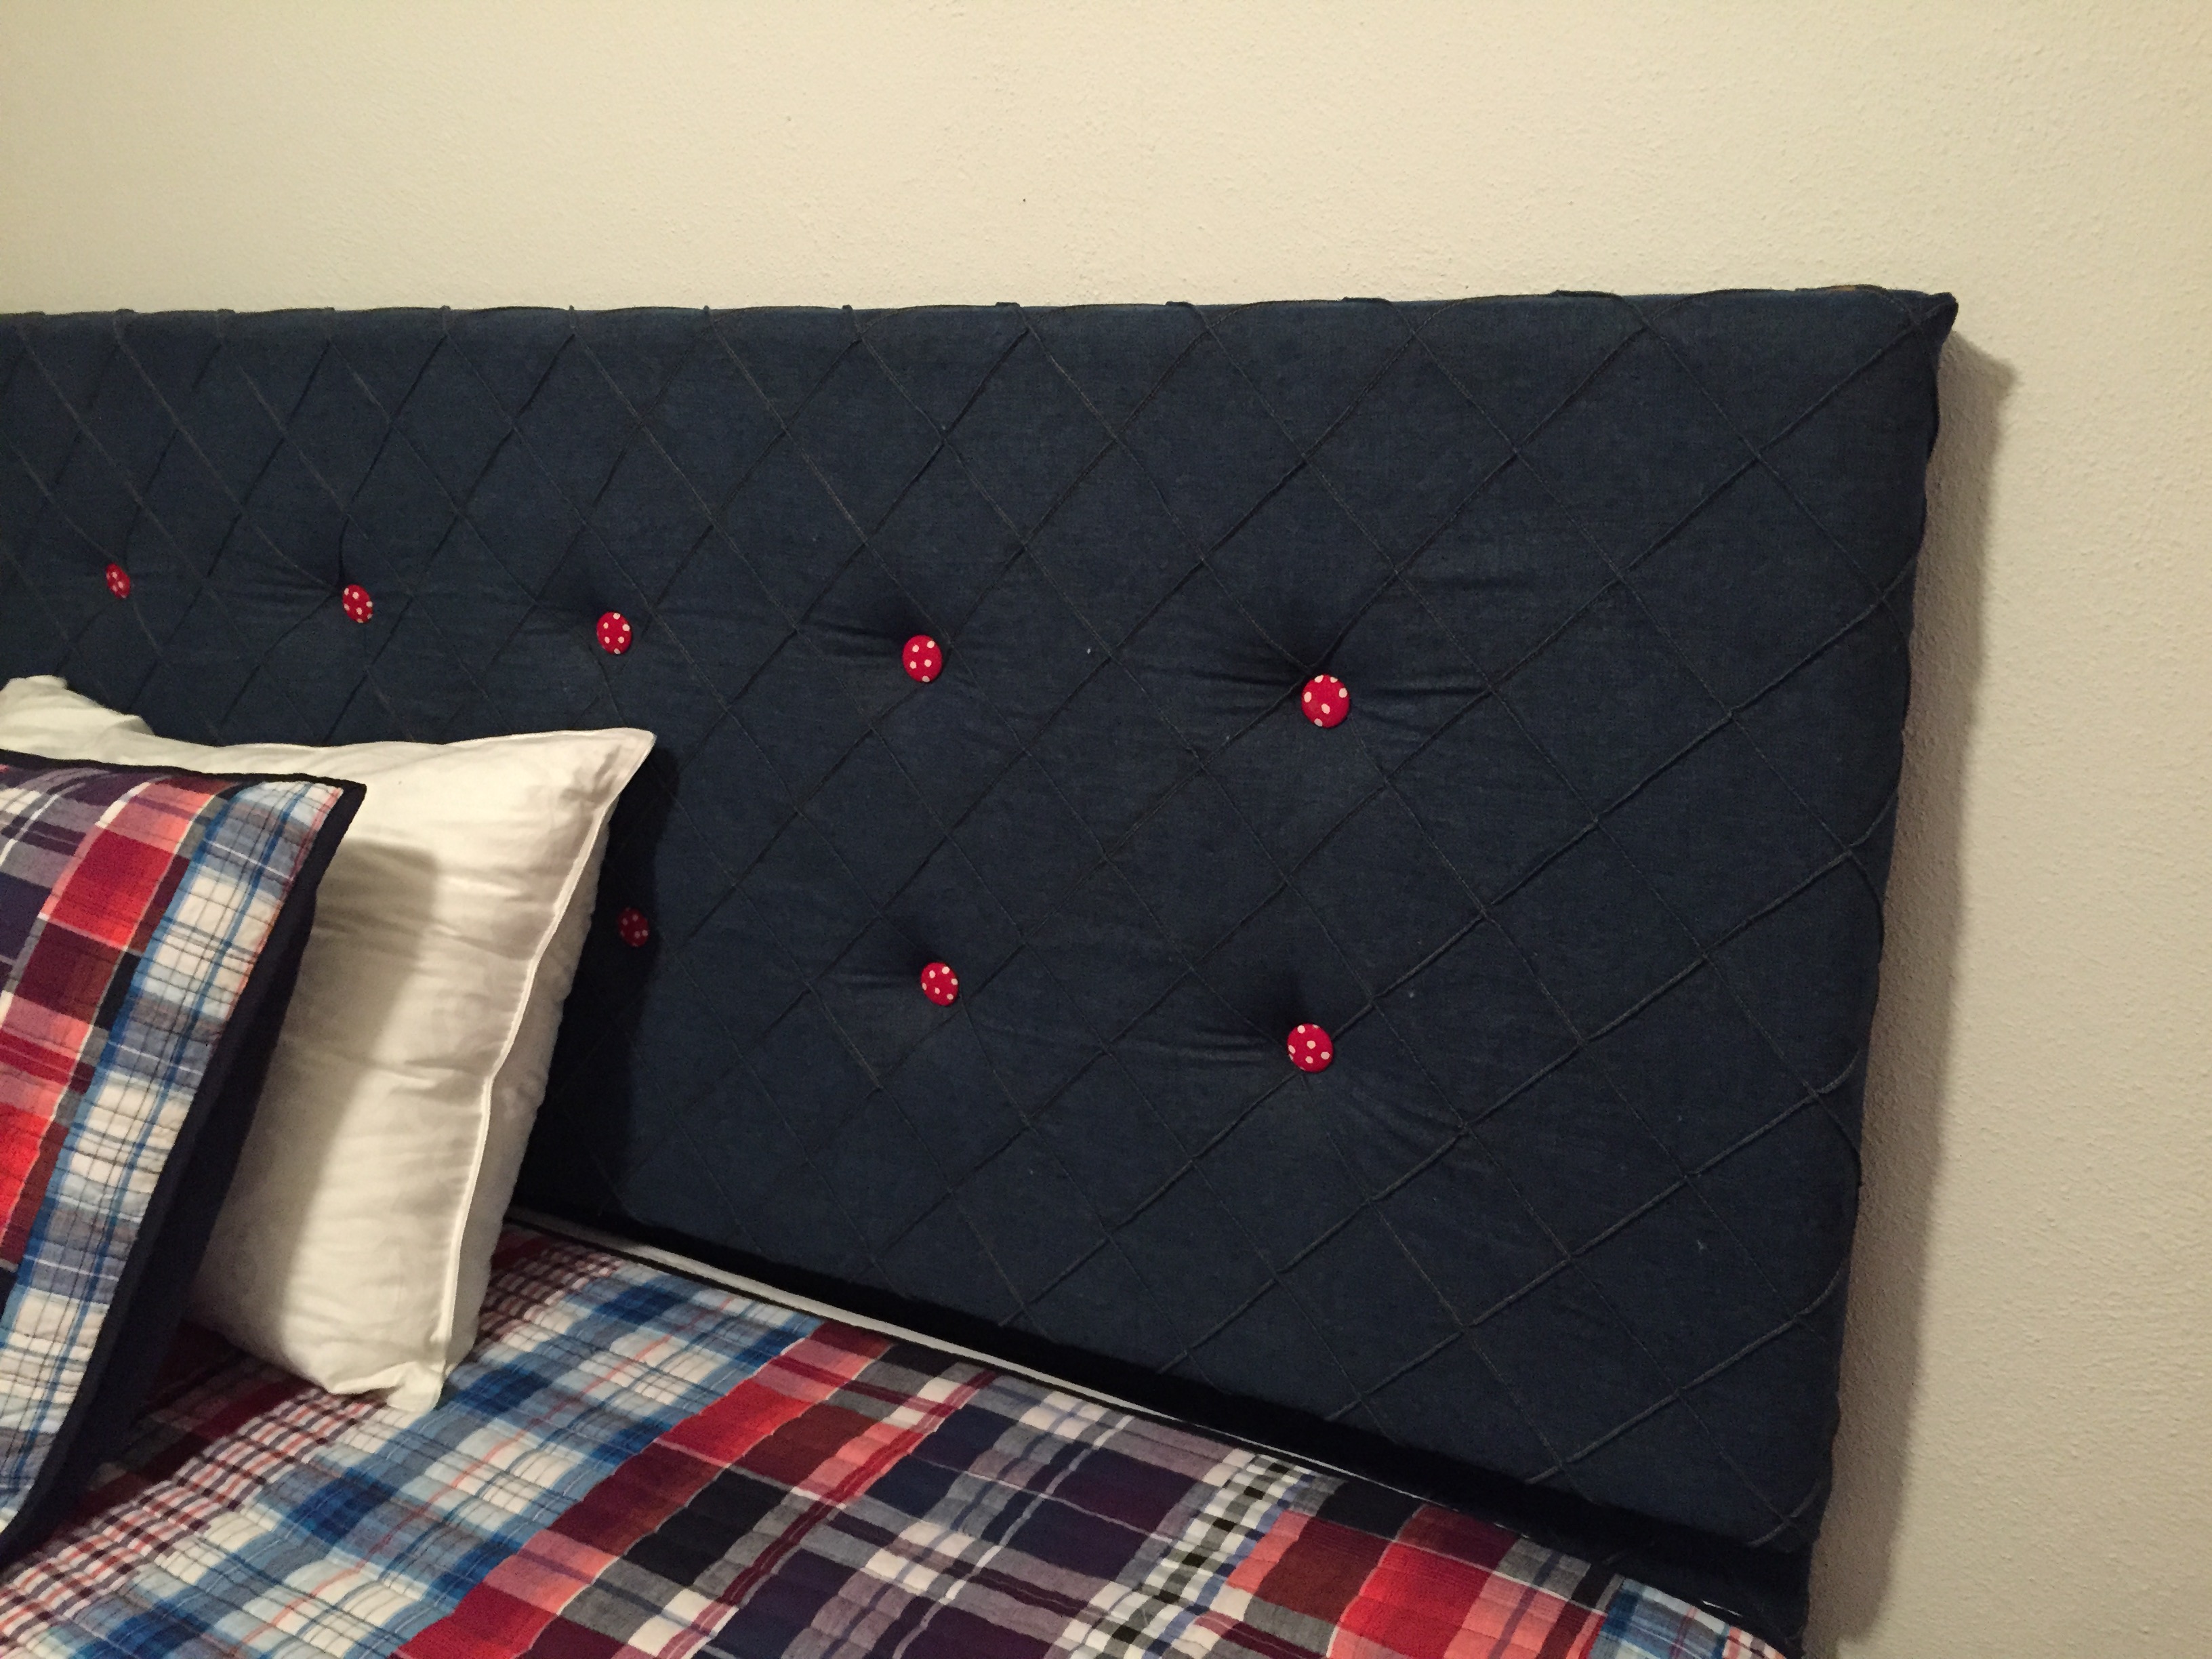
Finished low table by window in the River room.Finished Head BoardHead Board work in process
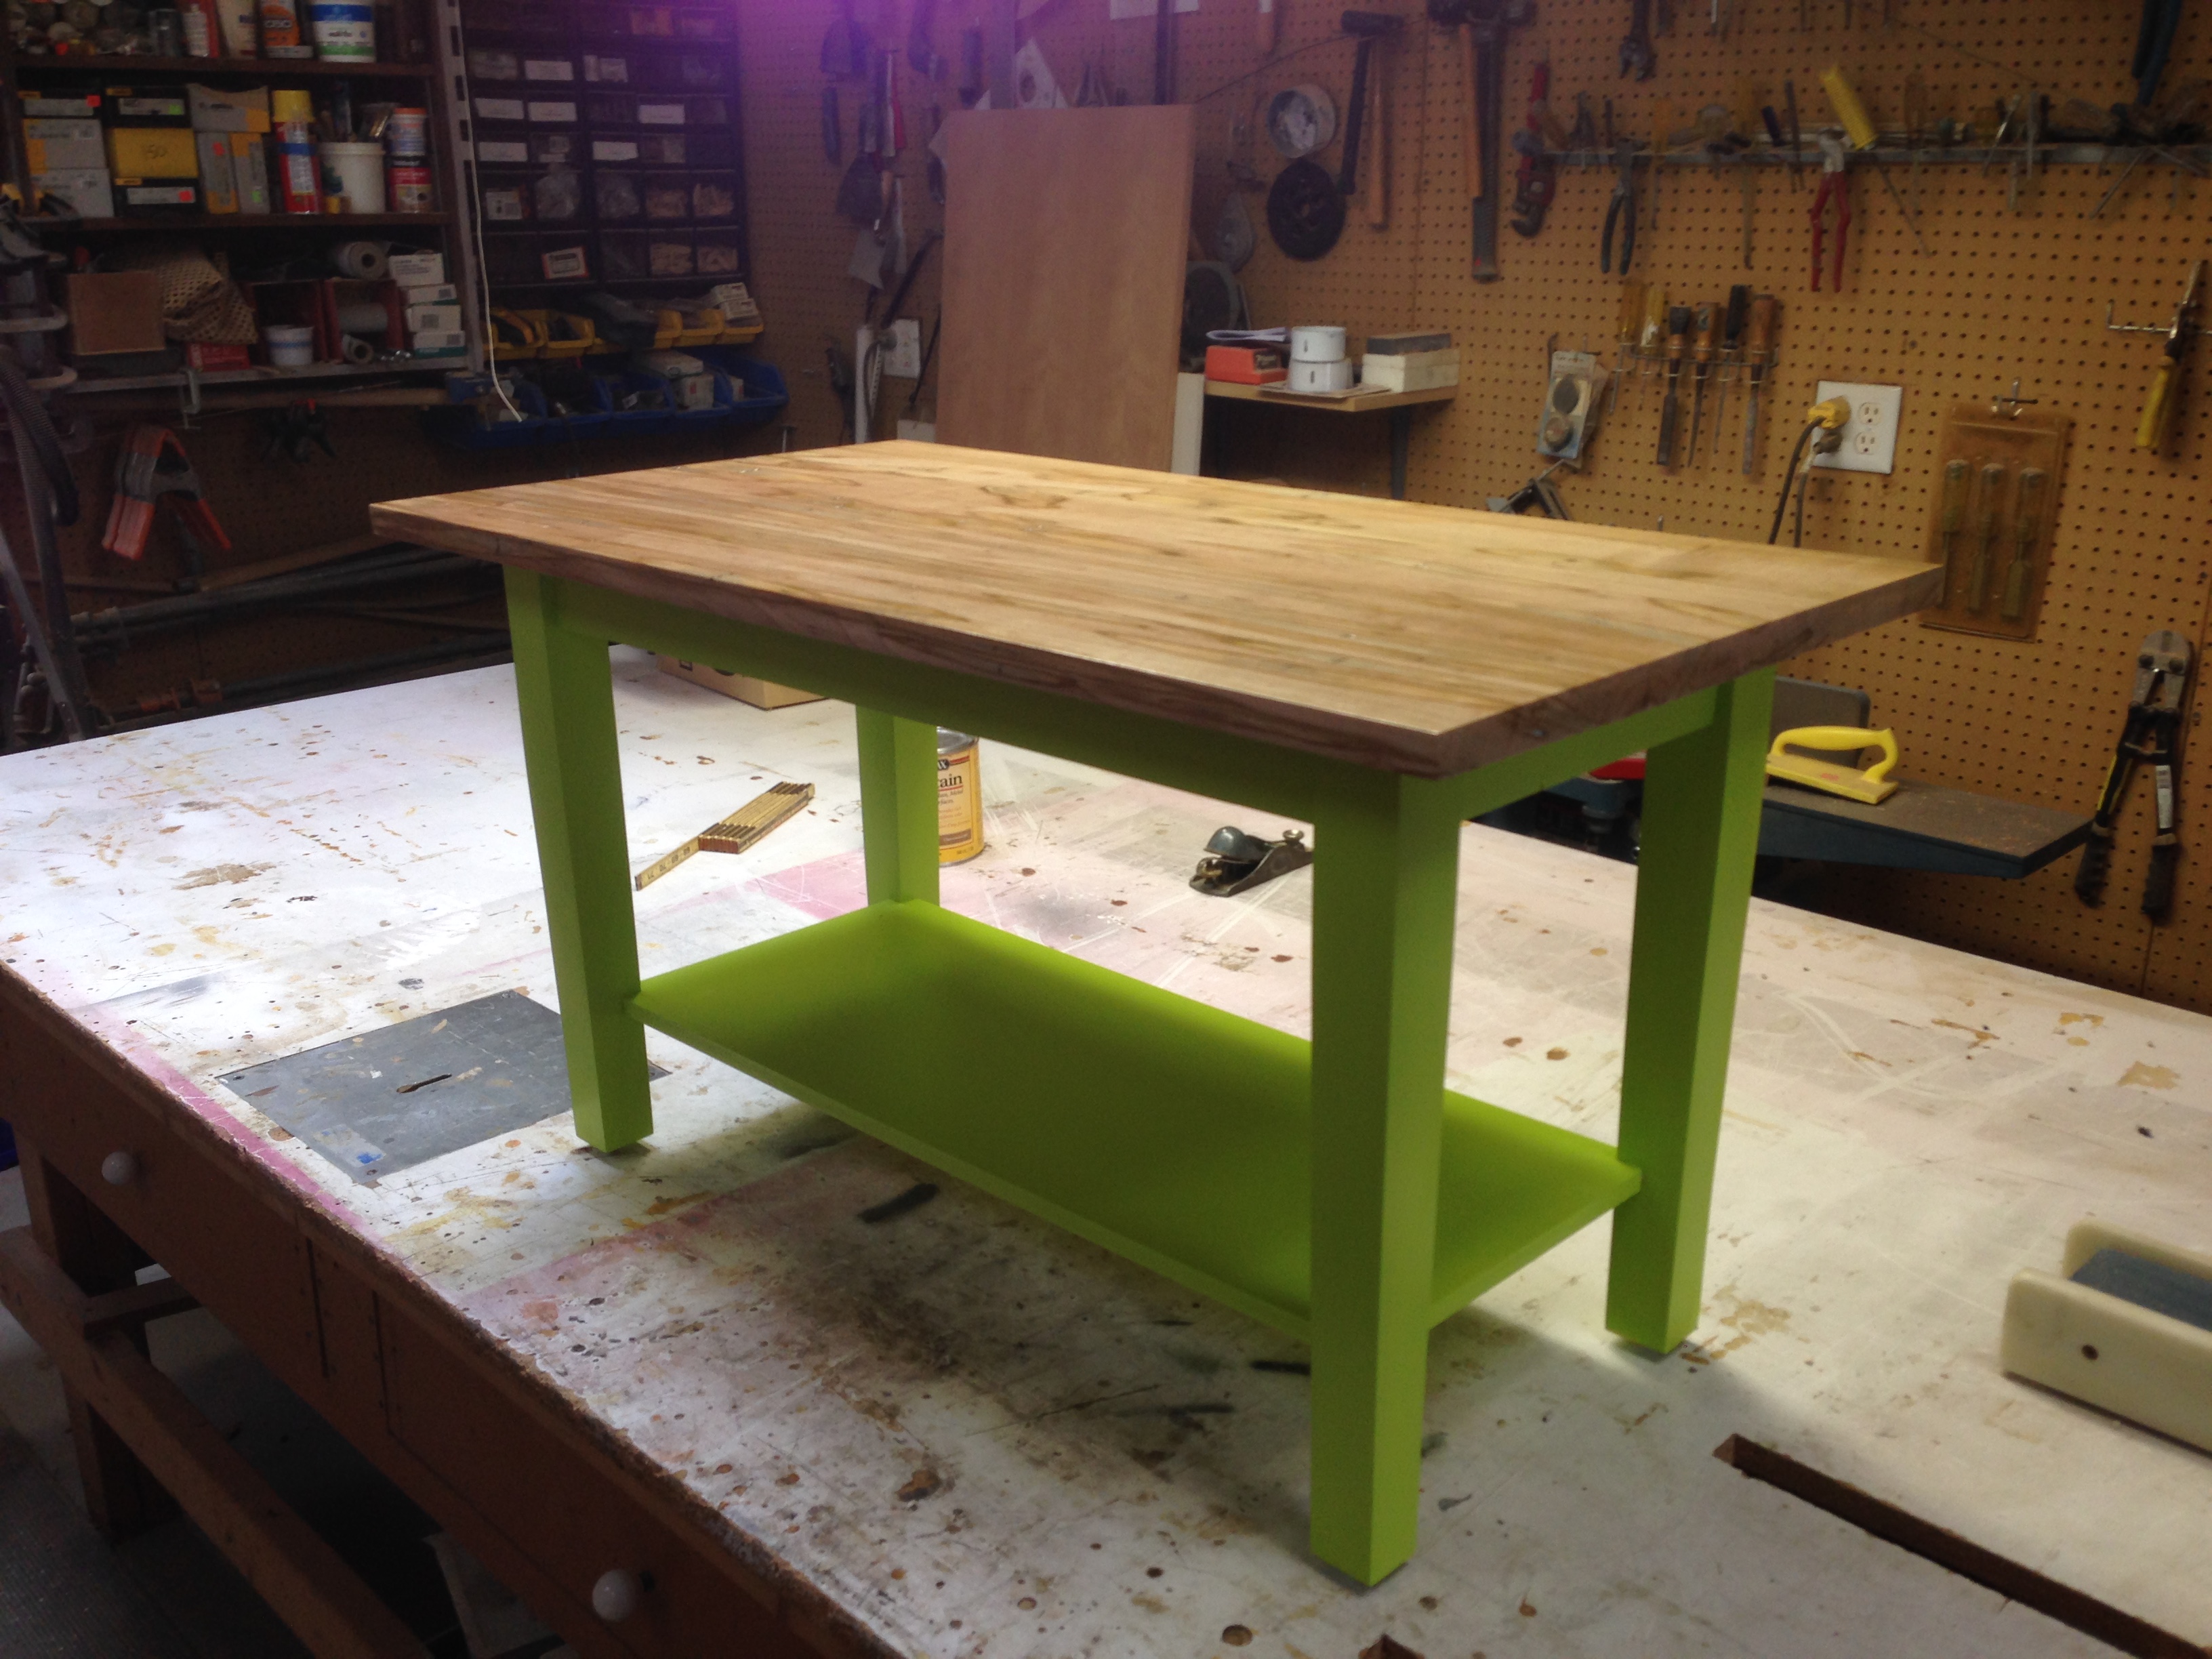
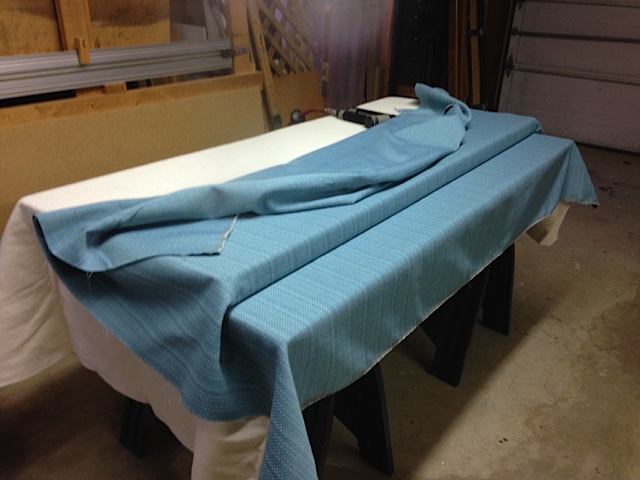
In order to keep the start up costs at a minimum we are building some of our furniture. Pat and I constructed a head board for our bed this past weekend. While Pat was doing the upholstery I was constructing two tables and Pat pitched in with helping to paint and finish them as well. We are slso working on a head board for the guest room and a small chest for the master bedroom.
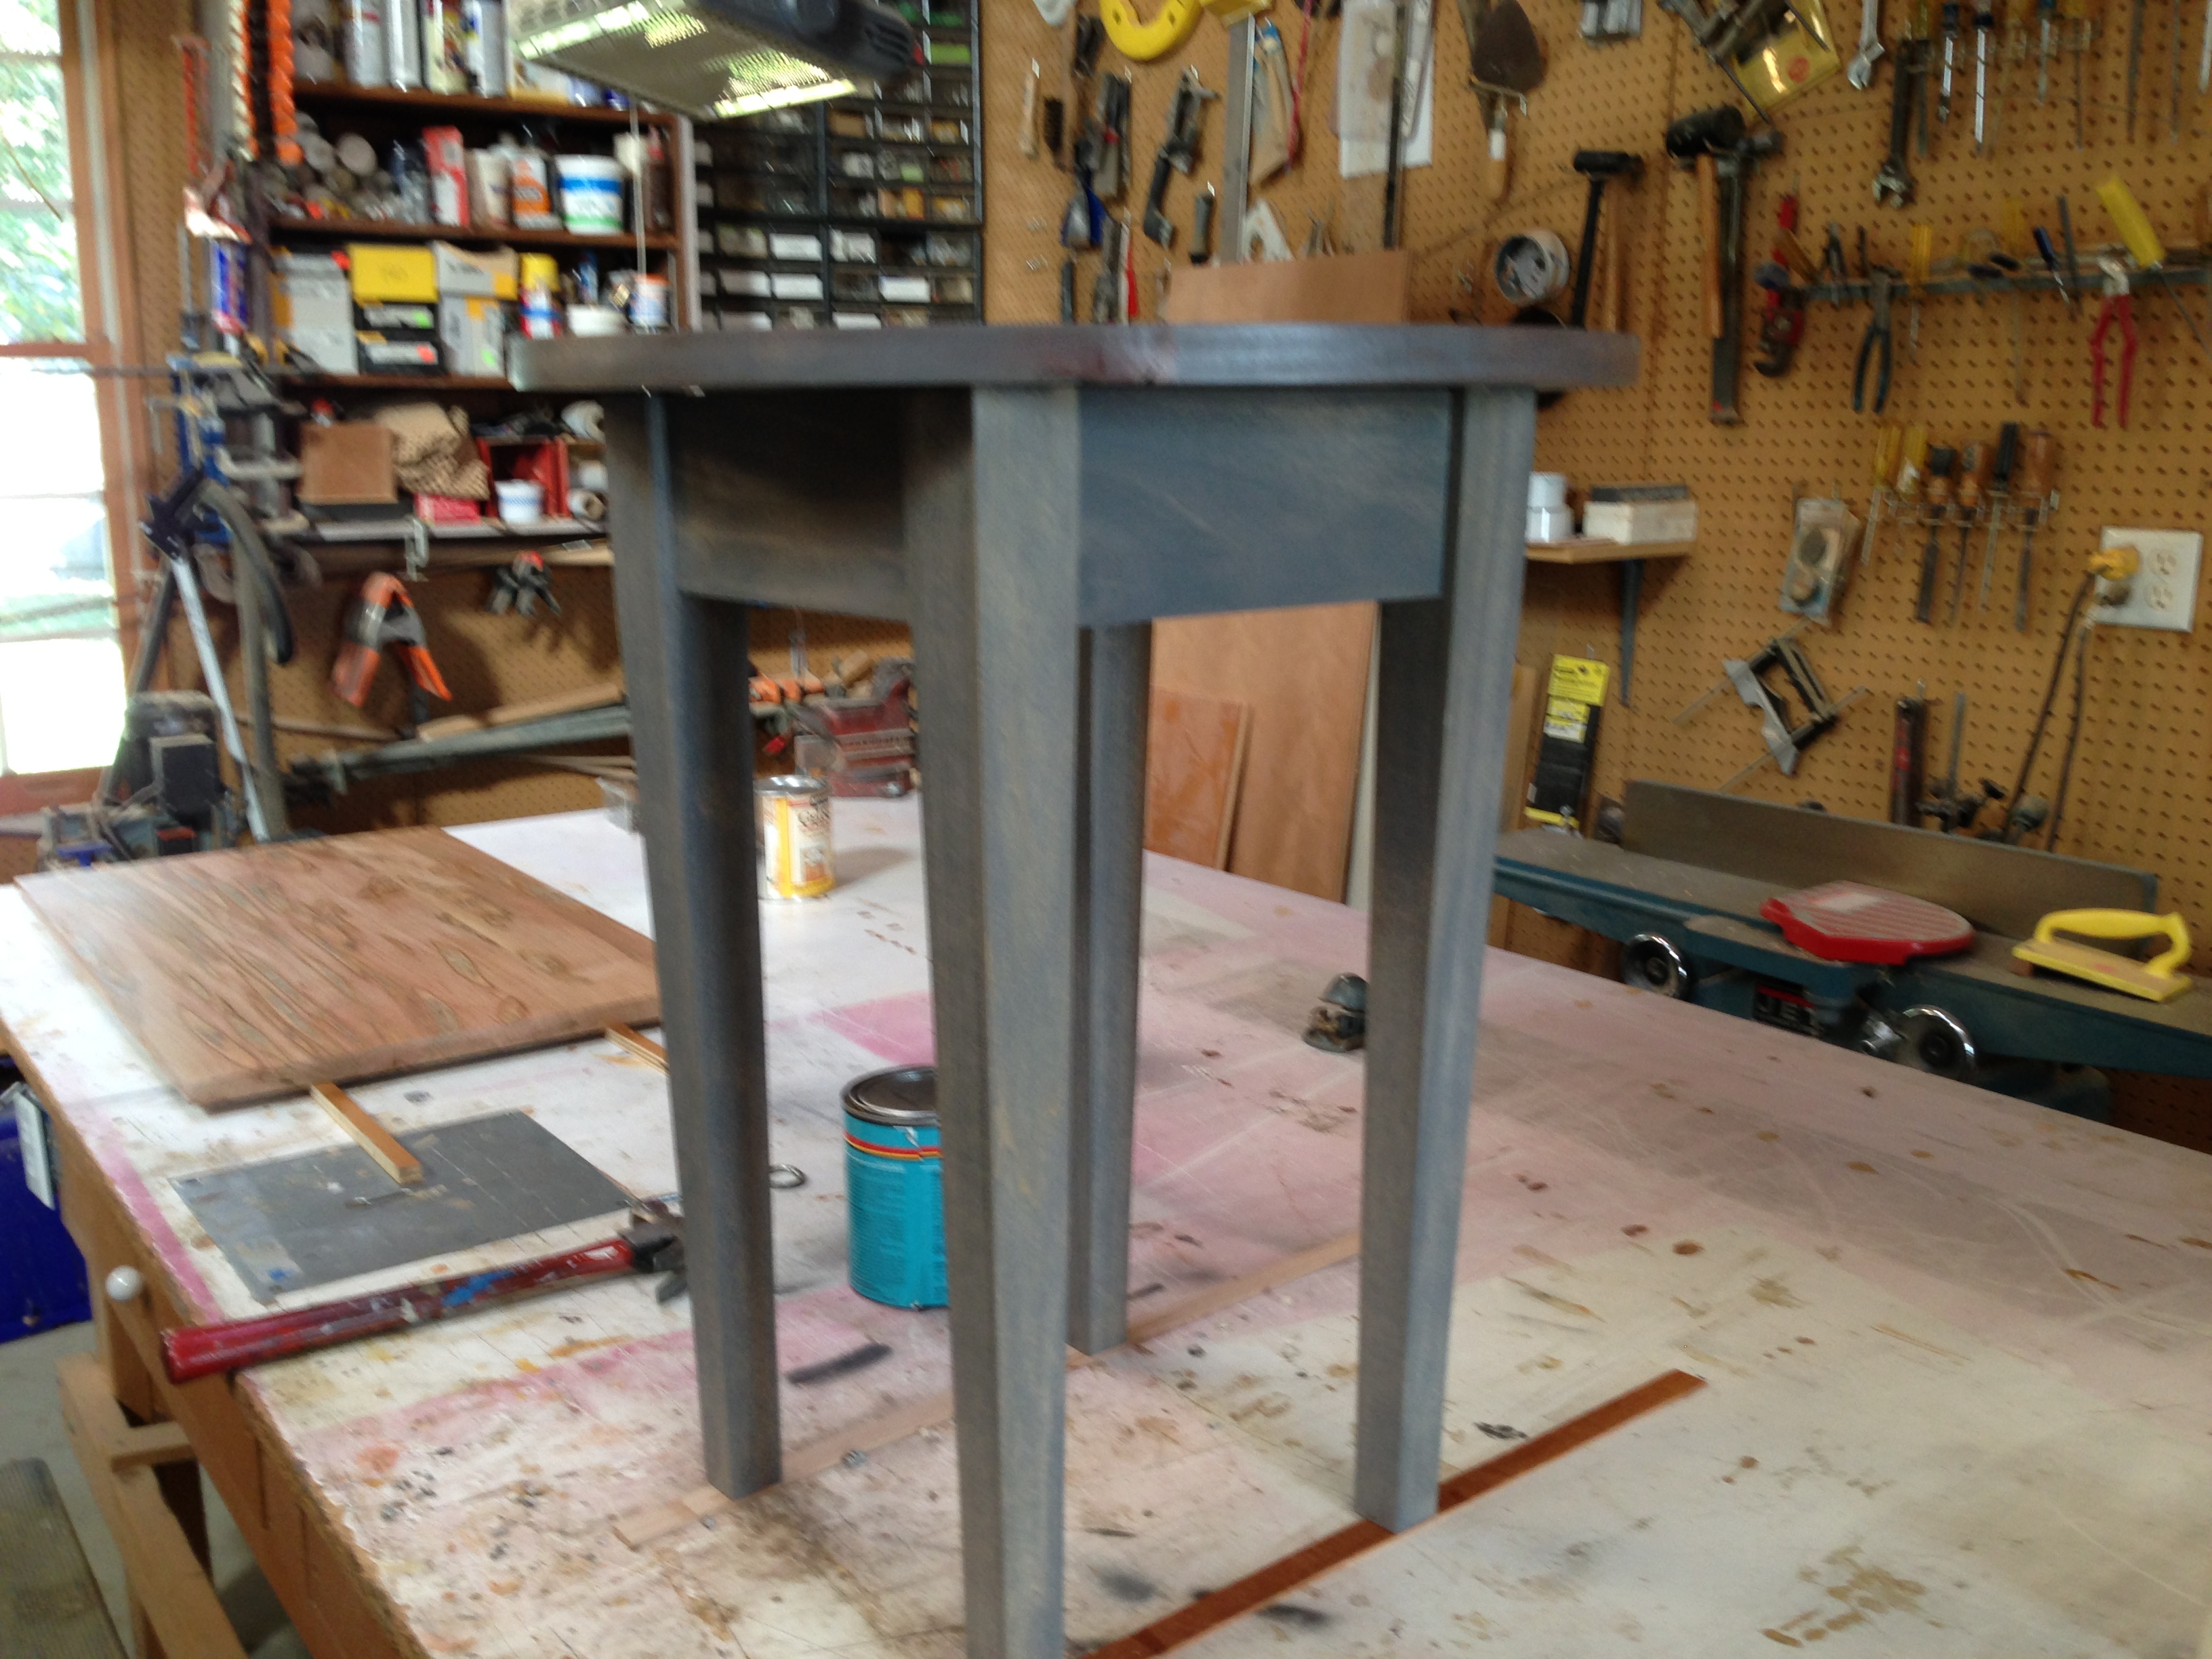
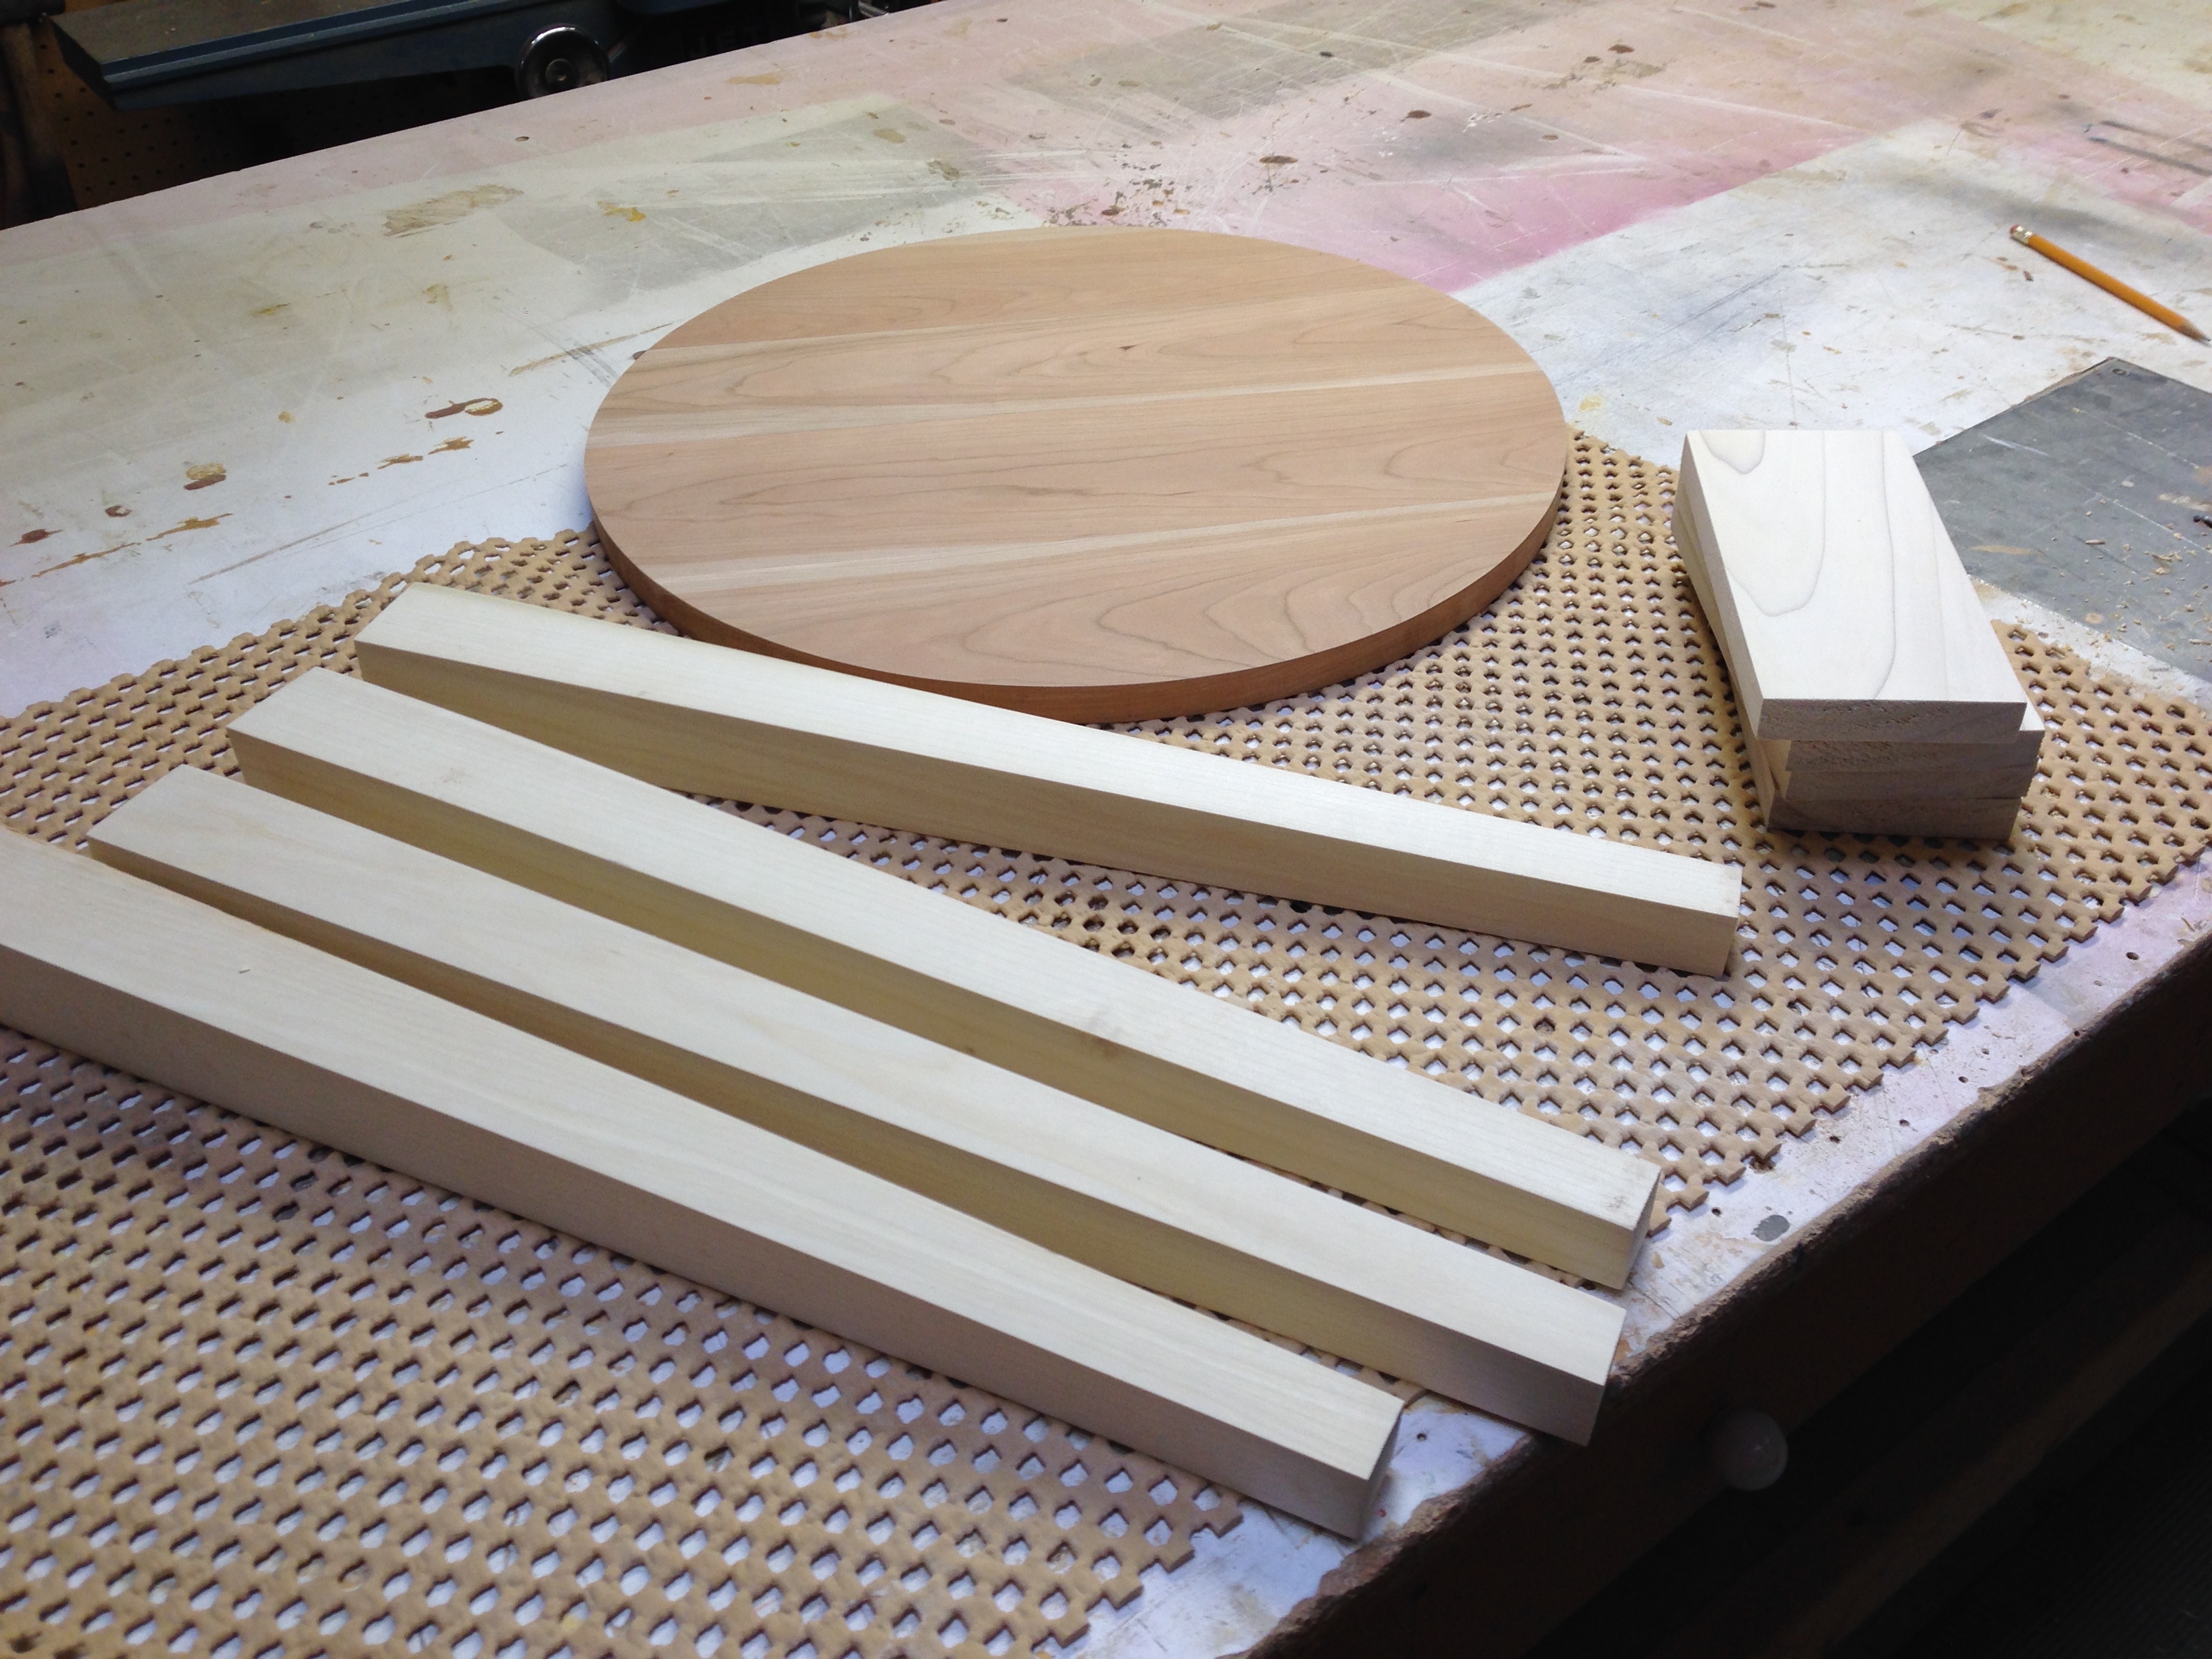
The finished round table. Round table for in between two rockers which we purchased but will not arrive for a whileLow table for in front of window in the River RoomNight stand in Master, an interesting piece.
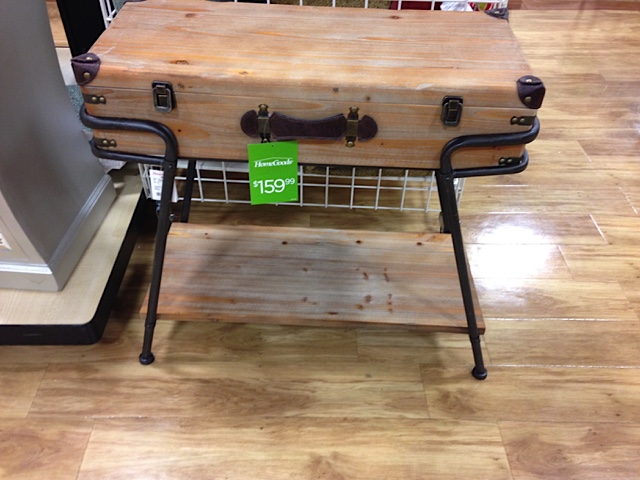
We also added a purchased piece. Our goal is to keep the river house a very casual and a bit funky!


 and we are recovering the seats with fabric on hand. We have cleaned and re glued the frames and applied a first coat of chalk paint to the frames. Estimated final cost for each chair $75.